
-------------------------------------
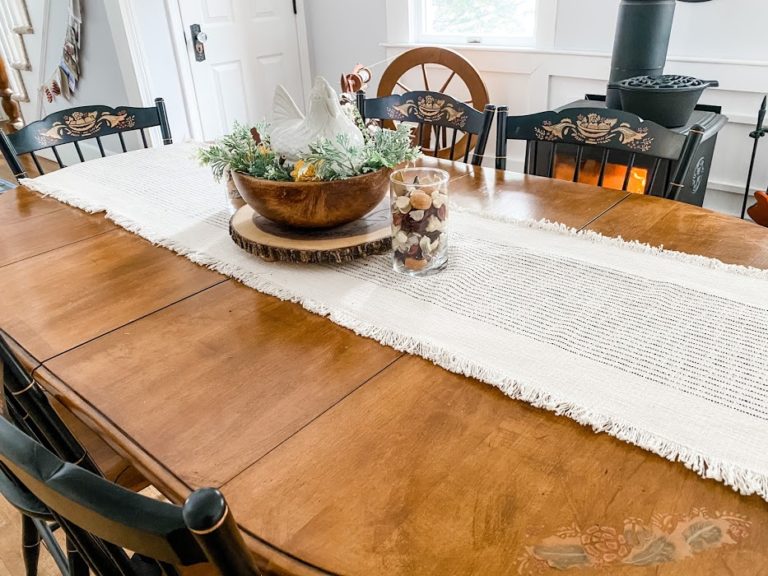
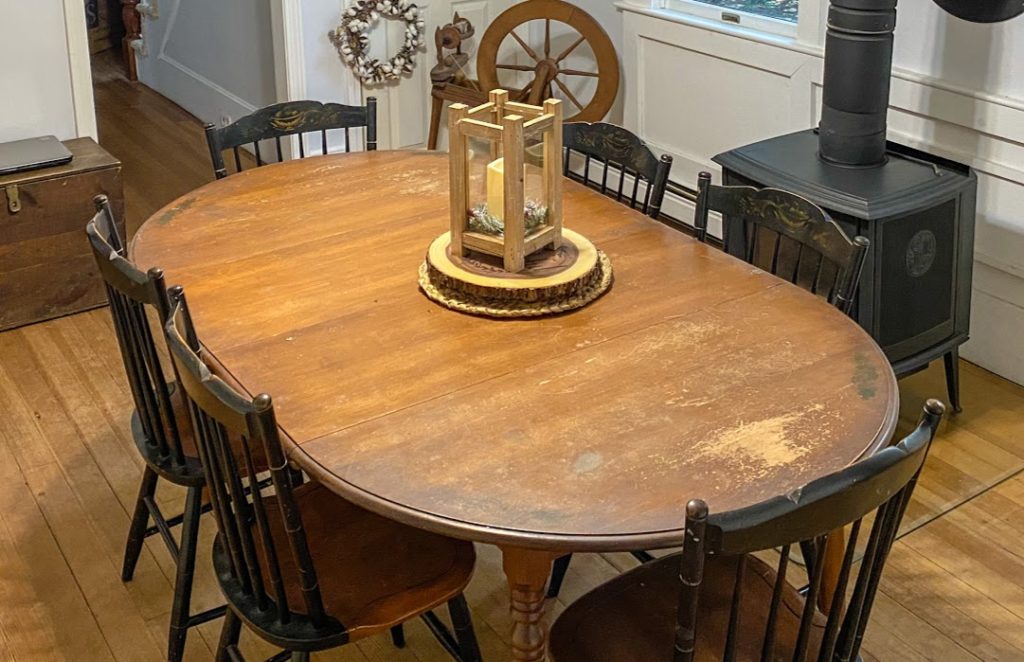
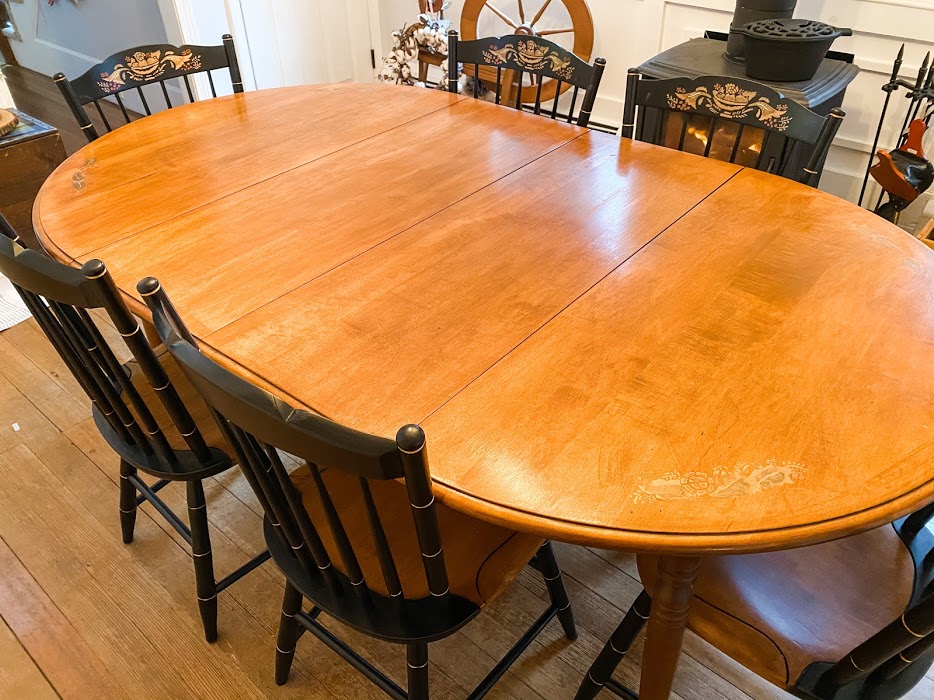
I have always loved the dining table & chairs that was passed down to me from my parents. They bought it shortly after they were married in the 1970s. It’s a lovely Hitchcock set, a great traditional New England design.
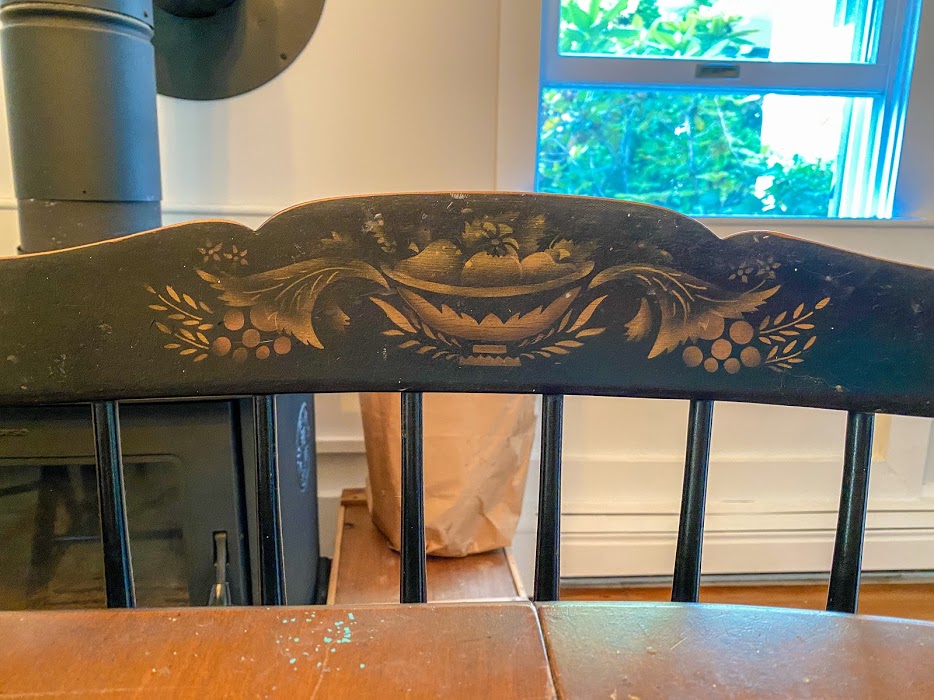
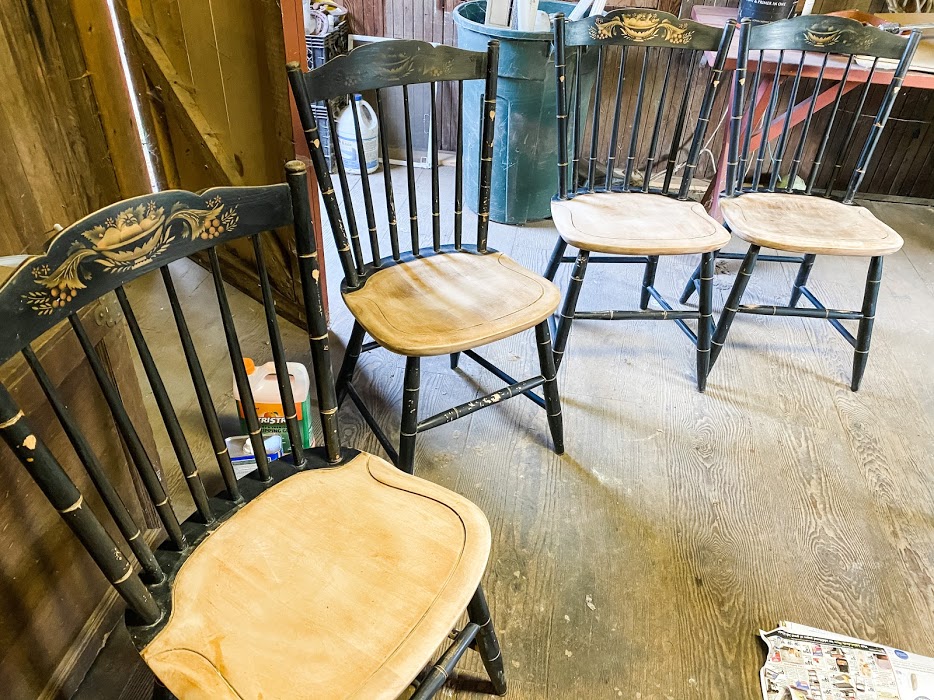
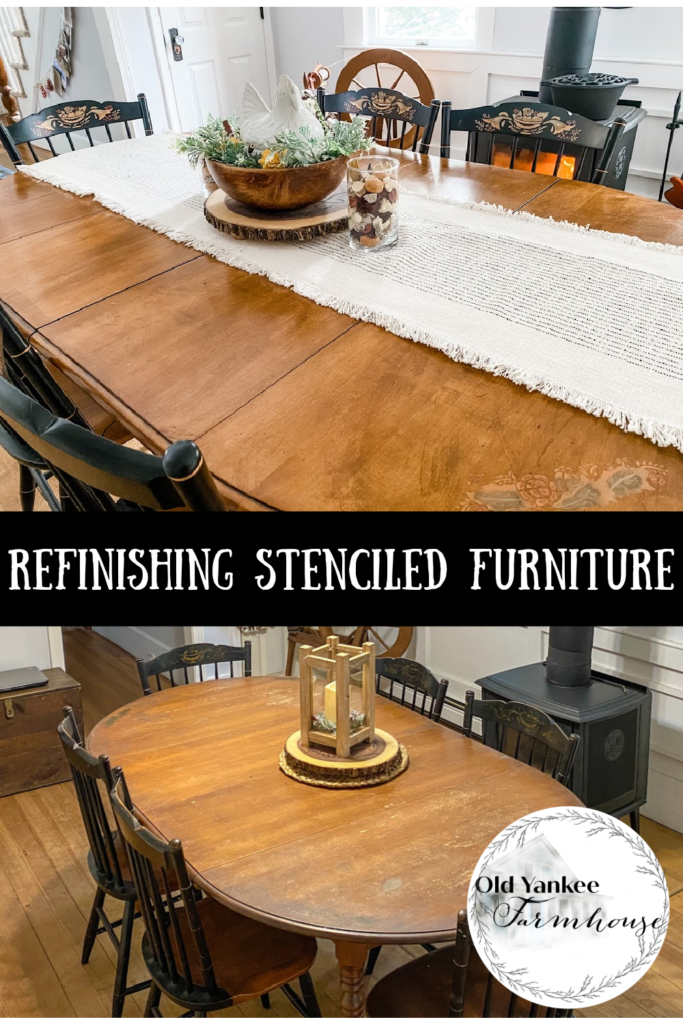
I loved this set for a lifetime of memories from my childhood and raising my children around this table. But it was showing every single bit of 50 years of life. There were parts were the finish was worn clean off, my kids had scratched designs into it, there were several water stains, the polyurethane coating was sticky with age. The biggest problem was I didn’t want to lose the traditional stenciling on the chair backs and table top. Because of this I put off refinishing the set for years.
I finally decided I was going to give it a go. The stenciling was very worn, barely visible in some places. Looking online at similar tables and doing my best to interpret the design I drew my best approximation. I forwarded my drawings to a custom stencil maker on Etsy.

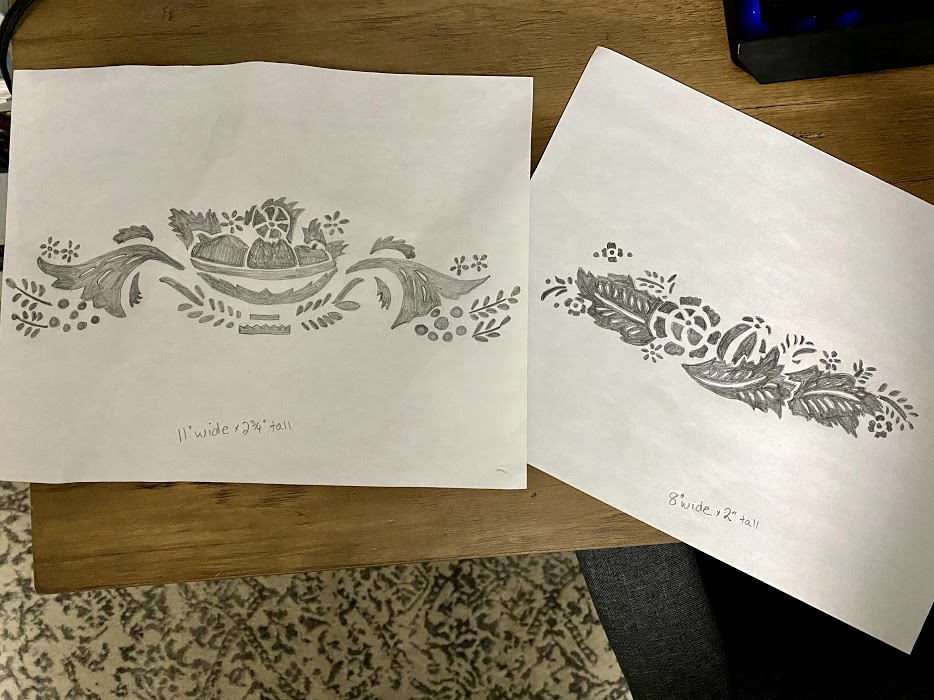
The stenciling had a slightly metallic quality to it, so I ordered a metallic acrylic paint set on Amazon. The stenciling is light, I am sure it was done with an airbrush. If I had one that would have been the way to go. I used fine tip art brushes, which gave a darker, more obvious design, but I am ok with that.
Now that I had the stenciling supplies ready, I assembled the tools & supplies I would need for the actual refinishing.
Table & chair refinishing supplies
stencils
stencil adhesive
metallic art paint
art brush set
paint & varnish stripper gel
3 inch flex scraper
steel wool
sandpaper (120 & 180 grit)
microfiber cloths
wood conditioner
wood stain
polyurethane
two quality stain brushes
matte black spray paint (1 can per chair)
painter’s tape & old newspaper
spray polyurethane (1 can per two chairs)
disposable gloves & eye protection
step 1 – clean table
Clean the furniture. I used dish detergent & warm water. You want to remove any general grim and stickiness. Then dry completely.
step 2 – remove varnish from table
Put on some disposable gloves and eye protection. Work in an area that is ventilated for this entire project. Spread the varnish stripper on the entire table top with a brush. Follow the instructions on the stripper you buy. I used Citristrip Paint & Varnish Stripping Gel. I let the stripper sit for 30 minutes then used the 3 inch scraper to scrape off all the gel & varnish goo.
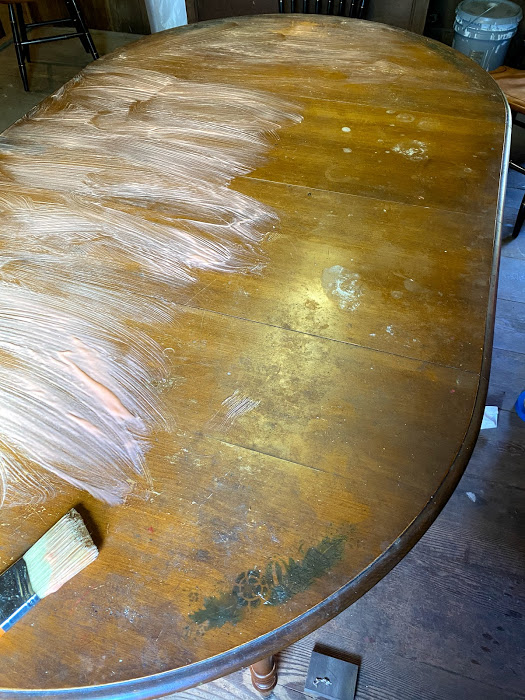
It’s impossible to scrape off all of the goo with the scraper alone. It’s important that all of it is removed, after 24 hours or so when the gel dries it will be very hard to get off. You also don’t want to move onto the next step and end up sanding dried stripper into your wood.
I used warm water, dish soap, and steel wool to scrub off all of the old varnish & stripper. If you have leaves in your table, separate them so the goo doesn’t get stuck in the cracks. Then dry with microfiber cloth.
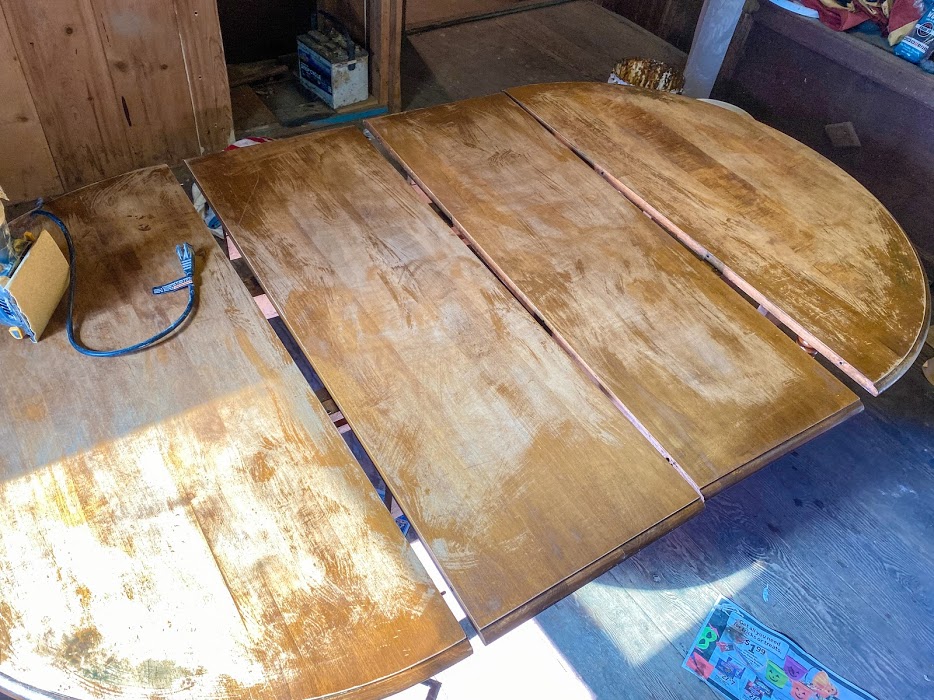
step 3 – sand table
Now that all of the varnish has been removed, it’s time to sand off any remnants of the old finish. You can do this by hand with a sanding block, but it is going to be a million times easier with a power sander. Start with the courser 120 grit sandpaper until all of the finish is removed. Go over the table again with finer 180 grit sandpaper until the wood is smooth. Wipe clean with microfiber cloth.
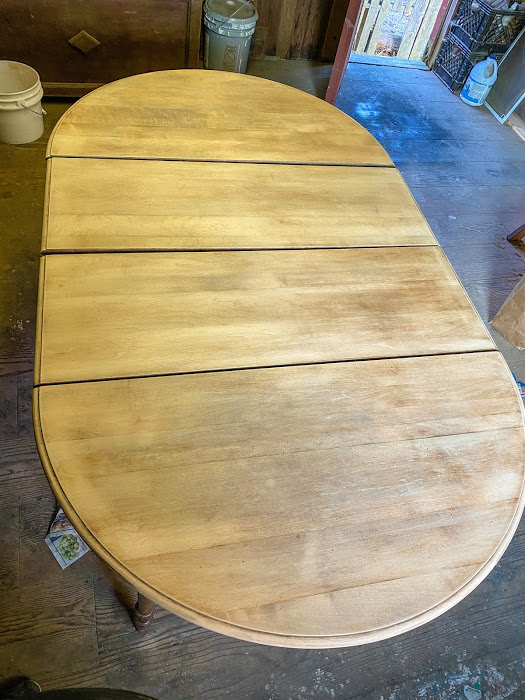
step 4 – wood condition table
Now that we are back to the original wood, we can get ready to make it pretty again! To prep the surface, brush on wood conditioner. This will help the wood to evenly accept the new stain. Follow the instructions that came with your wood conditioner. The one I purchased recommend I apply the wood conditioner across the grain, let it sit for 30 minutes, then wipe it off with the grain of the wood. If you will be using an oil based stain, be sure you are using and oil based wood conditioner.
Step 5 – stain table
Apply stain to the table according to manufacturer directions. The color I used was Early American by Minwax

Step 6 – stencil table
Now that the stain is done & dried, we can apply the stencil. Spray the back of the stencil with stencil adhesive and stick it to the table. The metallic paints I used were slightly transparent. It required several layers to build up. I also experimented with mixing some solid acrylic art paint with the metallic ones to get a look that I liked.
Step 7 – polyurethane table
The last step is the clear polyurethane coating. Follow manufacturer instructions as far as drying times. I brushed on three coats, allowing each to dry in between. Now the table is all done!

Step 8 – repeat steps to strip chair seats
Repeat steps 1-3 on the chair seats to clean, strip, and sand the wood chair seats

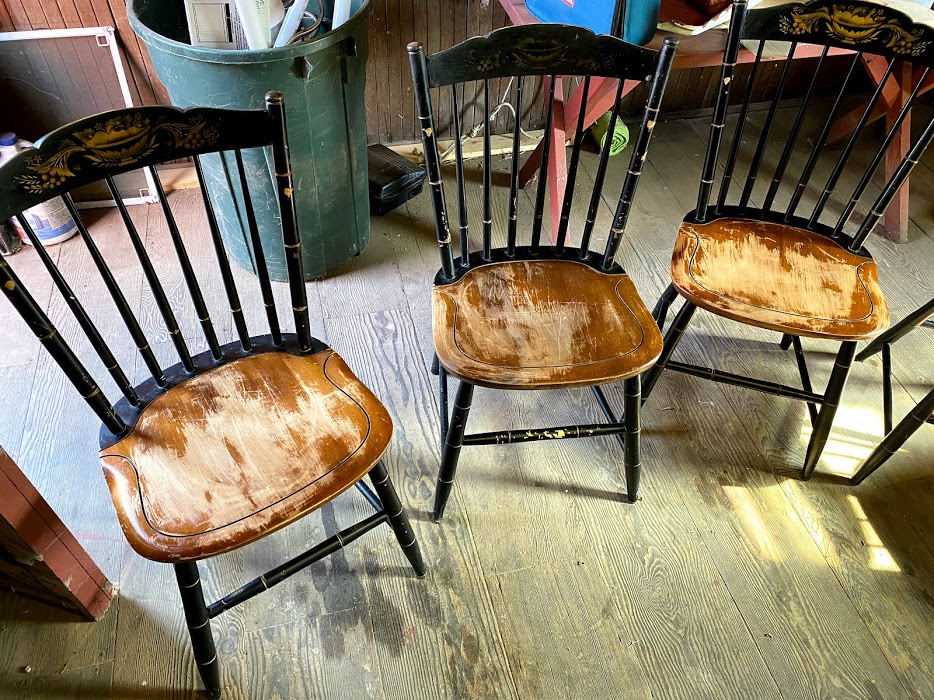
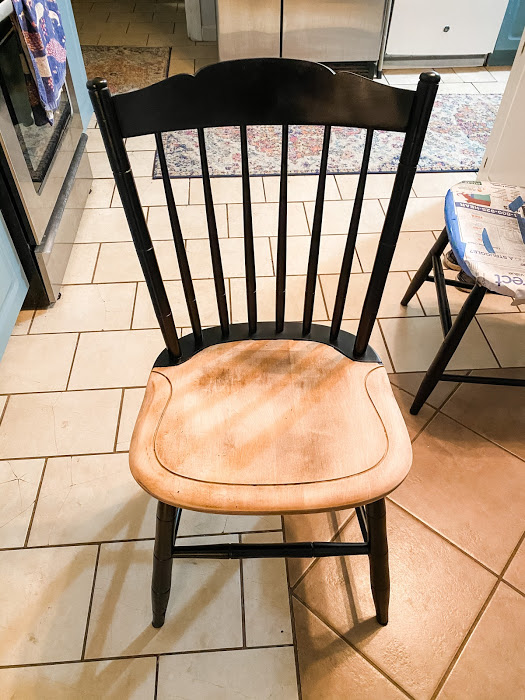
Step 9 – spray paint chair backs & legs
Use painter’s tape & newspaper to completely cover the chair seat. I used matte black spray paint to paint the chair backs & legs. The spray paint was fast and allowed an even coat in areas that would have been hard to get with a brush. I did scuff them up with sandpaper first, but most of the varnish was long gone on these chairs so I didn’t bother stripping them. If your chairs are newly finished, you might want to strip the chairs before painting. I ended up doing two coats of black paint.
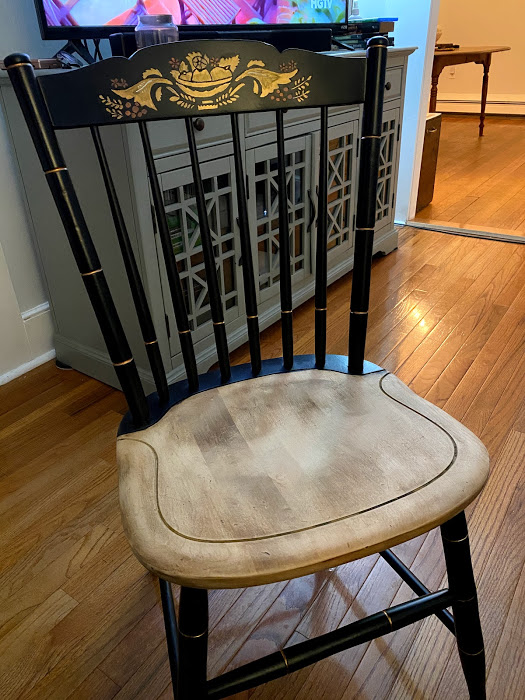
Step 10 – stencil chair backs
Use the stencil adhesive to stick the stencil to the chair. Again the metallic paints were a little transparent so I had to play around with layers and mixing it with solid acrylics. I also found it helpful to have some matte black paint on hand to clean up the design afterwards. Then I used a very thin brush and copper metallic paint to add the gold banding on the back & legs.
Step 11 – condition & stain the chair seat
Use wood conditioner & stain to finish up the chair seat the same as the table
Step 12 – spray poly on the entire chair
I used a satin polyurethane that came in a spray can to cover the entire chair. I did three coats on each of the chairs, allowing them to dry in between.
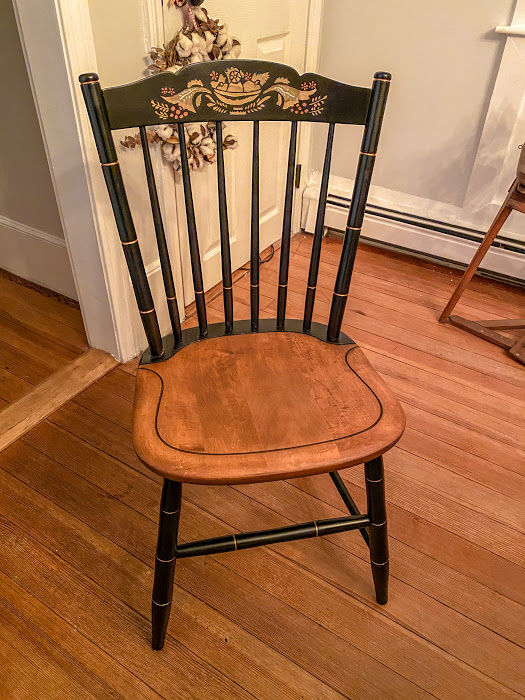
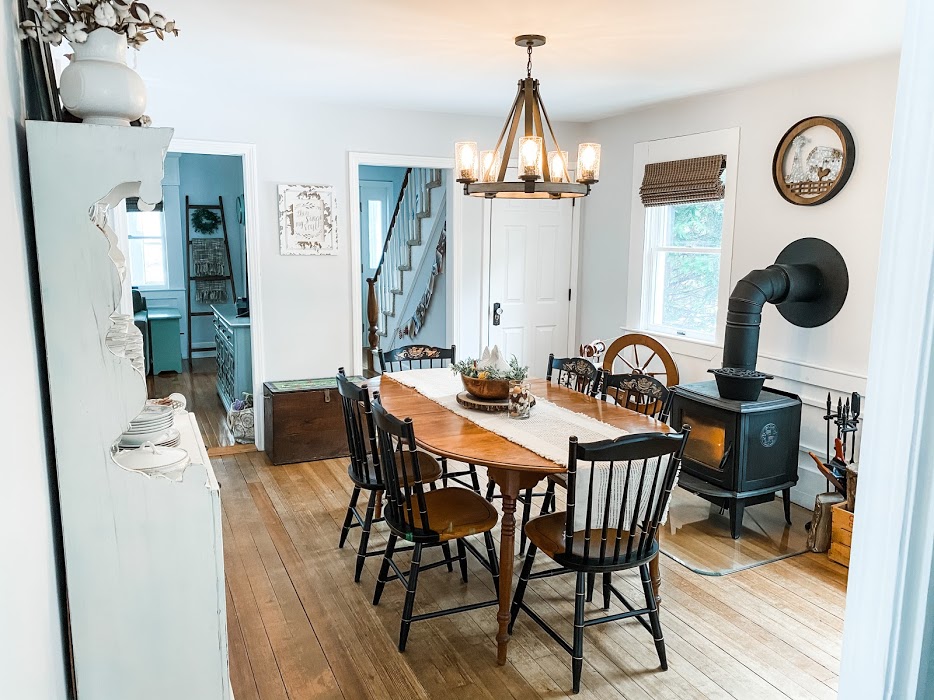
Done!
Finally! This was definitely a big project, but it was so worth it. I was super nervous that I would ruin this table I love so much. I had lots of second thoughts before I brushed on that stripper gel! Before doing this, I had never stripped & stained furniture and I am sure a professional would have done a better job. But I love doing projects myself. There is something about putting the work in with my own hands that is just so satisfying. Especially on a family heirloom type piece. Hopefully in another 50 years this table will still be around in one of my kid’s homes, full of even more family memories.

Wow you did such a great job!!! That’s wonderful that artists can create a new stencil for an old design. Love what you’re doing with your home!!!
Thank you so much Nancy!
Hi Nancy,
I have a very old Hitchcock chair that is totally black. I would like to add the stencil to the back but do not know where to find the stencils. Can you direct me to someone who sells them?
Many thanks for all suggestions,
Miriam Sacks
520 235-5610
(While this is an Arizona zip code, we moved back to Maryland
Unfortunately I looked ALL over the place for a supplier for the stencils and as far as I know there is not somewhere that sells them. So I used tracing paper to draw the stencil out on my own, then I sent that drawing to a stencil maker on Etsy to make the stencils. Still River Antiques in Connecticut is an official restorer for Hitchcock, they have access to the original stencils (which are copyrighted) and painting techiques. So if you are looking for a professional to bring your chair back to life and are up for a little roadtrip, that could be another option https://stillriverantiques.com/services/
I just stumbled across your webpage. I have a Hitchcock drop leaf table with the fruit stencil that I bought in the early 80s. The chairs were from the late 70s and they also had the fruit stenciling. Years of humidity and sweat here in the Midwest, where I wound up relocating, have ruined the stenciling, it’s all muddled. The company in Connecticut who still does the refinishing of Hitchcock pieces told me I would need to bring the pieces to them. That’s not happening, but I would love to bring these chairs back to life. You did a wonderful job. This summer I will be picking up one chair as well as a buffet when I visit New England. I just wish that I could buy stencils for the five chairs that I have and have them refinished here where I live. Any suggestions would be appreciated.
Hi Cyndi, I looked around extensively for somewhere I could buy the stencils and could find no where that sells them. That left me with the only option I had left which was to draw my own and have someone on Etsy cut the stencil for me. I used tracing paper to trace them the best I could from the faded old table & chairs. Then I did some online research to see examples of my table & chairs to help me fill in the parts that were missing. I was super scared I would mess up my dining set, but I am happy with how it came out. I would definitely encourage you to give it a go!
Years ago the instructor of the stenciling class shared a technique of using bronzing powders to create this type of decorative design. Hope this helps.
Oh that is a great tip, I’ll have to look into that. thank you!