-------------------------------------
One of my favorite rooms in the house is my craft room! I love crafting and creating all kinds of things and have gone through many “crafting phases” in my life. For the past several years I have been making soaps & body products, it started as a hobby that has now grown into a very nice little business! Not only do I get to be artistic and create beautiful & useful products but I get to share them with others! click here if you want to check out my online store 🙂
Whether you create things on a hobby or professional level, no matter what kind of crafting you are into, storage & organization are one of the most important parts of a craft room. This way you get to spend more time being creative and less time looking for your scissors or glue gun. I am the type of person that likes to have storage behind closed doors and drawers, but if you like to have everything where you can see it all at once go for it! The storage in your craft room needs to make sense for you and how you work!
Lucky for me, my craft room was a total blank slate when I moved in. Looking back at old building permits, it looks like this room was added to the house a few decades ago as a “mudroom”. This would be one amazing mudroom! But at the time the farm was 30 acres with 13 horse stalls. A big farm like that needed an amazing mudroom! In recent decades, with the farm much smaller, I believe this room was used as part of an in-law apartment. It has it’s own exterior door, and connects to a bedroom & bath. There was roughed in plumbing in one corner, although the fixtures were removed I believe it could have functioned as a small kitchenette & living area.
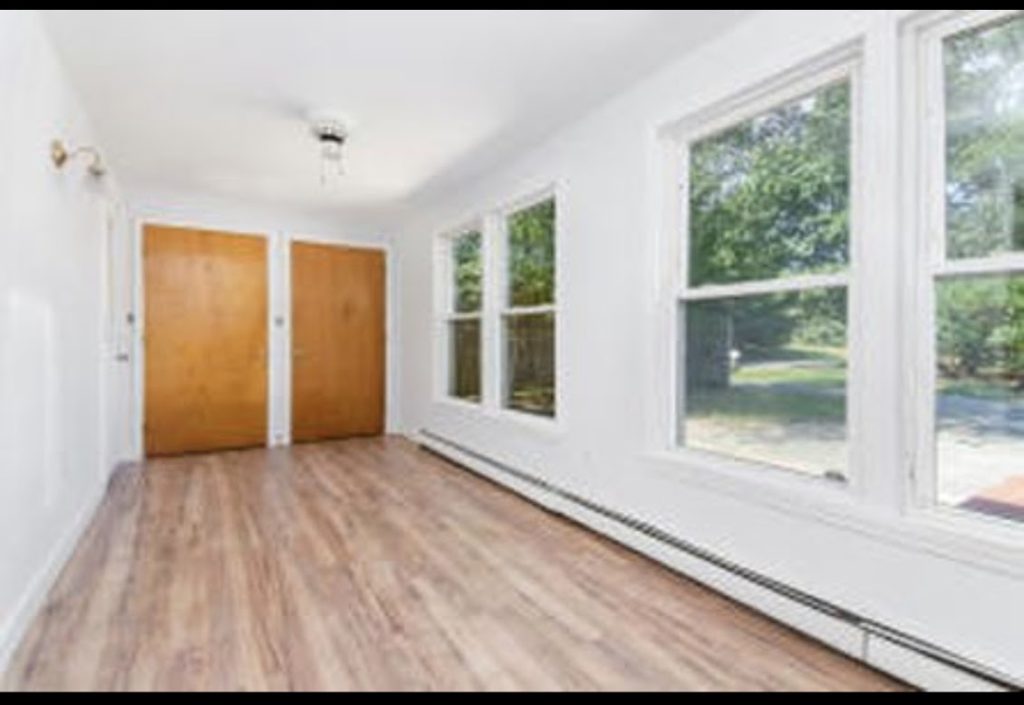
The empty room had a lot going for it – four huge windows letting in lots of natural light, a double closet for storage, two ceiling lights & a wall sconce, rough plumbing for a sink, vinyl flooring for easy clean up. It just needed some tweaking! There were three light fixtures and they were all different. One was just a bare bulb with the remnants of a ceiling fan with no blades, one was just a boring builder grade ceiling fixture, and the wall sconce was straight from the 1980s brass. The closet doors needed some updating, and I wanted to “hide” the door connecting to the bedroom.
At the other house I had a much smaller crafting set up – but I did have these two kitchen base cabinets and countertop which we moved with us. We just picked these cabinets up as is from Lowes. We started by moving the cabinets & countertop in along with a display hutch my mom was getting rid of. I took a couple months crafting in the space, making notes of changes I wanted to make either for ease of crafting or for aesthetics, then I got to work bringing that vision to life. It’s so tempting to rush into a renovation in a new house but, especially with a work space, I really like to see how the space functions first. That way you don’t make hasty changes that you end up unhappy with!
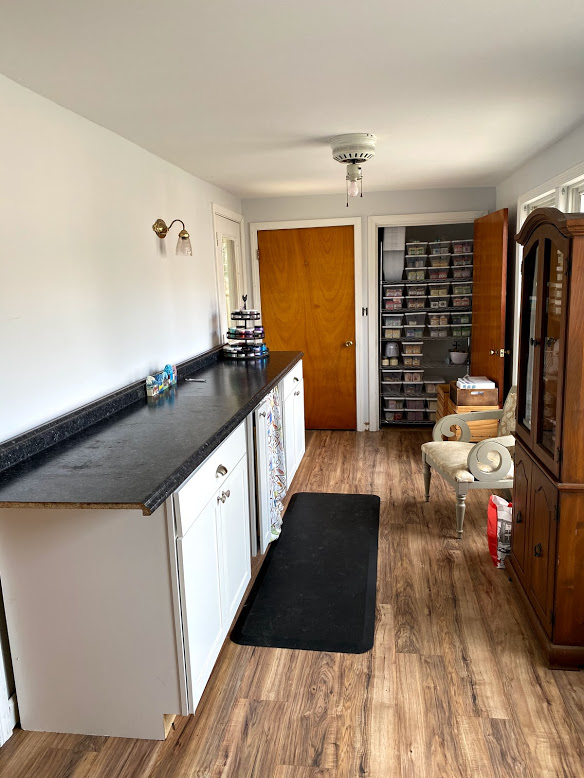
First up, the countertop needed to be changed out. The old laminate counter was actually in two pieces that I just pushed together – something that was necessary in the old space, but was not needed in the new space. Bits of glitter and ingredients kept falling through the seam in the counter and I could never make it totally even. It also didn’t really fit the new space. Luckily laminate countertops can be bought at Home Depot or Lowes for fairly cheap money. The 10 foot all-in-one molded countertop with backsplash was only $169, it brightened up the space with the color change and it’s so nice to have one solid surface for working on! Laminate counters are great for crafting spaces, it’s nearly impossible to stain, easy to clean up, easy to install yourself, and are very affordable.
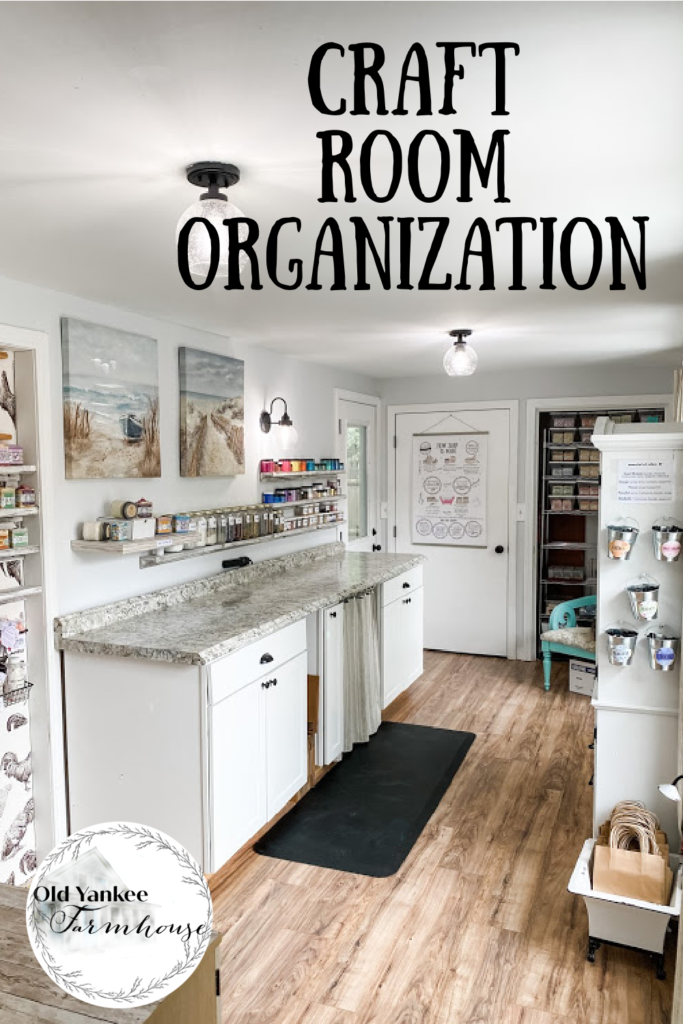
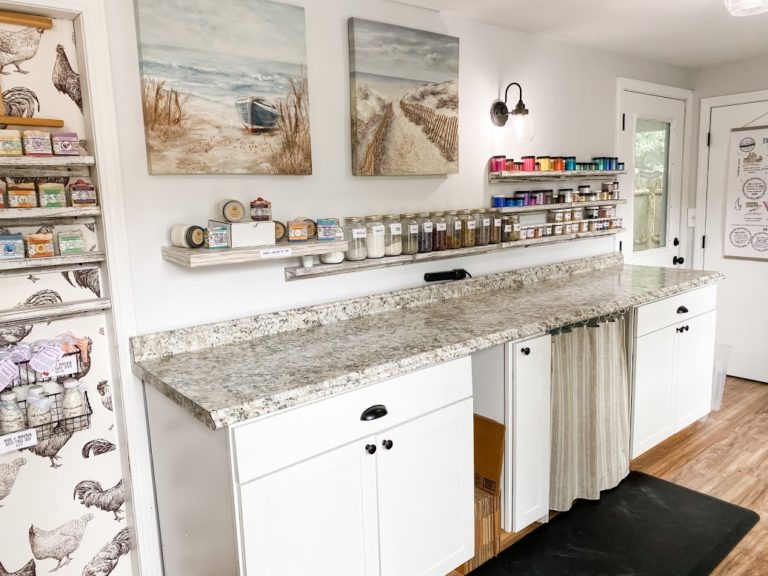
The cabinets themselves didn’t need much, I took off the hardware and spray painted them black (they were brushed nickel). The cabinets provide great storage for crafting supplies that I want to keep handy but don’t want to look at. The gaps in between the cabinets are used for storing shipping boxes & packing materials for shipping orders. I love the long, cushy anti fatigue floor mat in front of the work space. It really helps when I’m in here for hours!
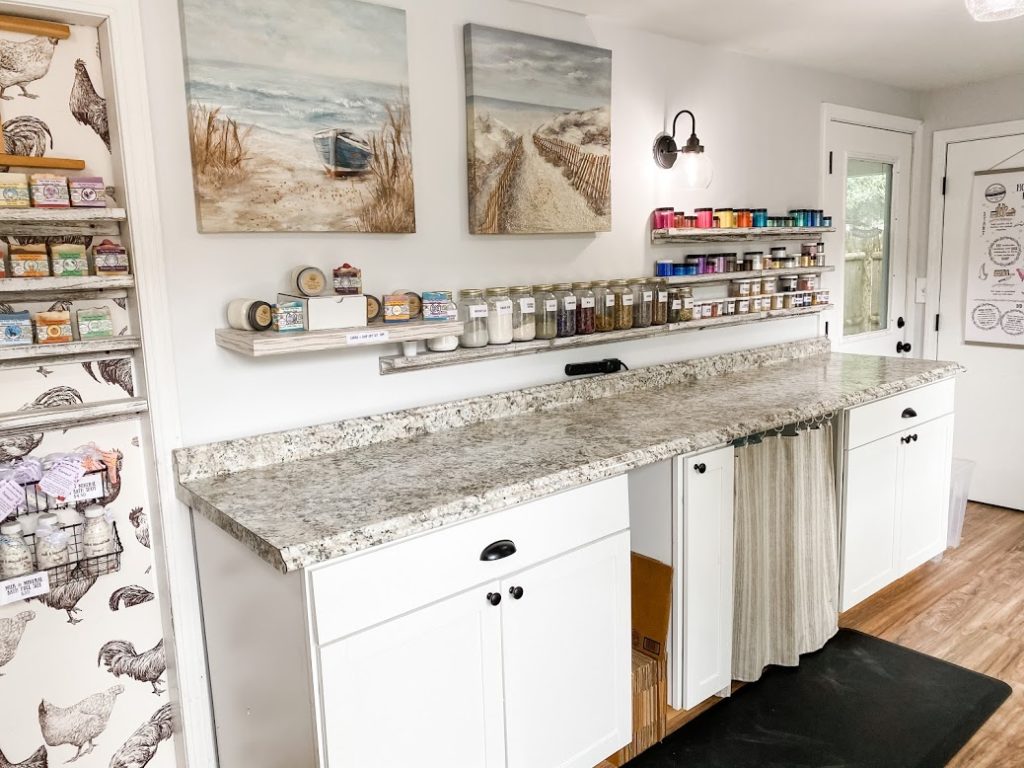
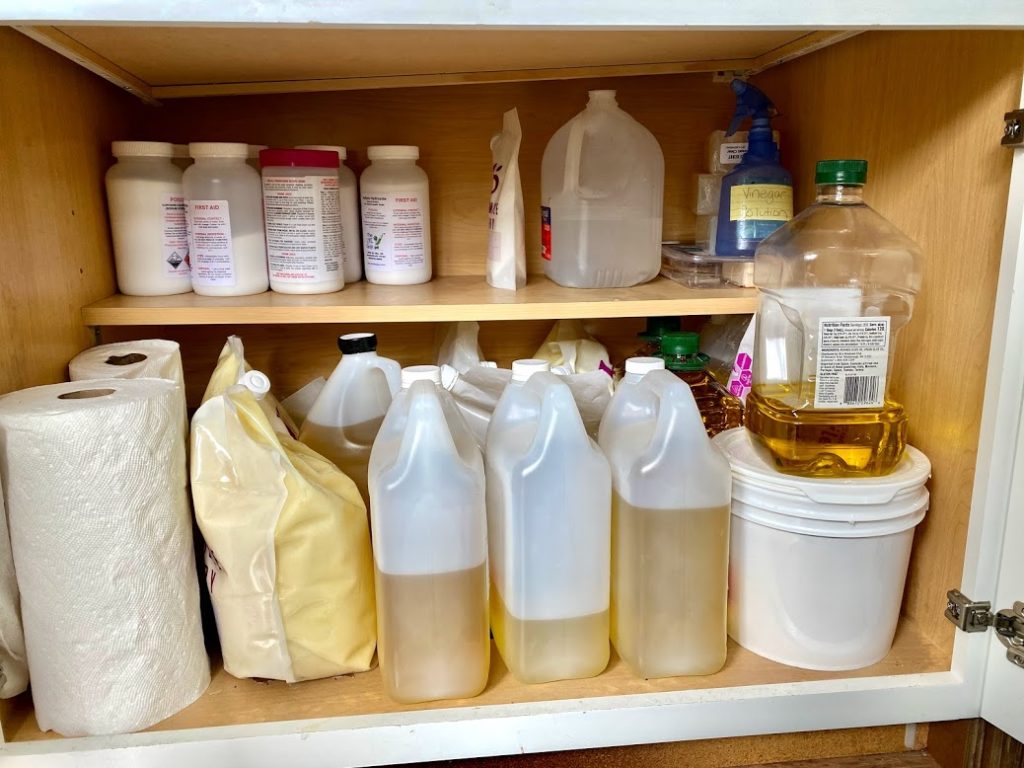
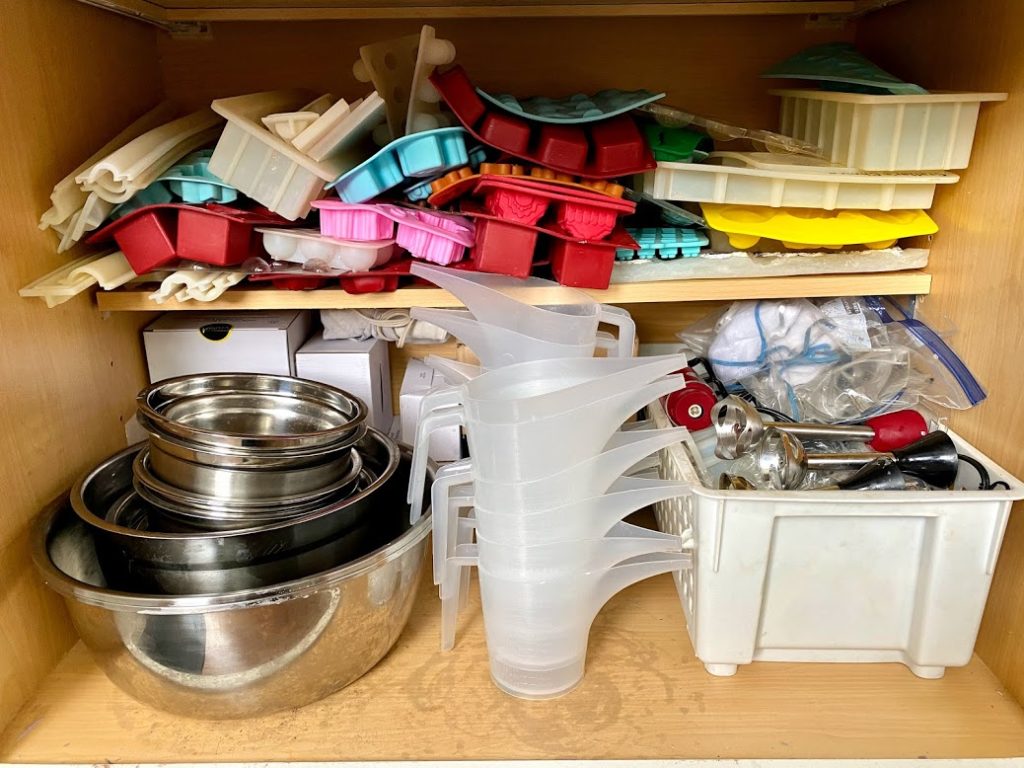
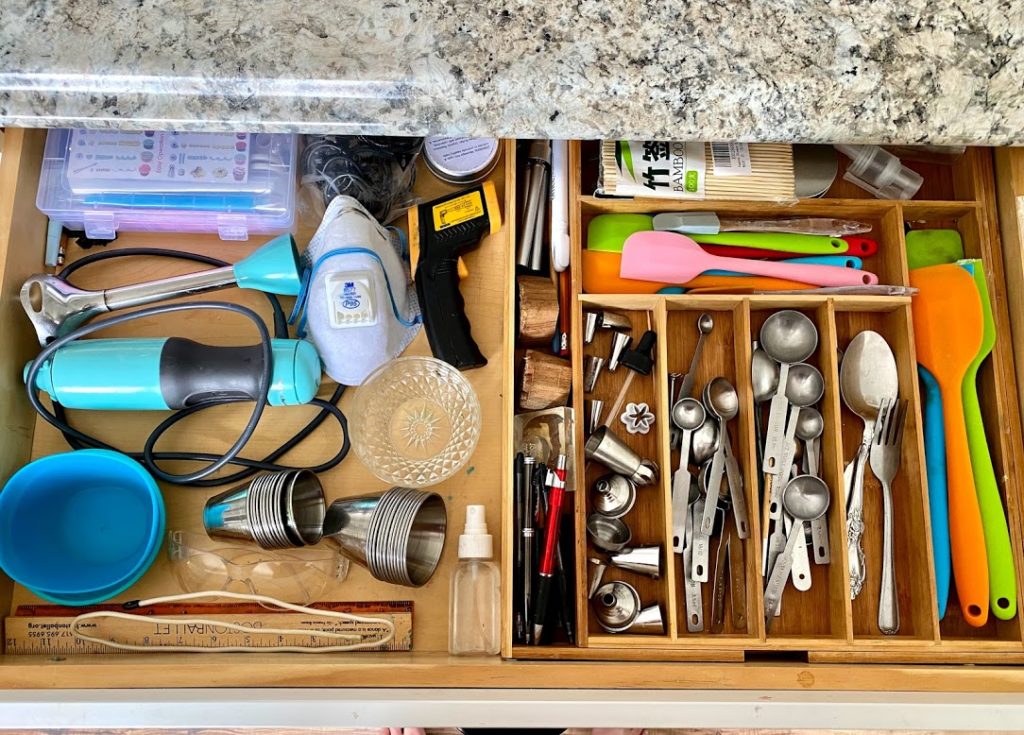
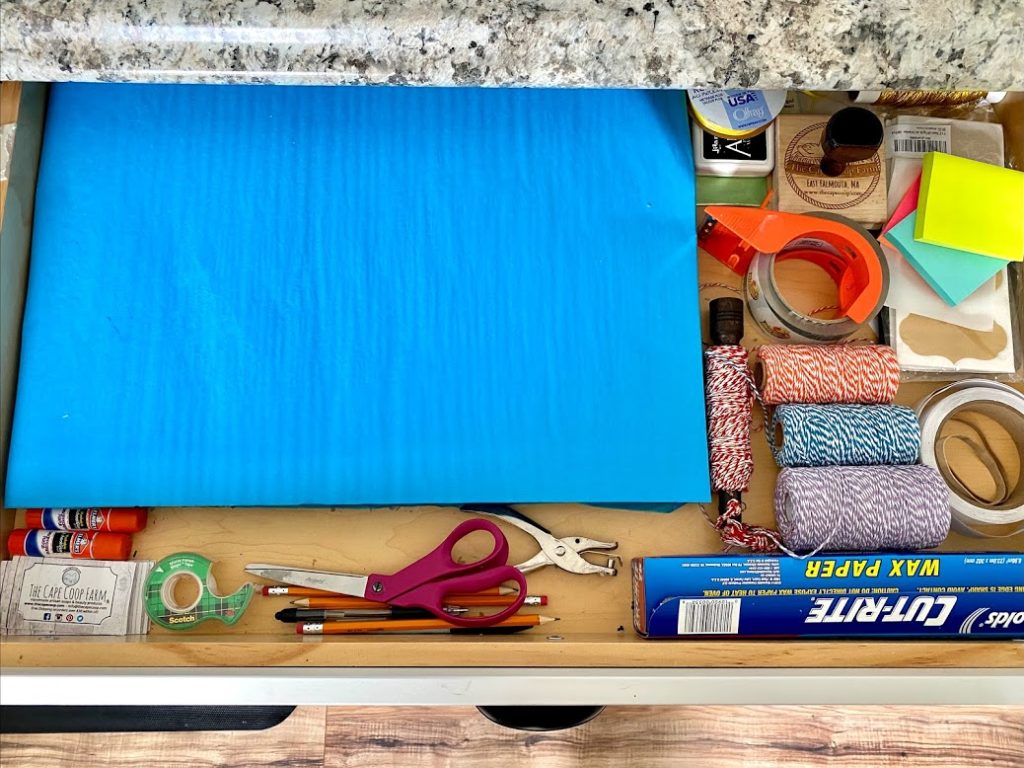
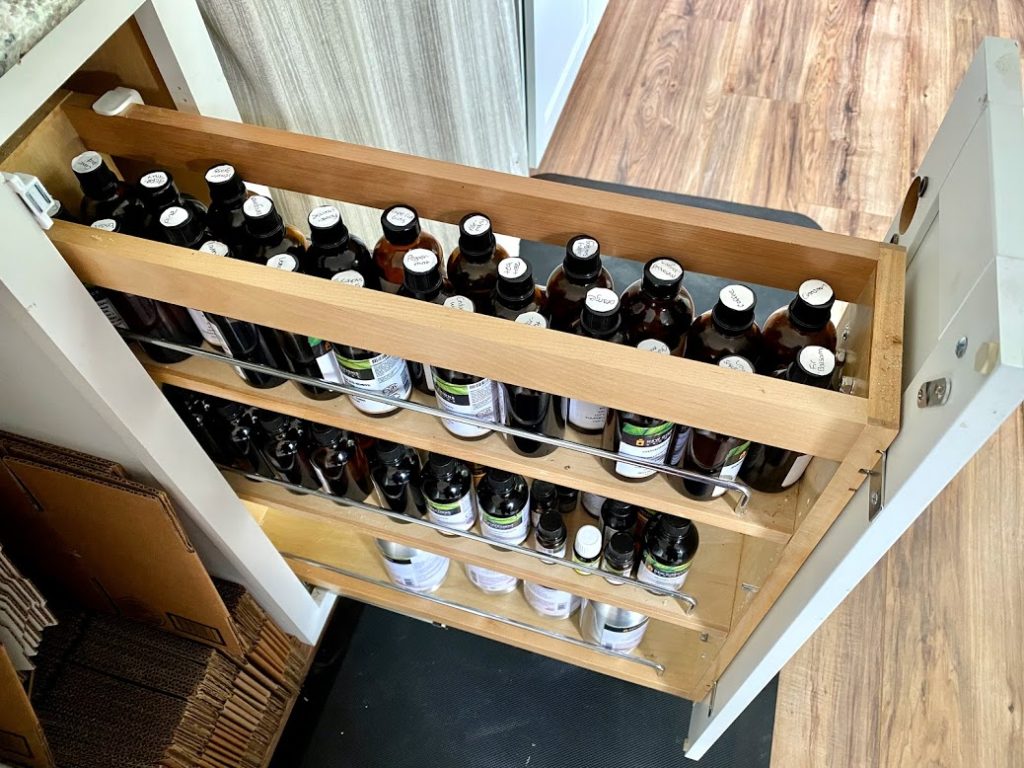
I use the base cabinets to store my big bulky items – oils that I need for making soap, mixing bowls, containers, and not often used specialty molds. In one drawer I store all the tiny utensils and tools I need. The second drawer holds items I need for packing & wrapping – tissue paper, twine, scissors, etc. One of my favorite additions was the pull out spice rack unit in the middle. I use this to organize all my essential oils.
The mismatched light fixtures got a makeover. We updated the two ceiling fixtures to matching farmhouse style globe lights with a coordinating wall sconce.
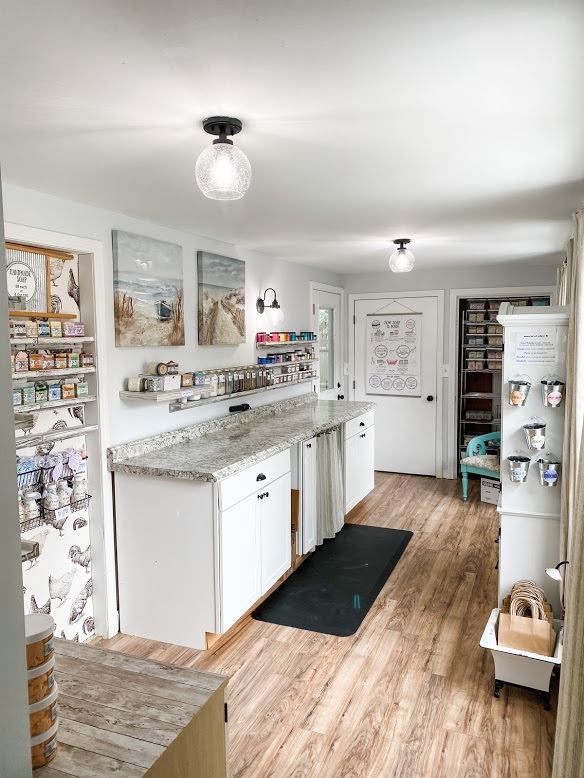
The walls were recently painted a nice soft grey, but the trim looked as though it hadn’t been painted in quite some time. I gave it all a new fresh coat of Ultra Pure White by Behr. While painting the trim, I decided to also paint the wood closet door & exterior door. They were in fine shape, but looked so much fresher in white! To coordinate with the newly spray painted cabinet hardware & light fixtures, I swapped out the doorknobs for matte black ones. I used a black metal paint to paint the hinges to match. This easy DIY fix really can update the whole feel of a room! I decided that I really only needed one closet door for storage, so I took one of the doors off the hinges and stored it in the basement. I can now use the open half of the closet for display racks for my soap.
Since the door was flat panel it was just a big blank area. I designed this graphic poster with the steps needed for making soap. Then I uploaded the graphic to VistaPrint and they made it into a nice big poster – custom artwork and it was only about $30! I teach soap making classes in the space, and it’s also a helpful graphic just for people that come to the space to shop. It’s always interesting to see how things are made!
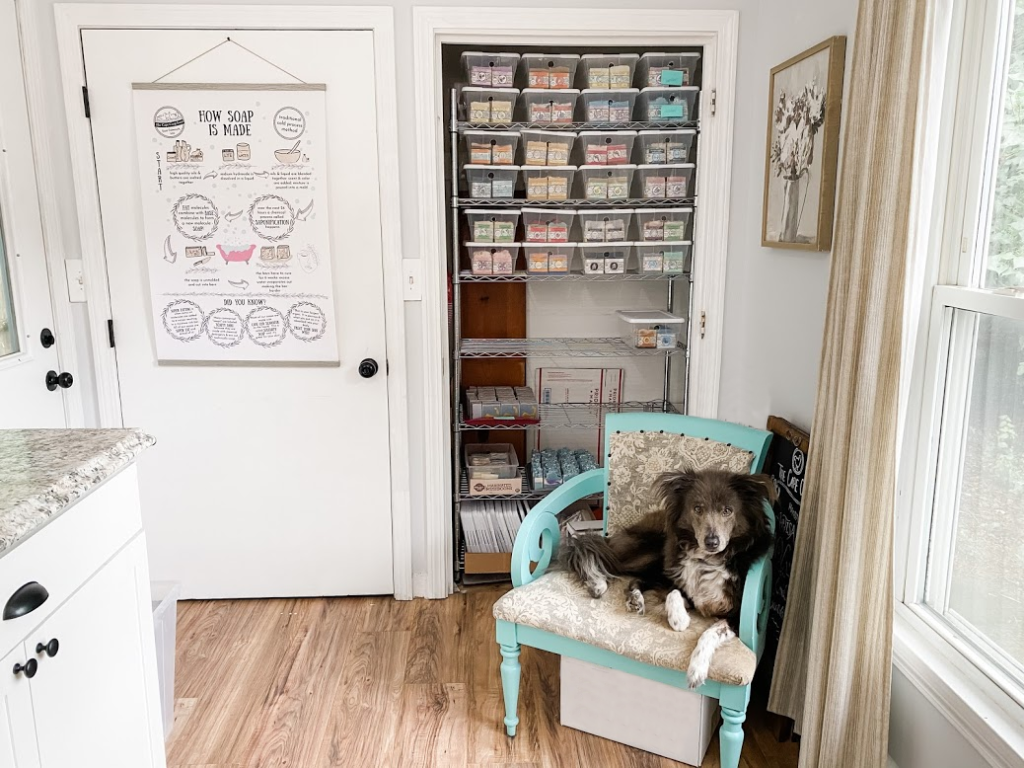
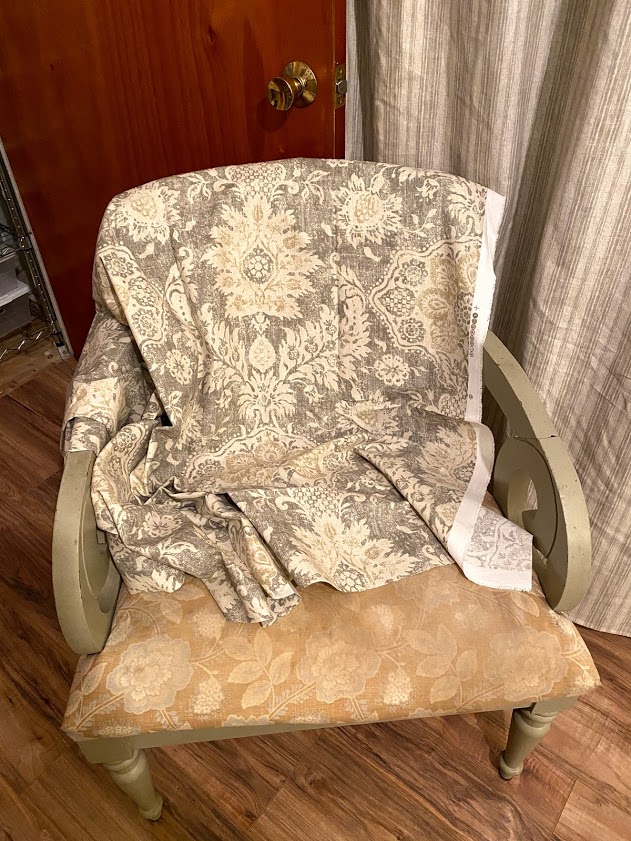
I have lost count of how many times I have redone this side chair. I got it for free almost 25 years ago and it’s worn many different looks since then! I think it started life with a dark wood frame and red velvet fabric. The room was so white/black/grey it needed a pop of color so I painted it a fun bright blue and updated the fabric because the old fabric was looking pretty worn. It’s a nice place to sit while I plan out my next project – and my dog likes to keep me company while I work.
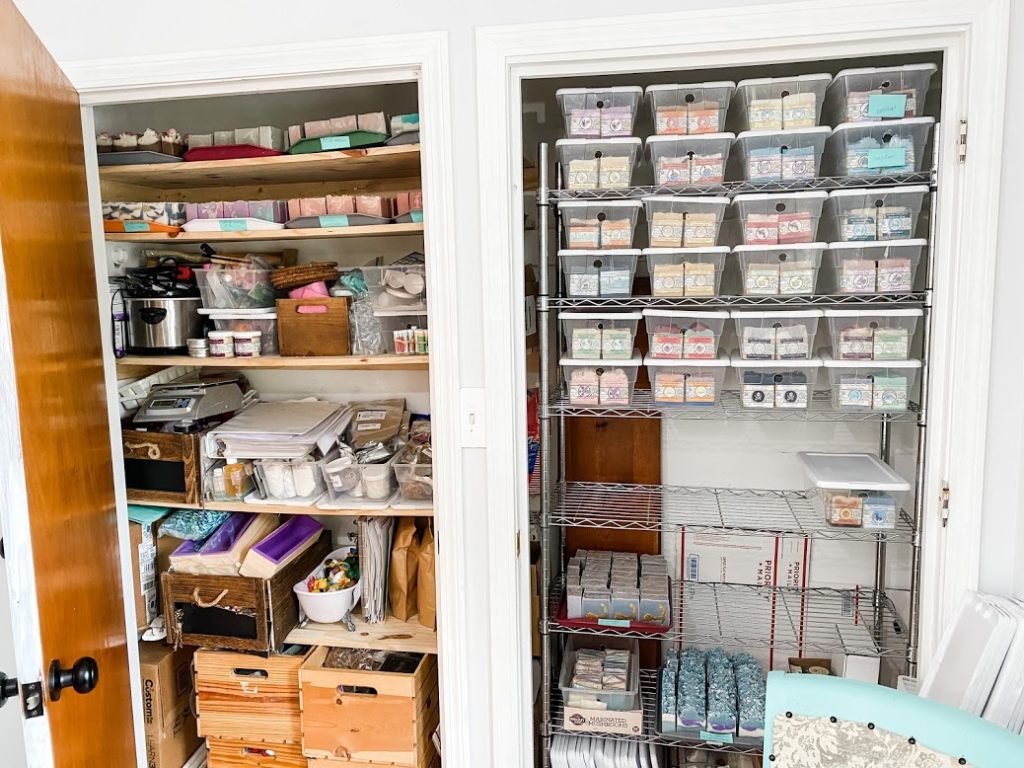
Inside the closed part of the closet I added tons of shelving to help me organize supplies as well as narrow shelves for curing soap on. I’d like to pretend this closet stays nice and organized and looks picture perfect, but that is not the case. It can definitely get a little messy in here so I’m grateful I can close the door!
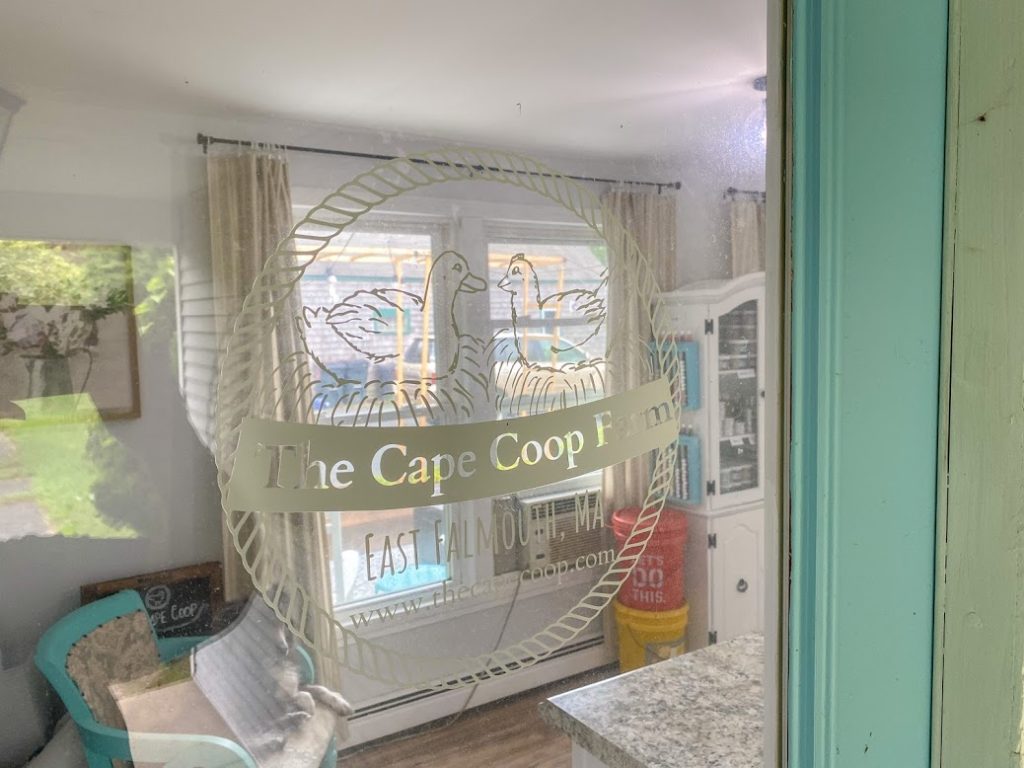
Because I have an exterior entrance to the craft room, I took the opportunity to customize it. Even if you just craft for fun, this can be a great way to add some personality to your craft space on a window or door. The best part is it looks like etched glass but it’s not permeant. I ordered this vinyl decal with my soap shop logo from Etsy, it’s basically just a heavy duty outdoor sticker with no background. You could order one that says “Mom Cave” or “Crafters Only” – whatever you want!
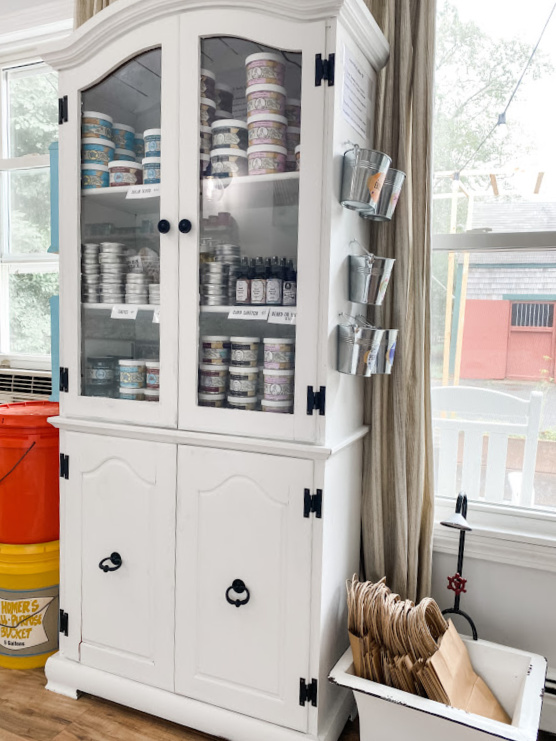
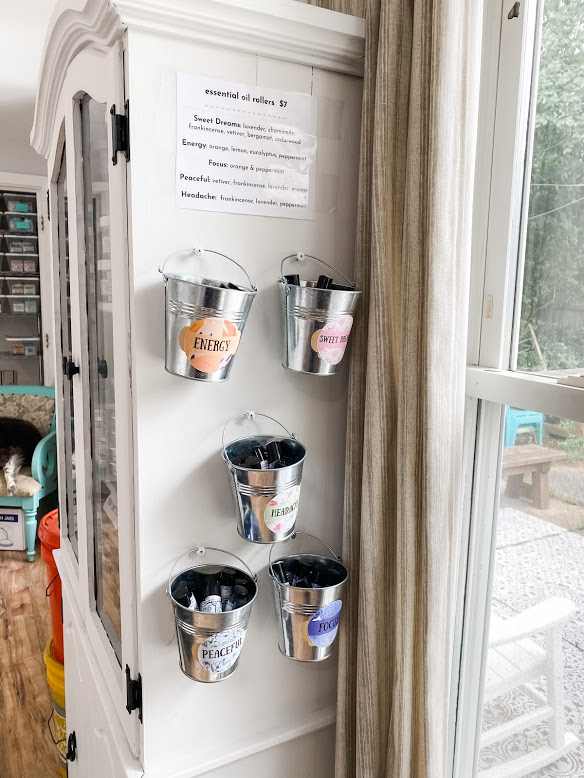
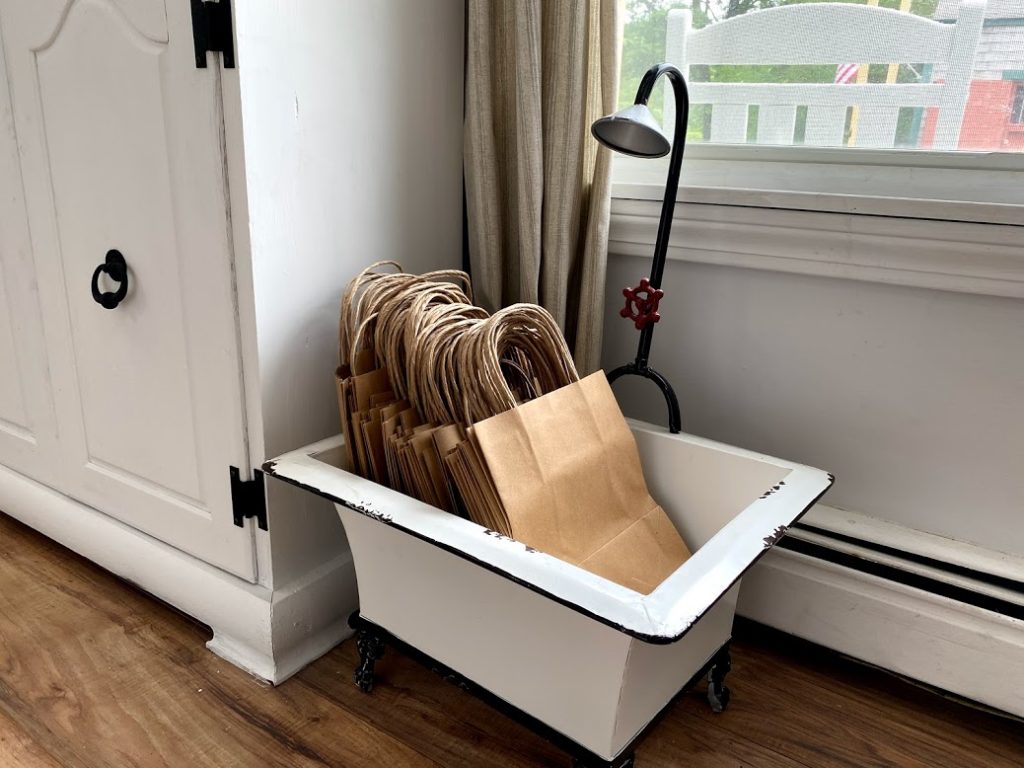
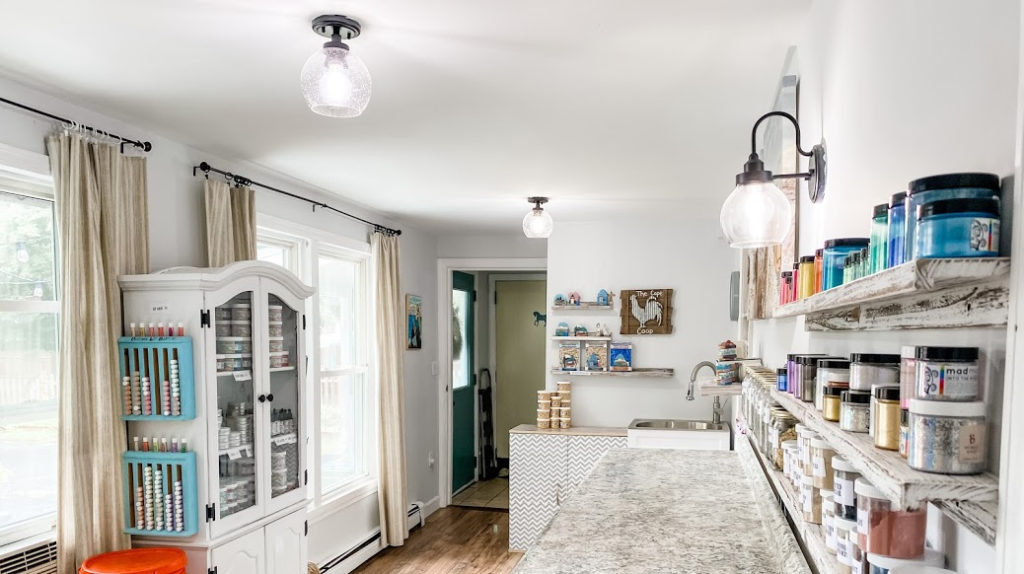
To keep the clean white color scheme going, I painted the display cabinet I got from my mom. I used the same Ultra Pure White color as the trim, and also spray painted all the knobs & hinges black. I don’t often have people come into the room for shopping, but when I do this hutch functions as my store display. Mostly it’s a great place for me to organize my inventory. It’s so helpful to be able to see what I have, what needs restocking, and makes filling online orders easy! I found this cute little enamel planter at HomeGoods and thought it would make a great place to stash shopping bags.
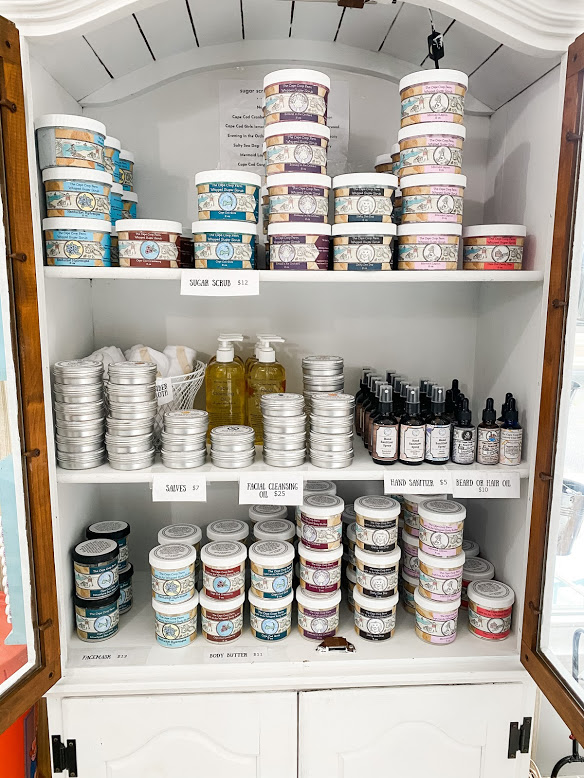
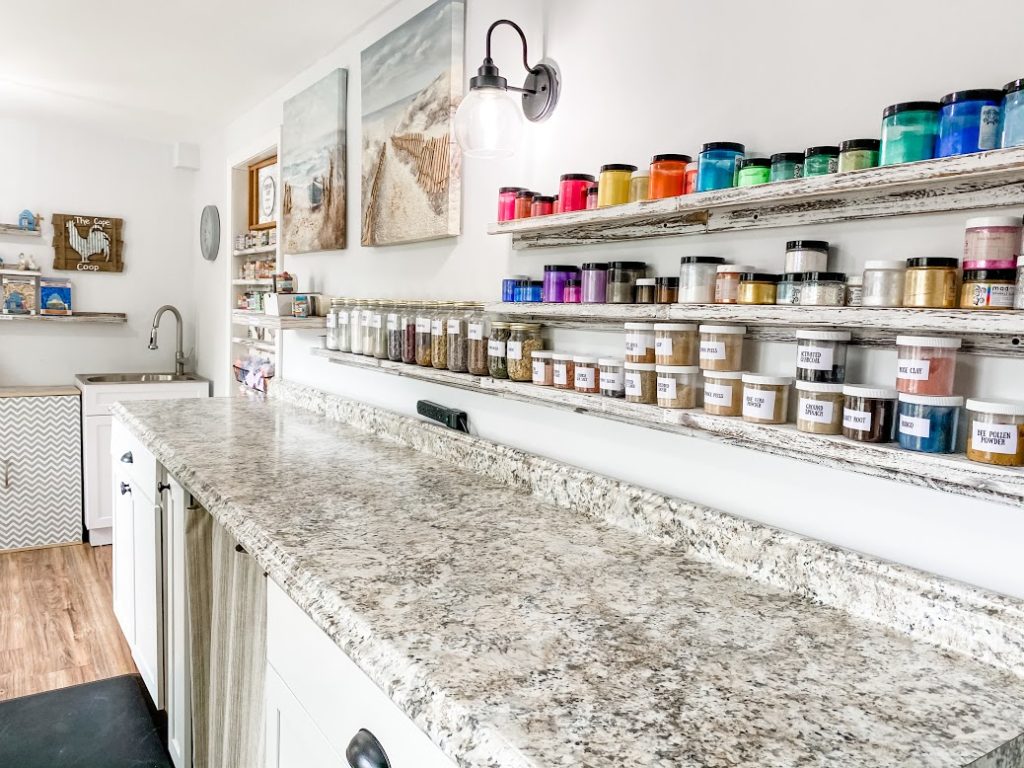
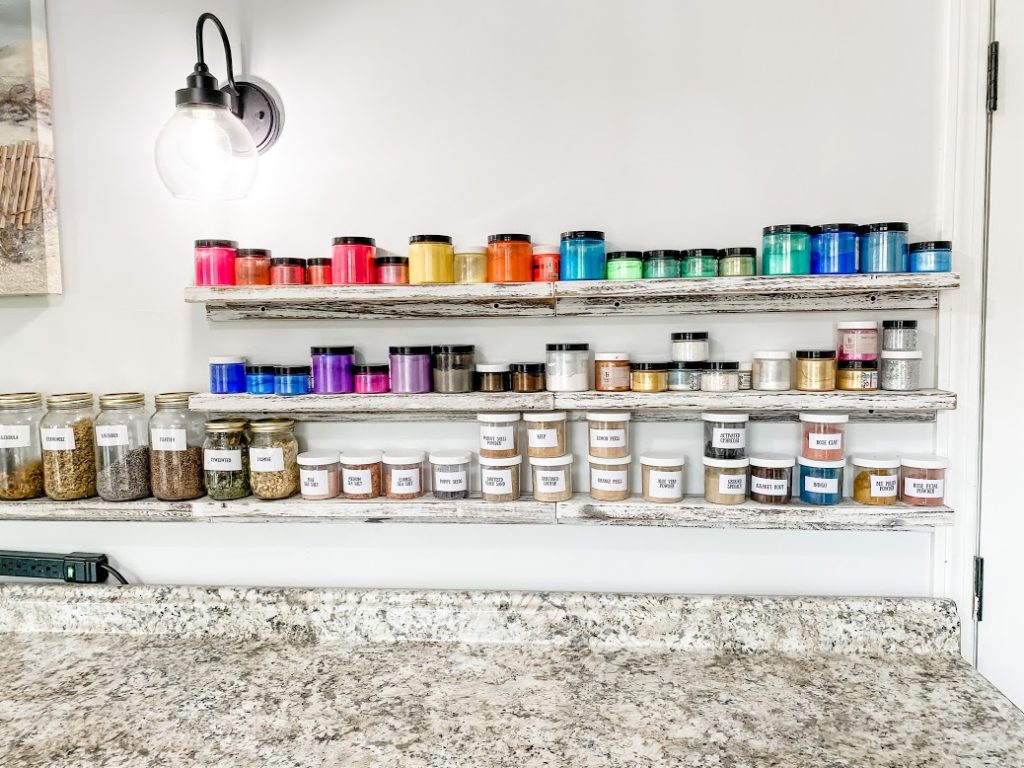
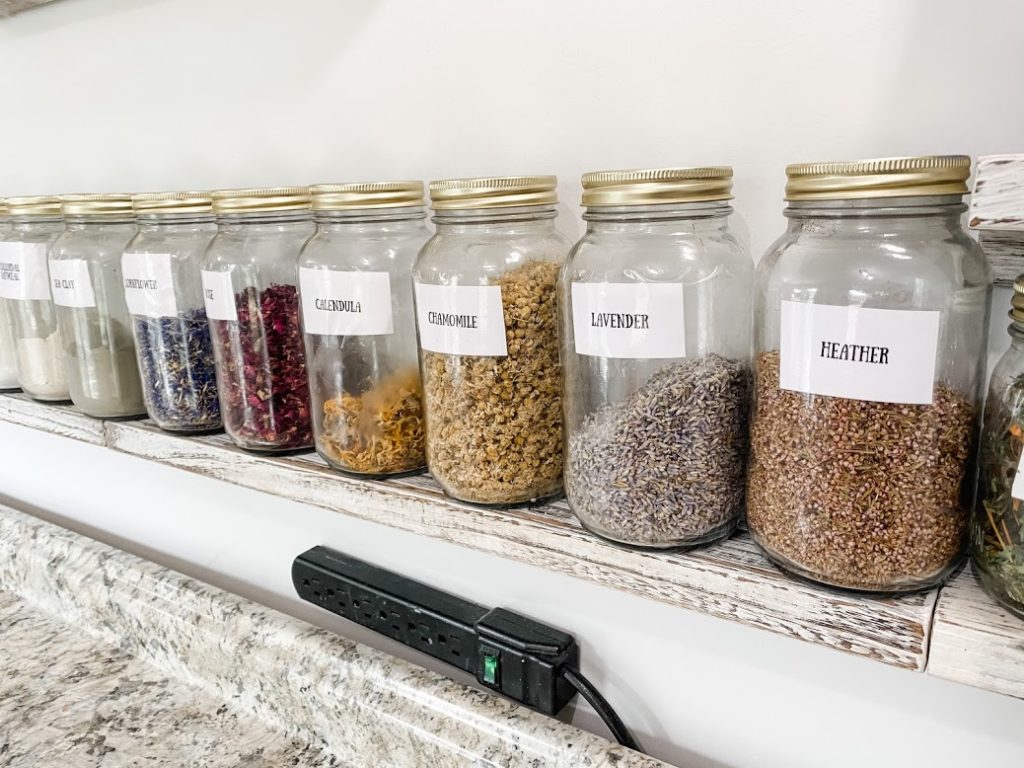
Over the work countertop I got narrow shelfing to put my most used ingredients for crafting – in my case clays, exfoliants, colorants, glitters, and dried botanics. But you could definitely use this idea for storing whatever your crafting needs are – buttons, ribbons, markers, etc. Keeping your storage containers consistent and using labels can elevate a useful storage display to a decor feature. Show off those pretty supplies! The narrow shelves are just enough to hold the jars without hanging over the work station and getting in the way.
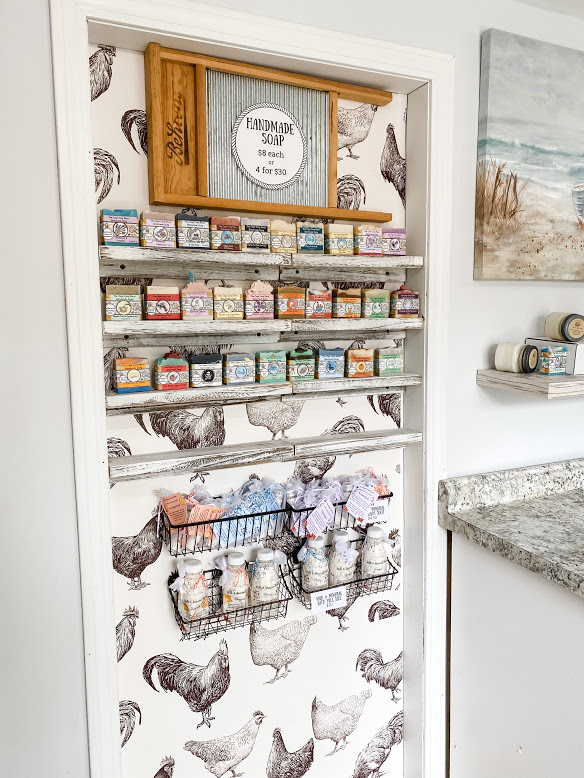
I wanted to make the doorway to the bedroom disappear. I might love crafting, but I don’t need to access the room from the bedroom! I removed the doorknob and found this adorable peel & stick chicken wallpaper on Wayfair. The recessed door left me just enough room to add narrow shelves for displaying more products! Now it just looks like a recessed shelving unit, but if in the future I ever want to make this an in-law set up, I just have to add the doorknob back.
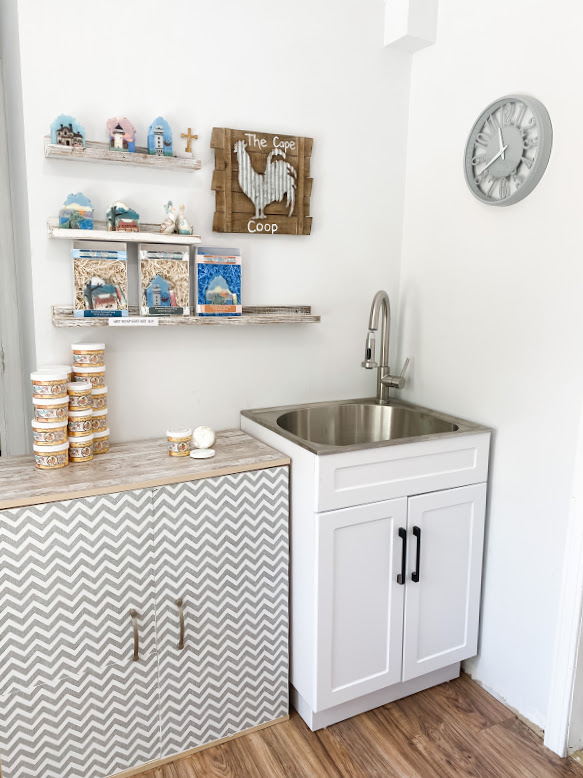
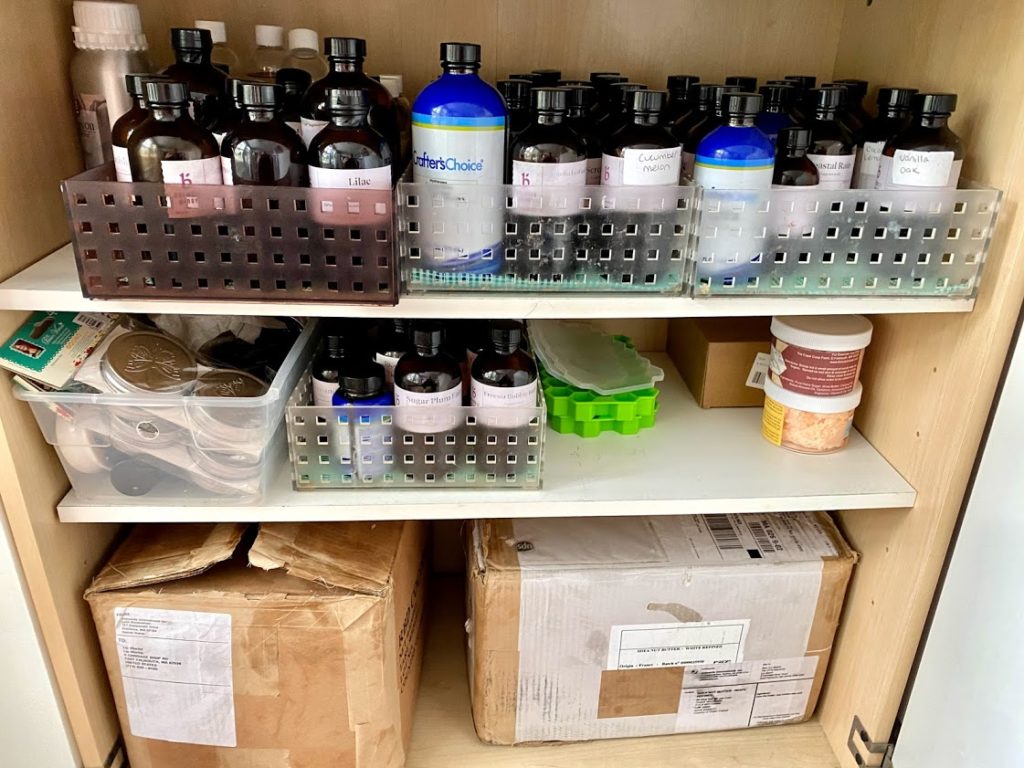
The area where I think a mini kitchenette once stood only had a drainpipe and water supply lines when we moved in. We added a deep utility laundry sink cabinet, perfect for cleaning up soap dishes when I’m done creating. Beside it is another storage cabinet – because crafters can never have enough storage! I keep my fragrance oils and more bulk soaping oils in here. This cabinet doubles as my product photography place. I covered the top with a wood look peel & stick vinyl, combined with the plain grey wall behind it, nearby window and ceiling light, I have a nice place to take photos of my products!
I hope you enjoyed this tour of my crafting space – and I hope it has inspired you for your craft area!
Shopping Guide
Narrow ledge wall shelves – Amazon
Anti Fatigue Floor Mat – Amazon
VT Dimensions Romano- Etchings Straight Laminate Countertop – Lowes
Bronson Simple Globe Semi Flush Mount Ceiling Light – Wayfair
Llewellyn 1-Light Armed Sconce – Wayfair
Custom Logo Window Decal – Etsy
Utility Sink & Cabinet – Lowes
Wood Look Peel & Stick Vinyl – Amazon
Dellbrook Peel & Stick Chicken Wallpaper – Wayfair

Wow what a great job, lovely and functional!!! Love the colors scheme. We have a very pale gray bathroom, so soothing, and a grayer bedroom, ditto. Great space to have customers come in too. Nice!!!
Thank you – it’s definitely my happy place!
I have the same picture of the seashore with the boat! I love the feel it gives to my bathroom with the soaking tub.
Great space for crafting BTW–I am anxious for my husband to move out of MY room where he has his temporary office…I miss my room!
I love that picture, so calming! I love my little escape room – I hope you get yours back soon 🙂
What a great space! Well done! I LOVE your solution for “hiding” the door!
thank you!