-------------------------------------
I was SO excited the day I got my KitchenAid mixer. It was something I wanted for such a long time but they are so expensive! We finally splurged and got one. I was in love with the happy shade of blue/green, it was the perfect pop of color against my white cabinets and yellow backsplash. Me and my KitchenAid had many years of delicious times together.
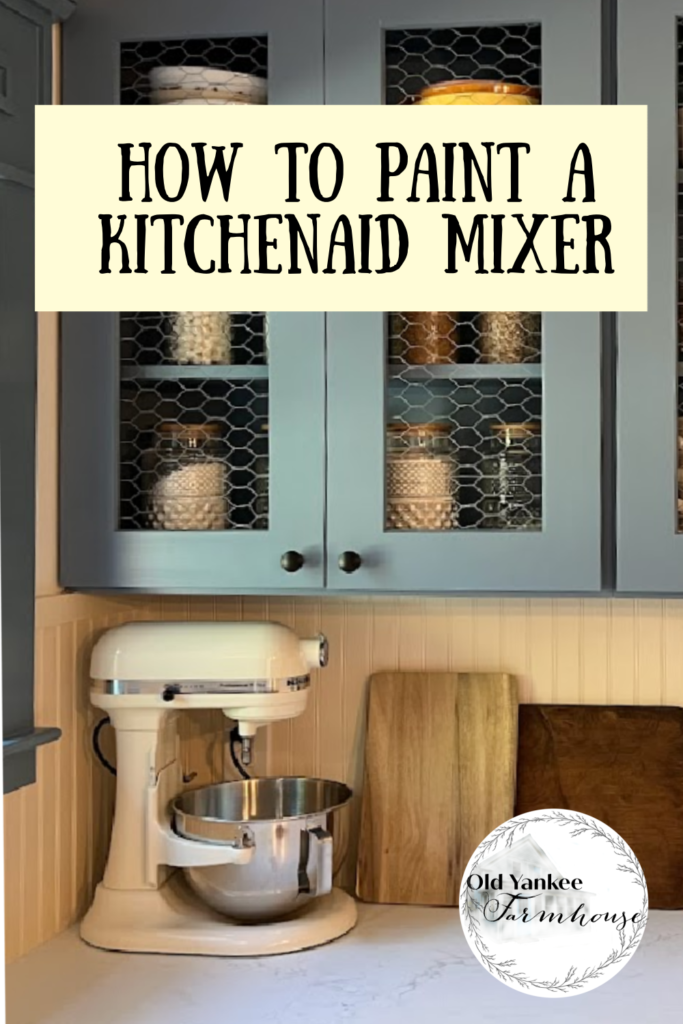
When we renovated our kitchen we put in dark blue/grey cabinetry with a cream colored backsplash. Suddenly my happy blue/green mixer looked out of place. While I still loved the bright color, it just didn’t fit the muted vibes of the new kitchen. We have open cabinetry above the mixer where you can see our ivory stoneware dishes and I wanted the KitchenAid to be a color to complement that.
It was still working like a champ, and they are too pricey to replace just because of the color. So I decided to do something really scary – paint my KitchenAid! A super easy project and it costs under $20, so if your mixer is ready for a new look here’s how to do it.
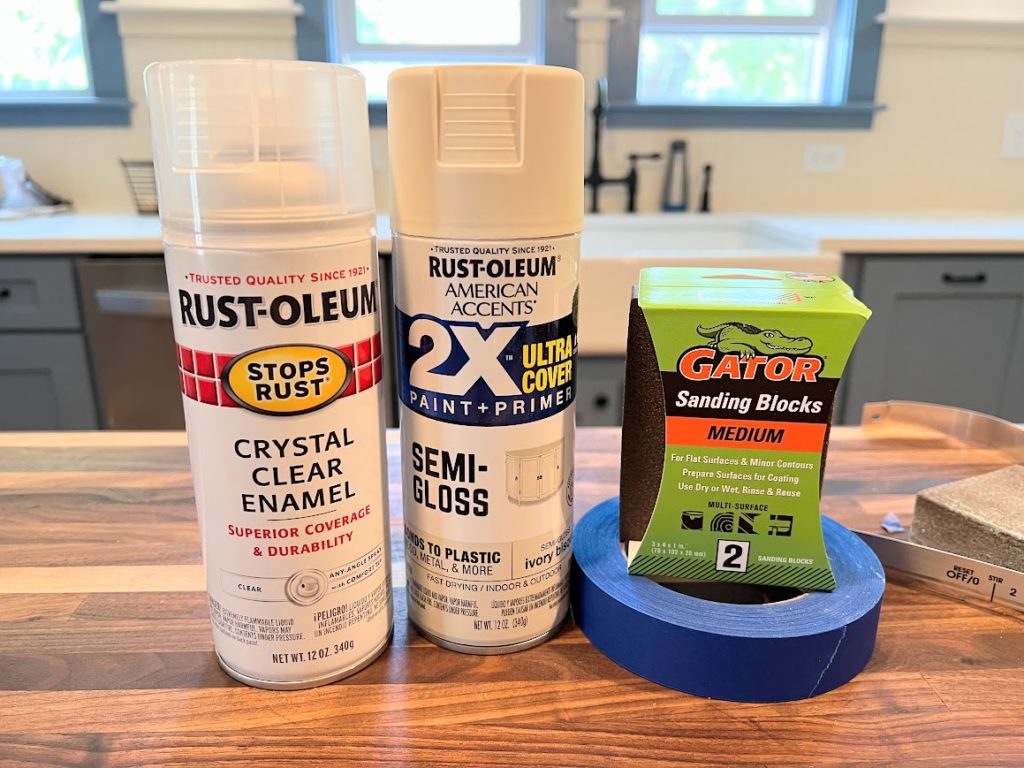
Supplies
- Degreasing cleaner
- Medium grit sanding block
- Painter’s tape
- Spray paint of your color choice appropriate for metal (I used Rust-Oleum Ivory Bisque)
- Clear enamel spray paint
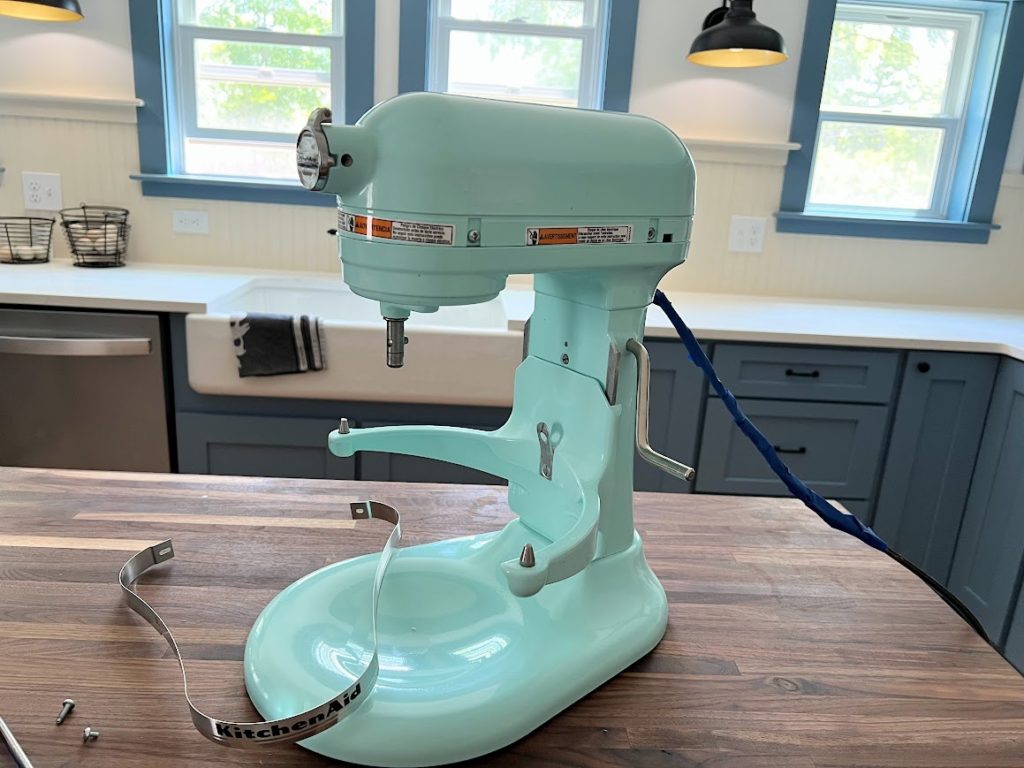
Remove or cover anything that shouldn’t be painted
First – take pictures of your mixer from all angles just in case you forget where things originally went. Disassembly might vary from model to model. You’ll want to remove the chrome band that goes around the head of the mixer. It’s held on with just a few small screws (put these somewhere safe!). Use painter’s tape to wrap the cord, the lever to raise the bowl, the bowl hooks, the chrome plate at the front where the pasta attachment goes, and the place where the beaters attach.
Use your nail to make sure the tape is held down firmly and isn’t overlapping any surface that needs painting. Basically, cover up or remove any part that you don’t want to get paint on.
I was worried about getting spray paint in the vent onto the motor. It might be overkill, but I also really carefully cut out painter’s tape to cover up the vent holes at the back of the head.
Deep cleaning
Use a good degreasing cleaner to thoroughly clean the mixer. Don’t forget the underside of the mixer head – a surprising amount of splattered food gets up here!
Sand
Use your sanding block to sand the entire painted surface. You’ll want to sand enough to get rid of the current enamel layer, down to the painted layer. It should look completely matte when done, but you don’t need to sand down to bare metal. Wipe down the mixer with a slightly damp paper towel to remove all the sanding debris.
Painting
Work in a well-ventilated area for this part. To avoid drip marks when spray painting you want to keep the can about a foot away from the mixer. Use sweeping motions to spray light layers without lingering in one spot. When spray painting, it’s always better to have several light layers of paint rather than one or two heavy coats. If you do notice a drip, quickly wipe it up.
If you covered up the motor vent holes, you can spray out a small puddle of paint onto a paper plate or cardboard box. Then use a small brush to touch up any areas around the vent holes that got missed. Let the paint completely dry overnight.
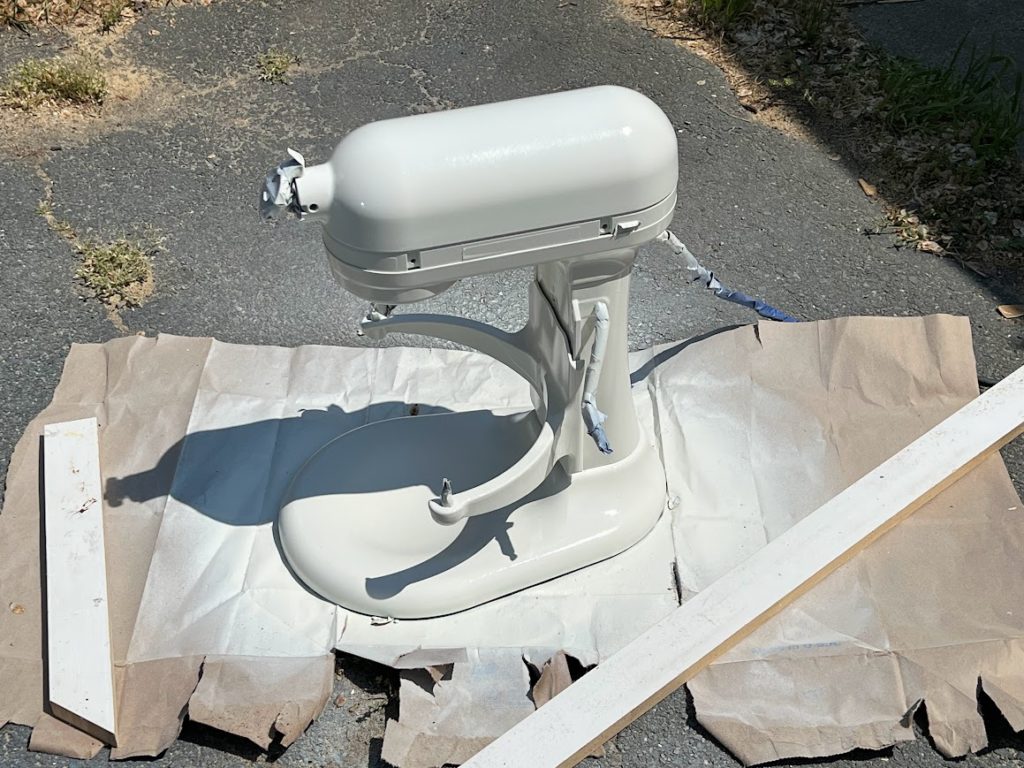
Enamel top coat
You’ll want to follow the instructions on your enamel paint, but for the most part, you’ll use the same process as applying the paint. Stand about a foot away, don’t linger in one spot, light misty coats. To get a really professional, smooth finish you can use fine grit sandpaper in between each coat.
Enamel paint will be dry to handle within an hour or so, but for it to completely cure it can take about 24 hours. It’s best to let the enamel sit overnight so you don’t end up with dings in the finish.
Reassemble
Now you just have to reassemble all the bits and remove the painter’s tape!
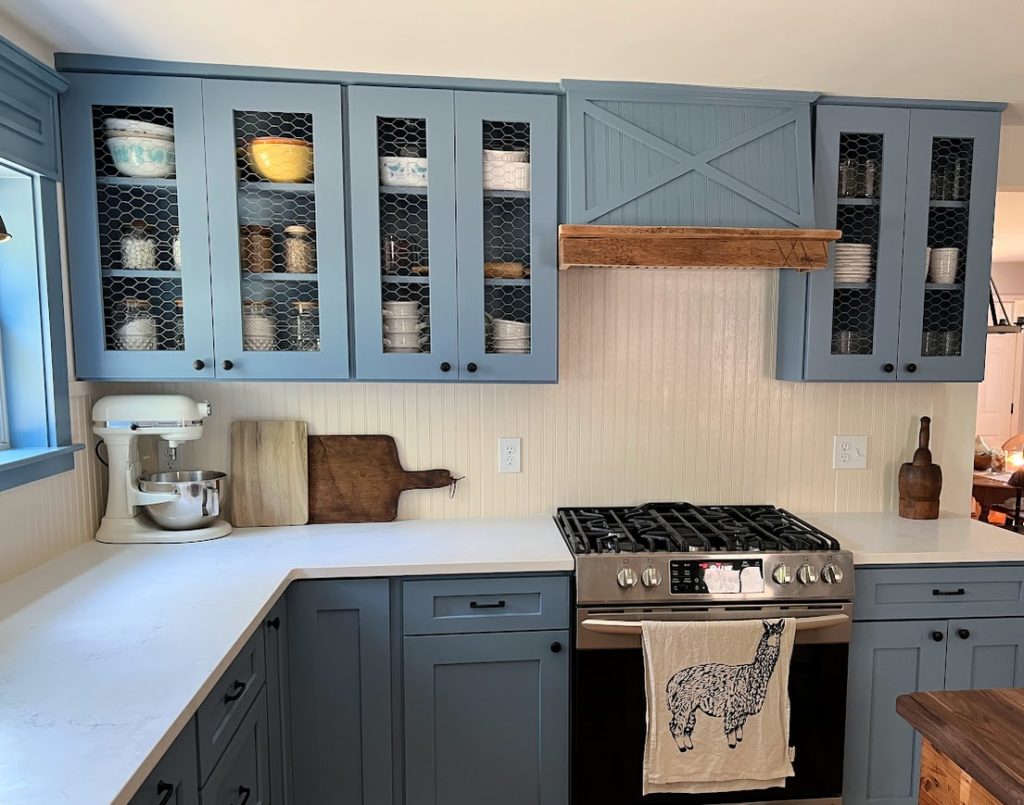

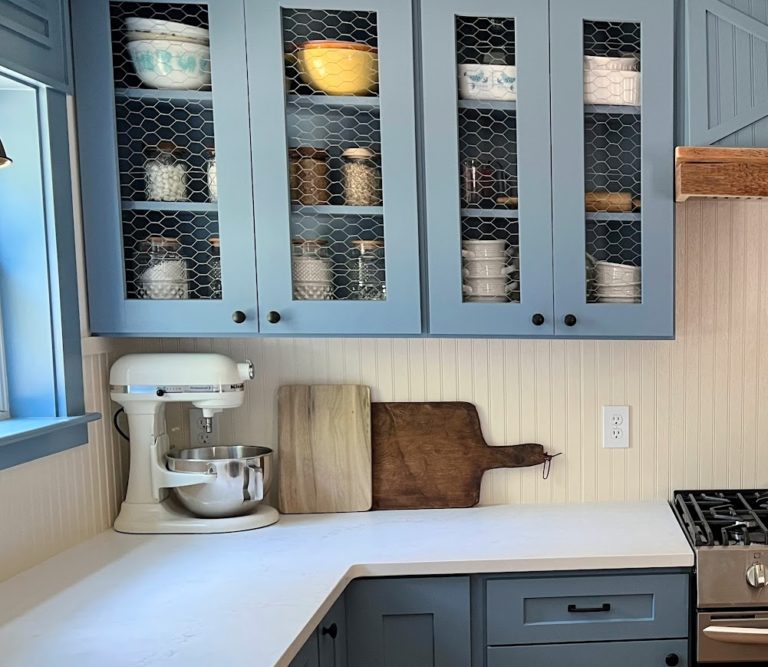
I forgot to ask did you add the chicken wire to the cabinets yourself? Looks good
I love the chicken wire in the doors, our amazing contractor did it for us. They were cabinet doors meant to hold glass, but instead he tacked in chicken wire. Pefect for our farmhouse!