-------------------------------------
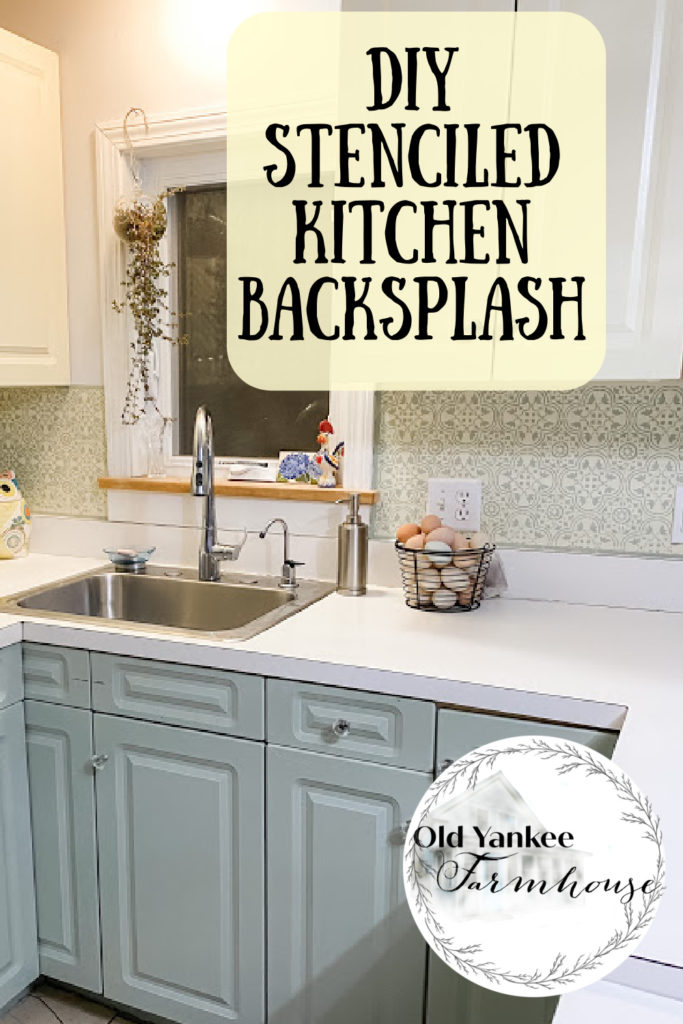
Do you have a boring drywall backsplash in your kitchen? Adding a backsplash really makes the room feel finished. It’s like jewelry for your kitchen!
I know a major kitchen renovation is coming in a few years. I plan to completely change the layout when we renovate. I don’t want to spend very much money on fixing up the current kitchen just to tear it out in a couple years. But just because I plan to renovate doesn’t mean I need to live with a boring kitchen in the meantime!
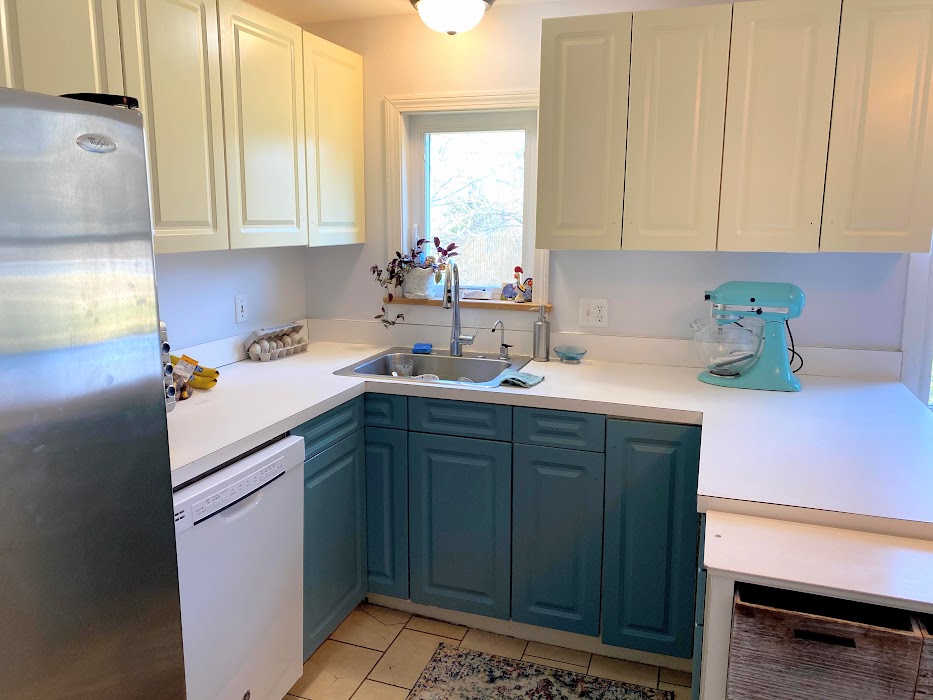
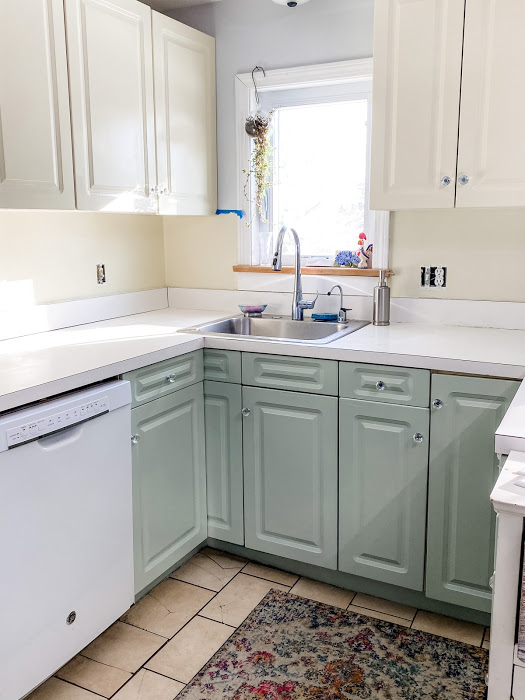
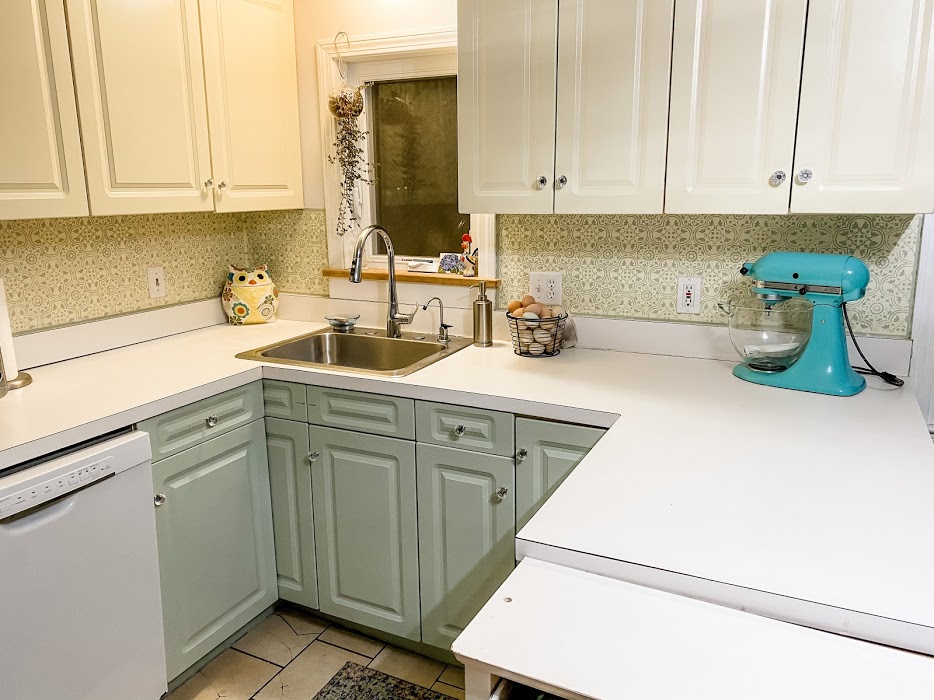
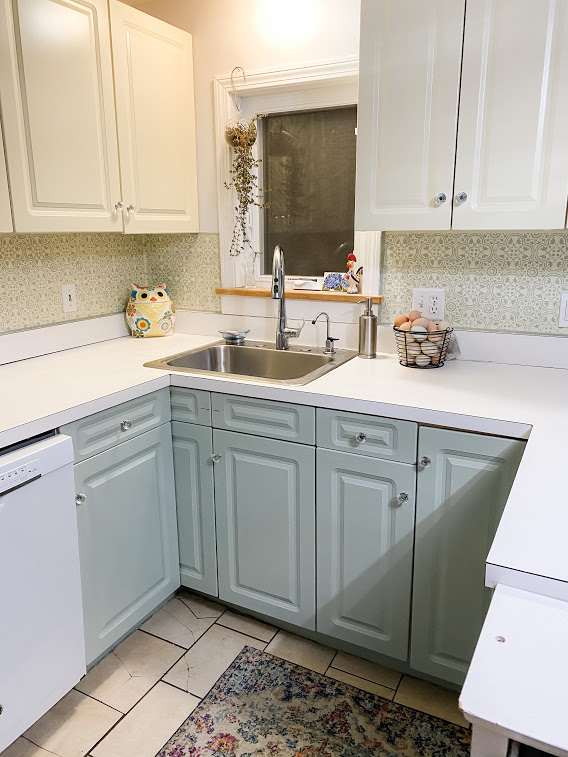
I was giving the kitchen a little facelift by painting the cabinets and replacing the knobs. While I had the paint out, it was time to change up that boring drywall backsplash too!
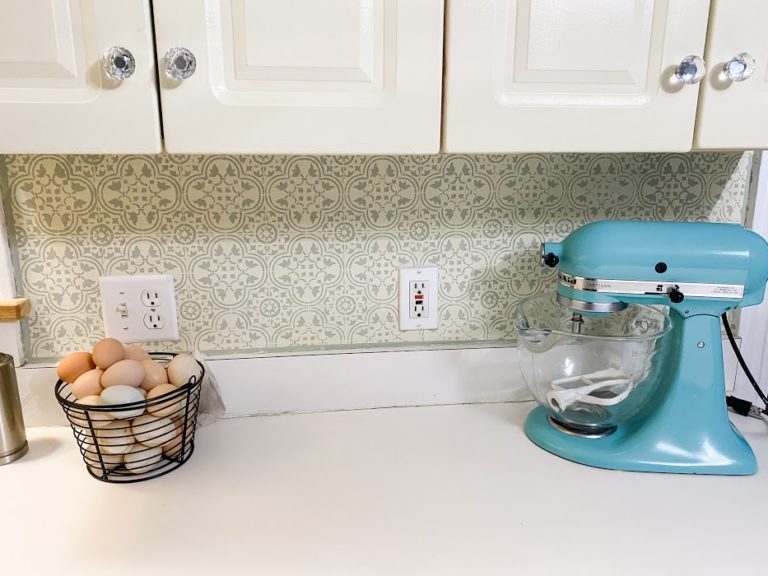
I ordered a stencil on Amazon. The stencil was designed to be used on floor tiles so that they would form a cohesive design next to each other. I love that the stencil has marks in the corners to help line up the next stencil. It leaves a natural space between each stencil to make it look like a grout line making the “tile backsplash” look more realistic.
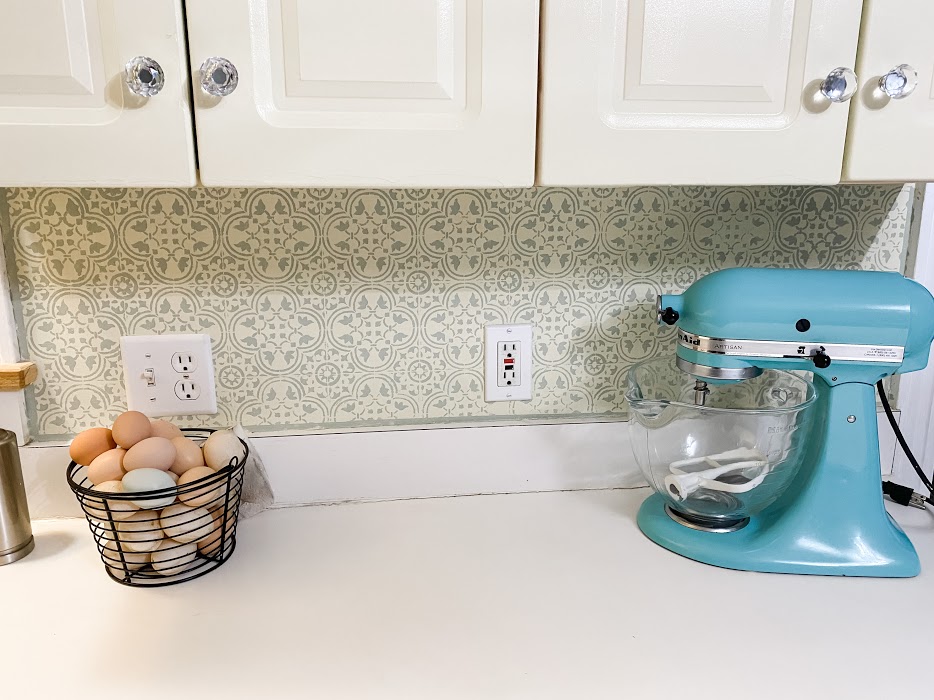
I decided to paint the backsplash using the same cream color from my upper cabinets as the base, and the stencil design in the light green of the lower cabinets. When painting cabinets and backsplashes it is always a good idea to use to semi gloss or high gloss paint. The higher gloss paints are scrubbable, perfect for kitchens and bathrooms.
First, I painted the base cream color and let it fully dry overnight. I plan on using stencil adhesive for adhering the stencil to the wall. It’s a light tack spray, but if the paint isn’t fully dry it could pull off the paint.
Now for the fun part! Protect your work surface if you are using spray stencil adhesive, you don’t want overspray to make the surrounding area tacky. Use a level to draw a straight line for your first row of “tiles” so you don’t end up crooked at the end of the row.
Spray the backside of the stencil then let it set for 20-30 seconds before sticking it to the wall. Then using just a small amount of paint, start dabbing the stencil paint on.
When stenciling, you don’t want to use a smooth back & forth motion or you will end up pushing paint under the stencil edges. That leads to a messy design. Instead use a dabbing motion. You can use a regular paintbrush, but it is better to have short, sturdy stenciling brushes, especially if you are covering a large area.
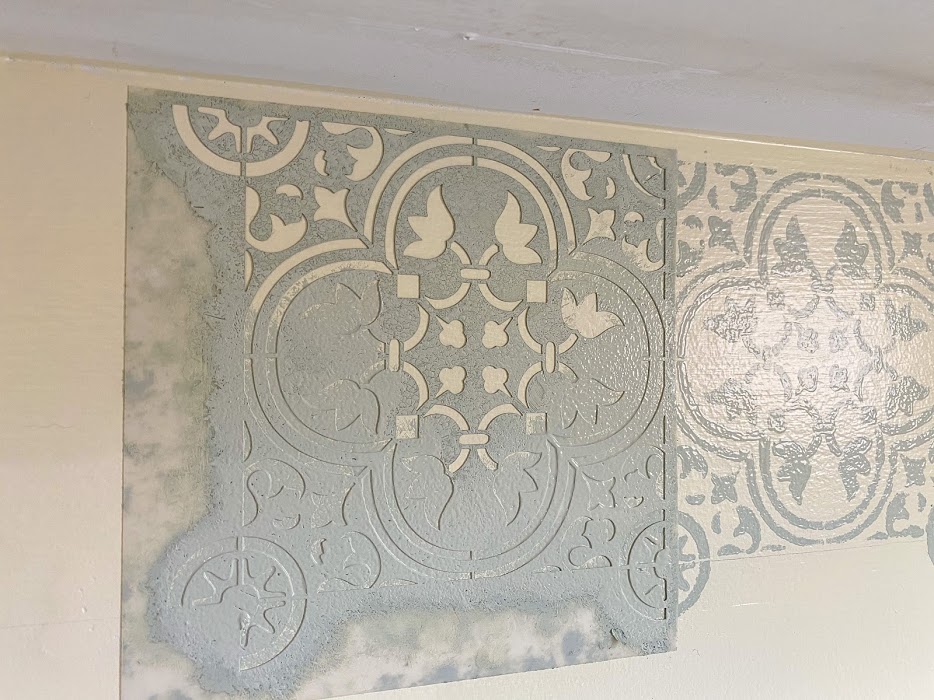
As soon as you cover the stenciled area with paint, peel the stencil off the wall. The light tack of the stencil adhesive makes for easy, non permeant mounting. After each application I take a paper towel and just quickly dab the stencil on the back side. If any paint sneaked under the stencil I don’t want to transfer it the next area. Then give the back a quick adhesive spray again and start to work on your next “tile”.
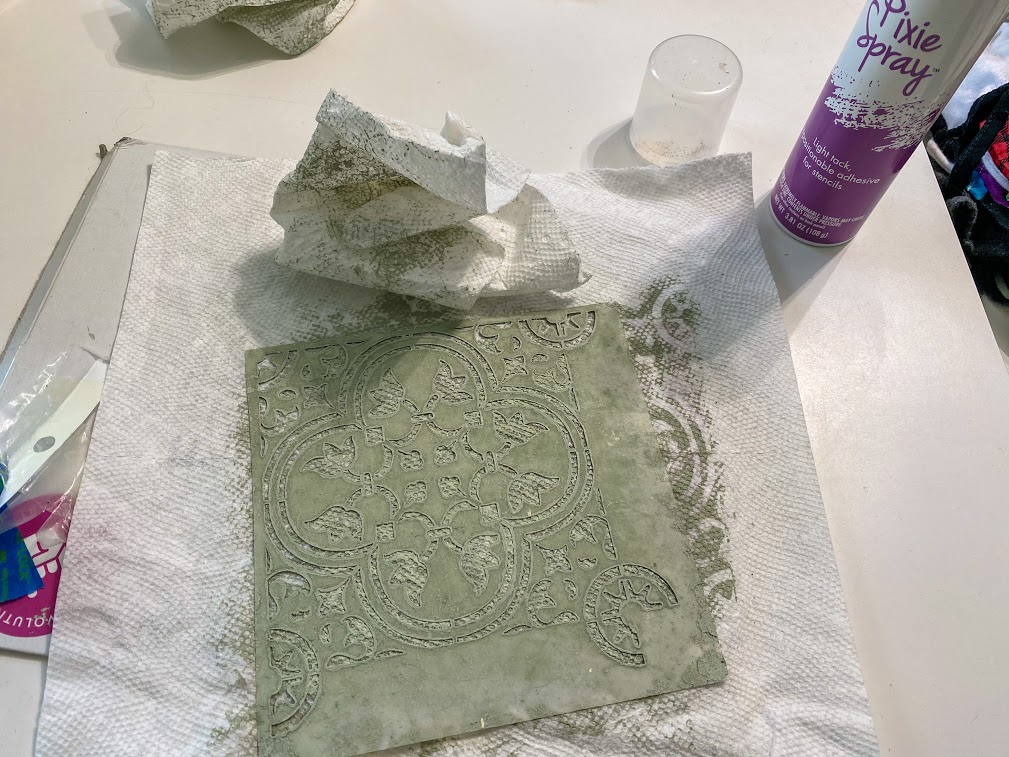
You don’t want to work on the section directly touching the section you just painted. You will end up smearing the edges. My space has a window that breaks up the backsplash. So I would do a tile on the right side, then one on the left. When I went back to the right side the previous tile was dry to the touch (remember you are just using a little paint, don’t slop it on there!).
As you start a new section, be sure to line it up against the level line you drew and with the corner markings on the design (if your stencil has that feature).
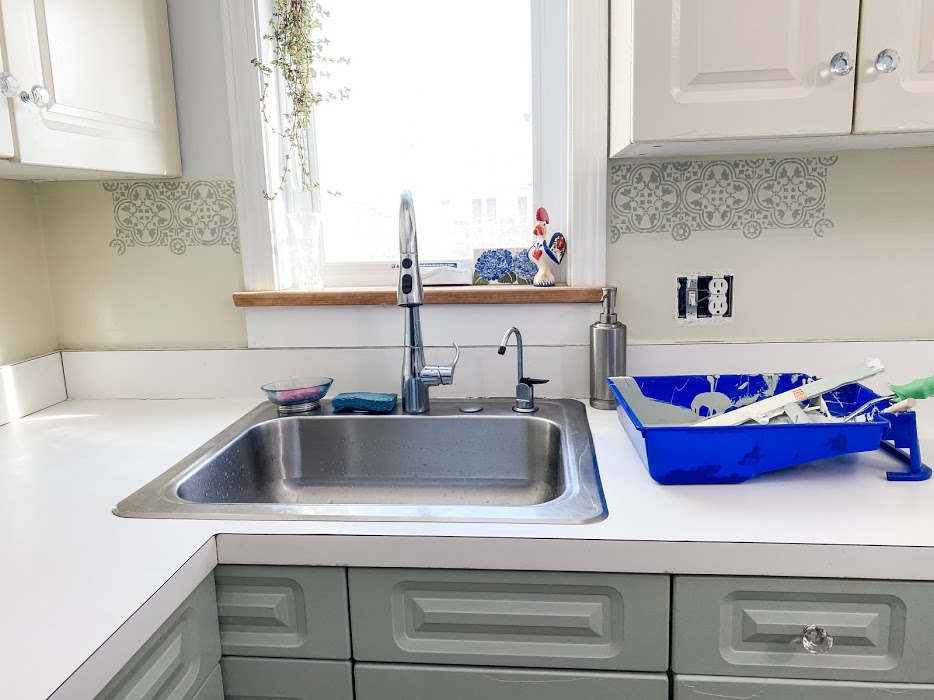
When you get to a corner, or a space where a full “tile” won’t fit, save that for the end. You will need to bend the stenciling then it won’t lay flat as you continue on. Alternately, you could buy a second stencil to use for this purpose.
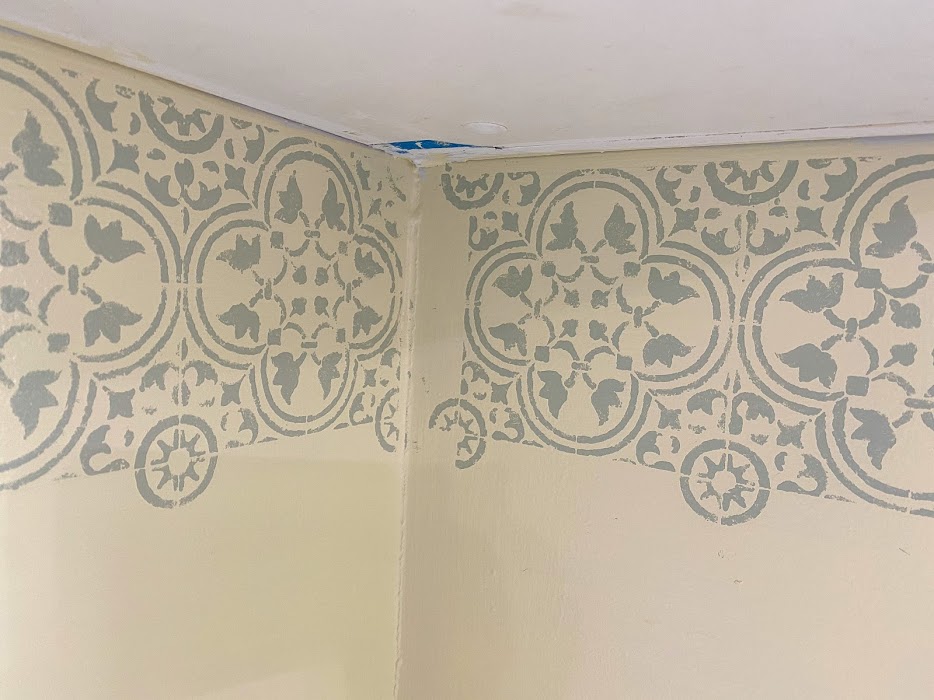
You will want to occasionally clean your stencil. As you work, paint is piling up on your stencil. One layer dries, you add more, that dries. Before you know it the holes of your stencil have gotten very small. I found that cleaning every 10 “tiles” or so was a good space for cleaning. You can see in the picture below, I waited too long. I think this was about 15 tiles. You can see the tile to the left is very thin, I cleaned it and it was back to thick lines for the tile on the right. I don’t mind a few imperfections, but it’s best to keep them fairly uniform.
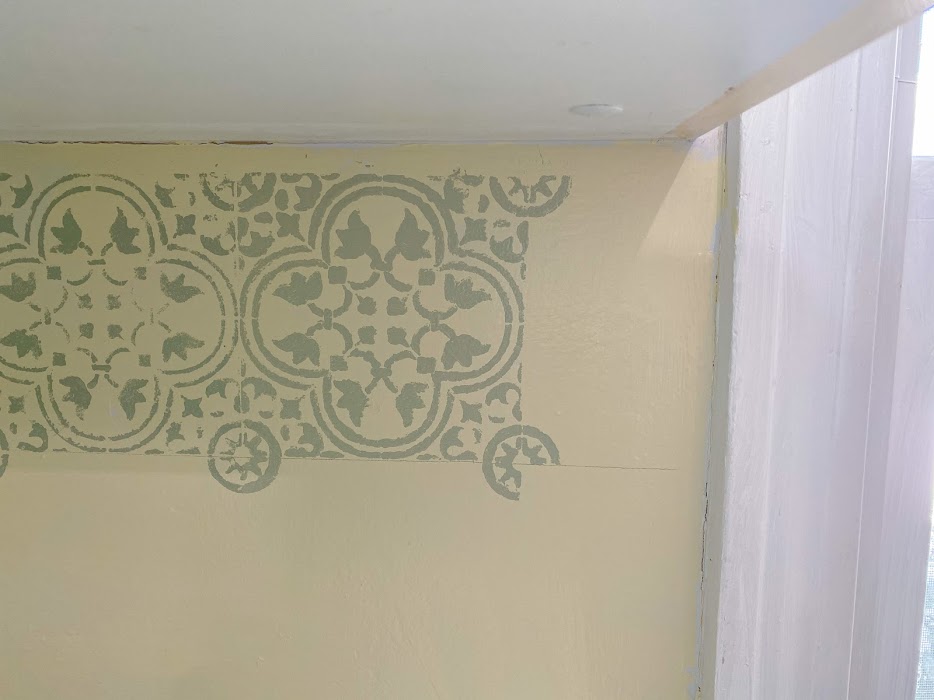
Just keep at it until all the space is full. Then you can either bend your stencil or cut it to fit any “odd” shaped sections that are left.
Wait overnight to allow the paint to fully dry. Then carefully use painter’s tape to tape off any areas where your “backsplash” meets regular wall. You can use paint to give the stenciled area a border to finish it off.
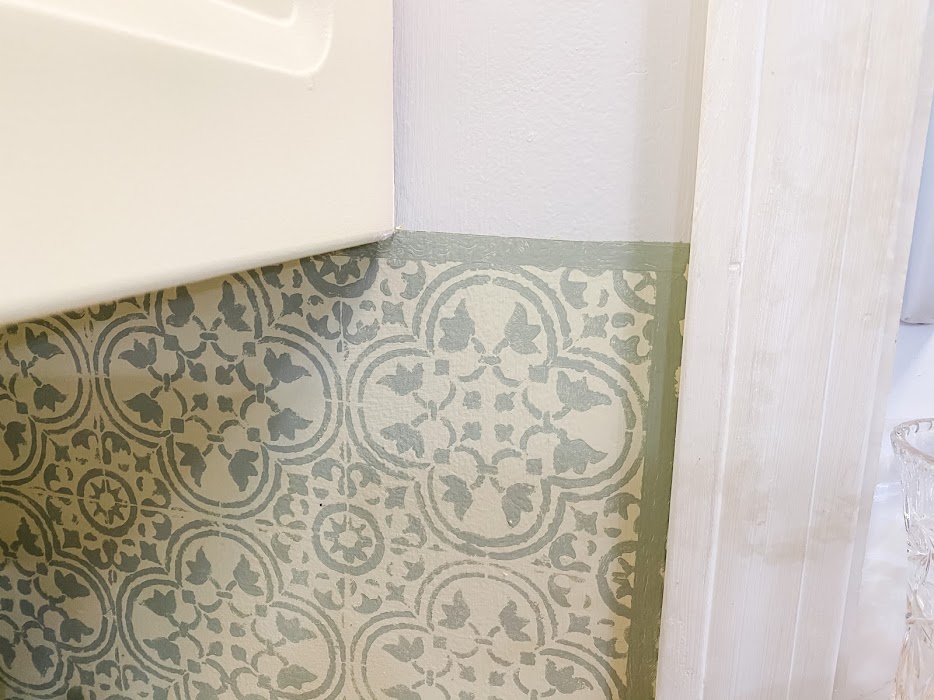
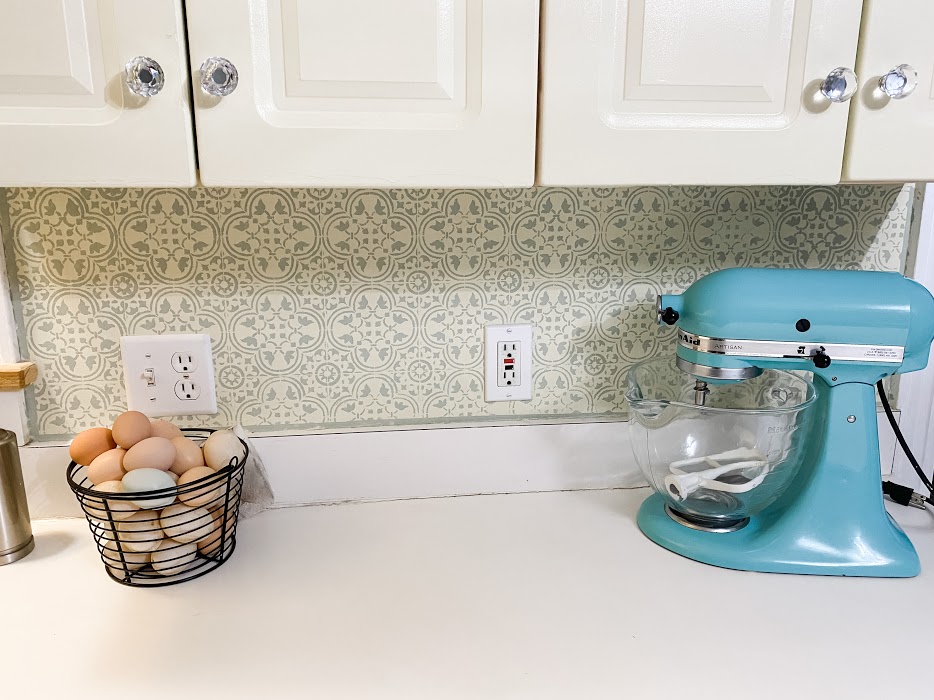
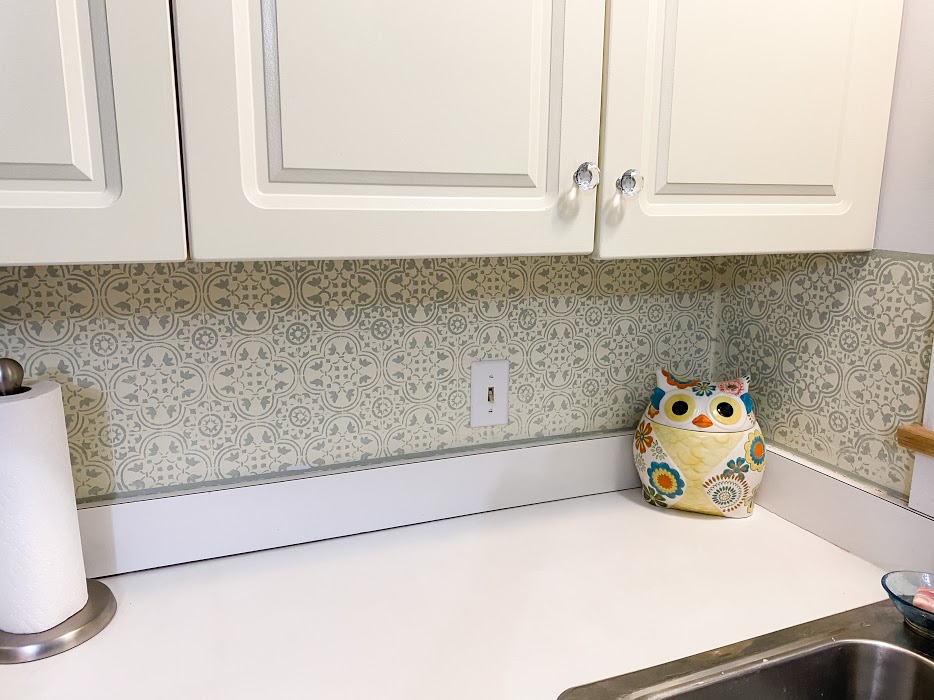
I am over the moon with how this turned out! It makes a HUGE difference in making the kitchen feel finished and just in general changed the whole vibe of the room. Stencils come in endless patterns, the one I chose gave my kitchen a fun, vintage, country look. I am so happy with it!
Possibly even better than the design is how inexpensive it was. I used leftover paint from the cabinets and I already had stencil brushes. So this entire backsplash project cost me $12 for a stencil and $10 for a can of stencil adhesive. That’s it! Where else can you get an entire kitchen backsplash for $22!!? It took me approximately 3 hours of work time from start to finish.
If you are looking to make a huge impact for very minimal money, stenciling a backsplash is definitely the way to go!
Shopping Guide
Paint – cream background was color matched from the cabinets
light green stencil – “Balsam” by Glidden
Stencil – Rosario Tile Stencil – Reusable Scandinavian Tile Stencil 5×5 (Amazon)
Stencil Adhesive – iCraft Pixie Stencil Adhesive (Amazon)

Looks great!
Thank you so much!
Hi what was the cream color used on the uppers? Everything looks so pretty!
Thank you so much! It was actually just the color the cabinets already were, they were chipping pretty bad so I just took one of the chips to the paint shop and had it color matched. But it’s a nice yellowy cream color
This stenciled backsplash turned out so good! I might have to try this technique out! We are having our kitchen cabinets refinished next week so maybe once that is done! Thanks so much for sharing!