-------------------------------------
I have to admit I really have a thing for chairs. Especially old chairs. They make a fun addition to a corner or add a special detail to any room. I love the story they tell with turned legs, carved details, and worn seats.
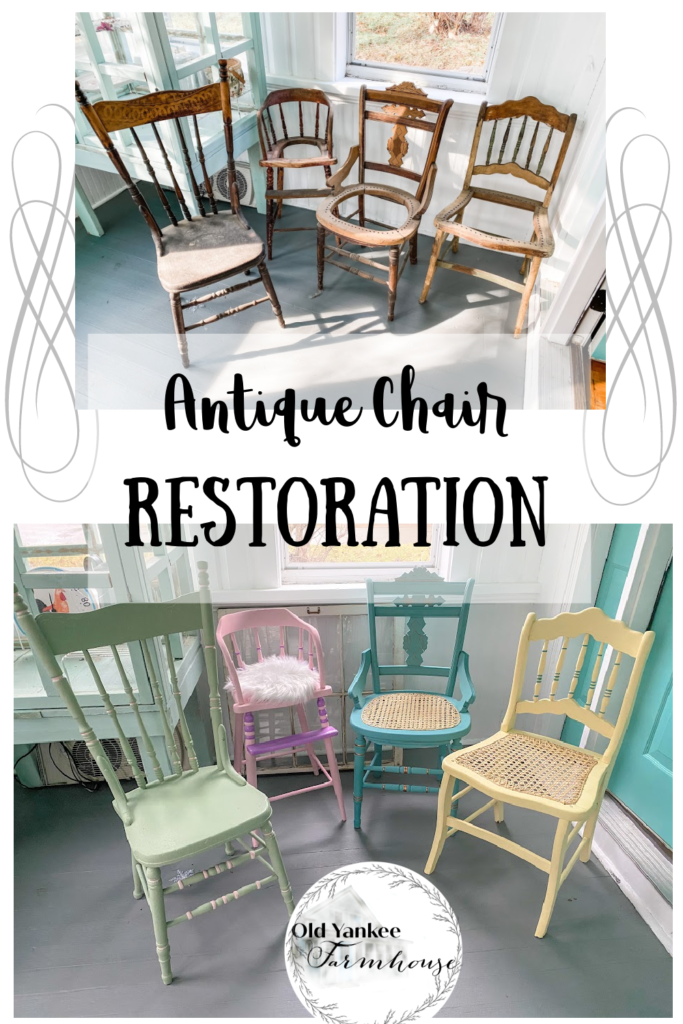
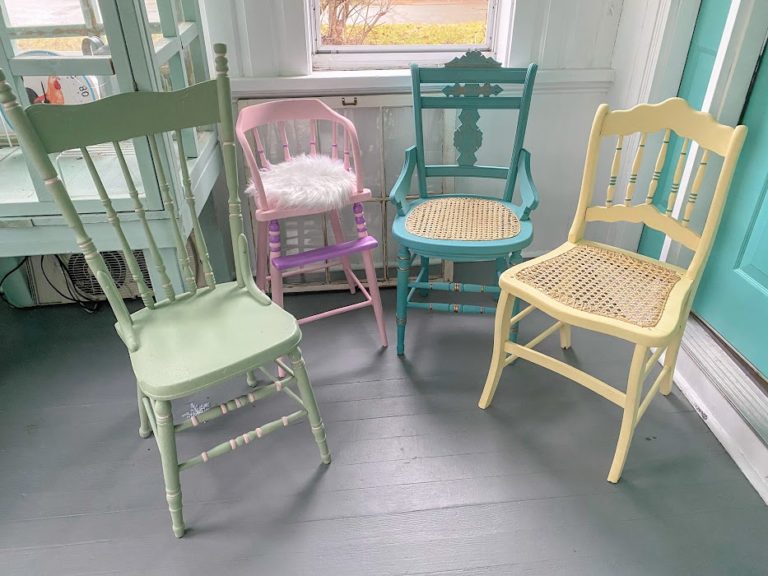
I recently came across a lot of four antique chairs on a Buy Nothing Facebook group. The woman getting rid of them was just going to use them for kindling if no one else wanted them. I couldn’t let that happen!
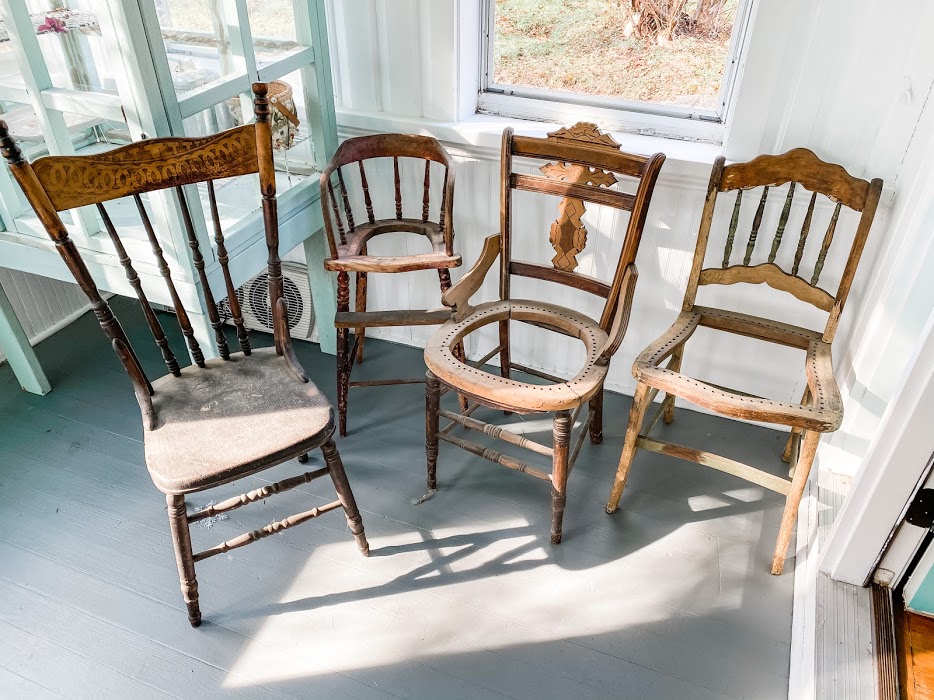
I was already in the middle of restoring an old ladderback chair I rescued from my mom’s basement, so what is four more chairs?! I love a good project and these chairs all had their own challenges.
Fiber Rush Ladderback Chair
First, let’s start with the chair from my mom’s basement. This chair had a woven fiber rush seat that was in really bad shape.
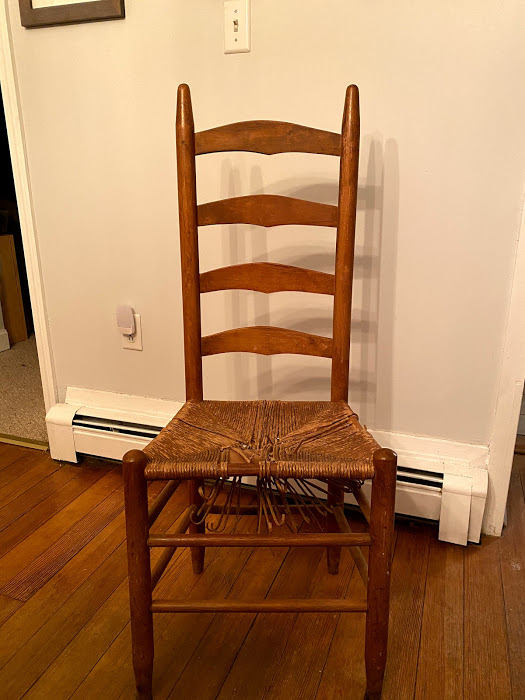
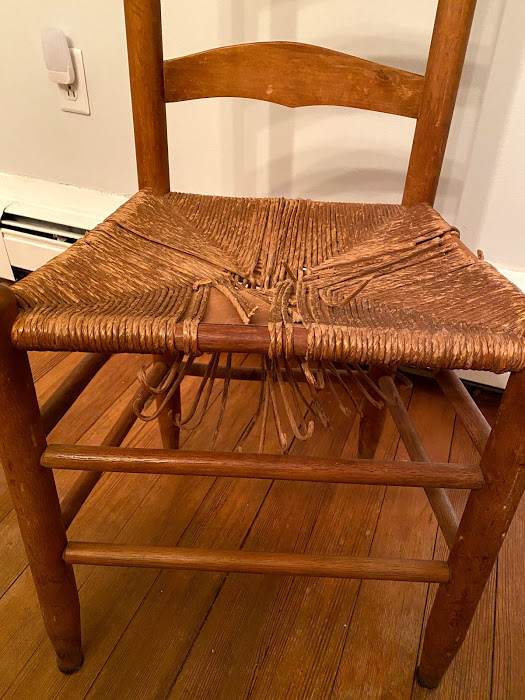
I had no idea how to repair a fiber rush seat. So I turned to YouTube. I watched several videos until I felt like I had a handle on the process. It is a fairly straightforward, if not time consuming process. I found the most helpful video was from Ed Hammond at Peerless Rattan. I kept this one cued up during my weaving in case I ran into issues! Click here to check it out
I ordered a 2 pound coil of fiber rush from Amazon and was ready to get started!
First I had to cut off the old seat. I used some kitchen shears to snip it all off. So much dirt & dust came out of here, it was nasty! I kept the cardboard triangles to use for support in my new weaving. Then I used wood glue on the loose connections in some of the chair cross supports.
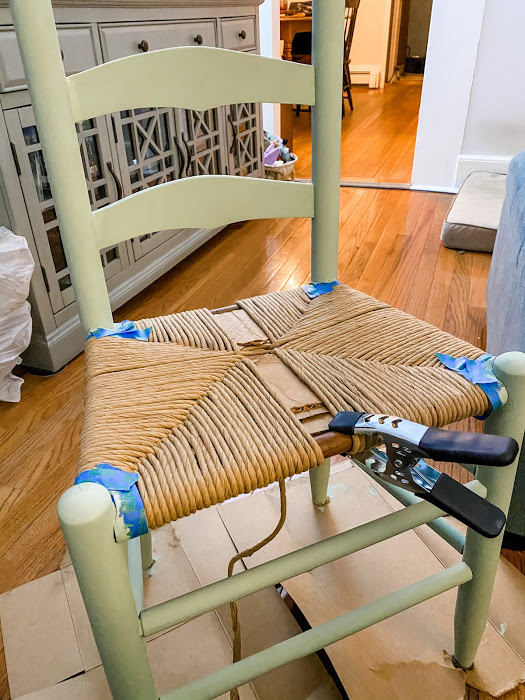
I had planned to leave the wood natural, but decided halfway through weaving that I wanted to paint it. It’s much easier to do this before weaving! I taped off the rush so I wouldn’t get paint on it. I used Behr’s Chalk Paint in Grecian Garland.
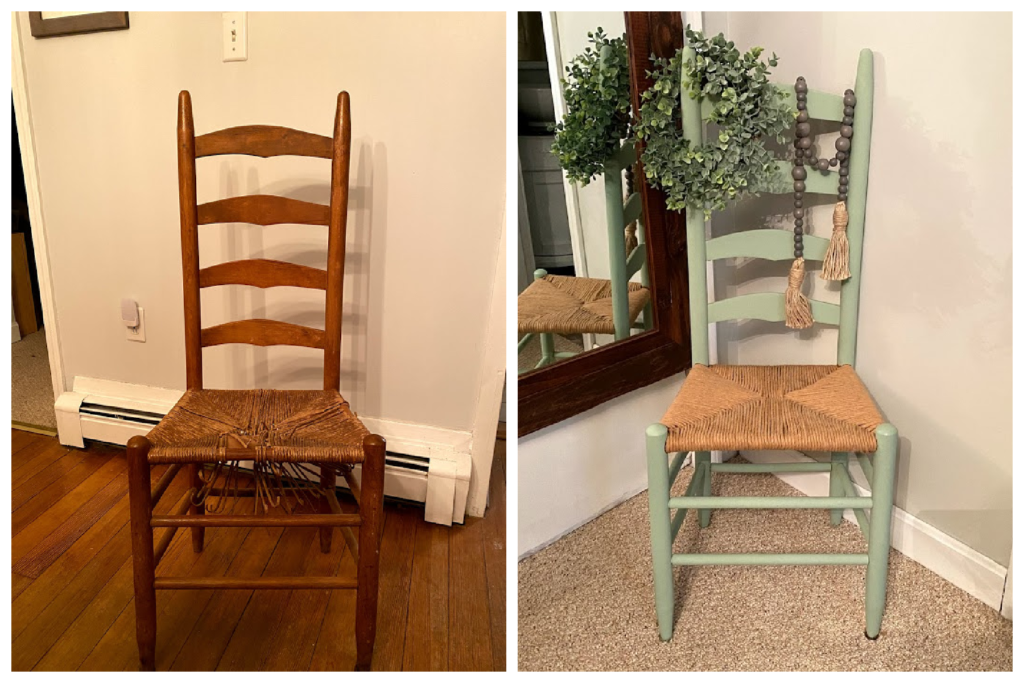
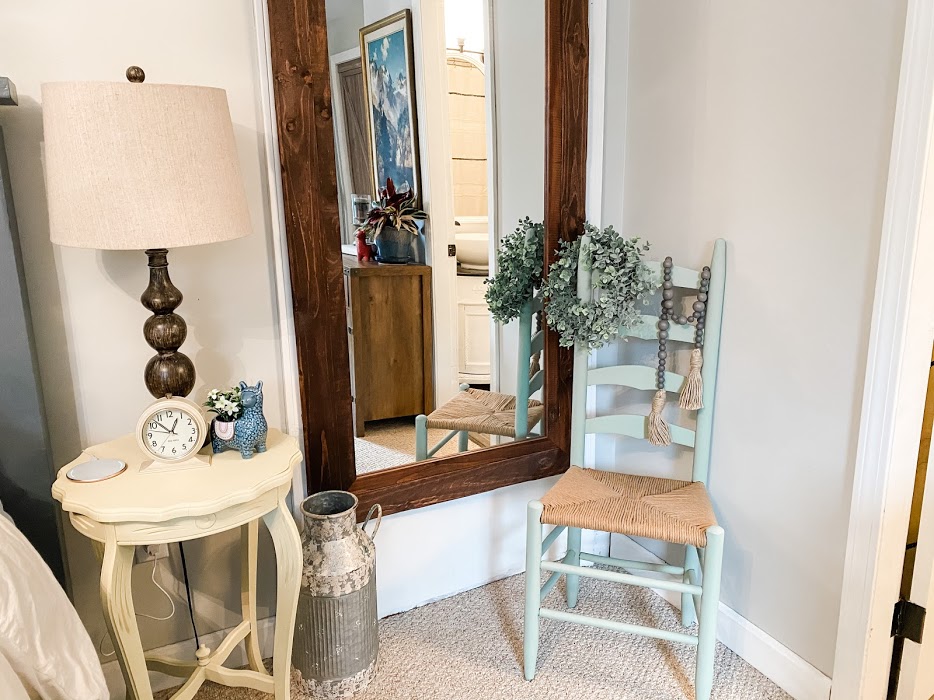
This chair was just the right accent for my bedroom
Solid Seat High Back Chair
For the antique Facebook chairs, I decided to tackle the easiest one first. Only one of the chairs had a solid seat to it, so would be the most straightforward.
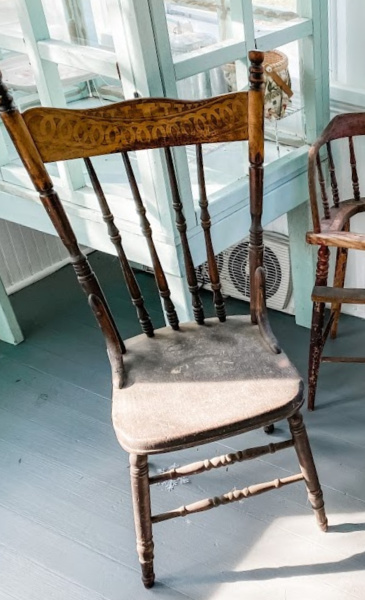
This chair may have had a solid seat, but it was very unstable. It was missing several of the leg cross supports. I bought 1/2 inch dowels and cut them to length to replace the missing supports.
I glued the new dowels & pretty much all of the other connections to make the chair sturdy. I also added a few small finish nails to help keep the new supports in place.
With the chair repaired, I simply needed to clean it. I used warm water, dish soap, & paper towels to clean all the parts of the chair. I planned to used chalk paint, because I like the finish of it, but also because you don’t need to sand off the old finish first. If you are restoring antique chairs, be careful if you are removing old finish. It could contain lead or other harmful chemicals. Wear a mask & work outdoors.
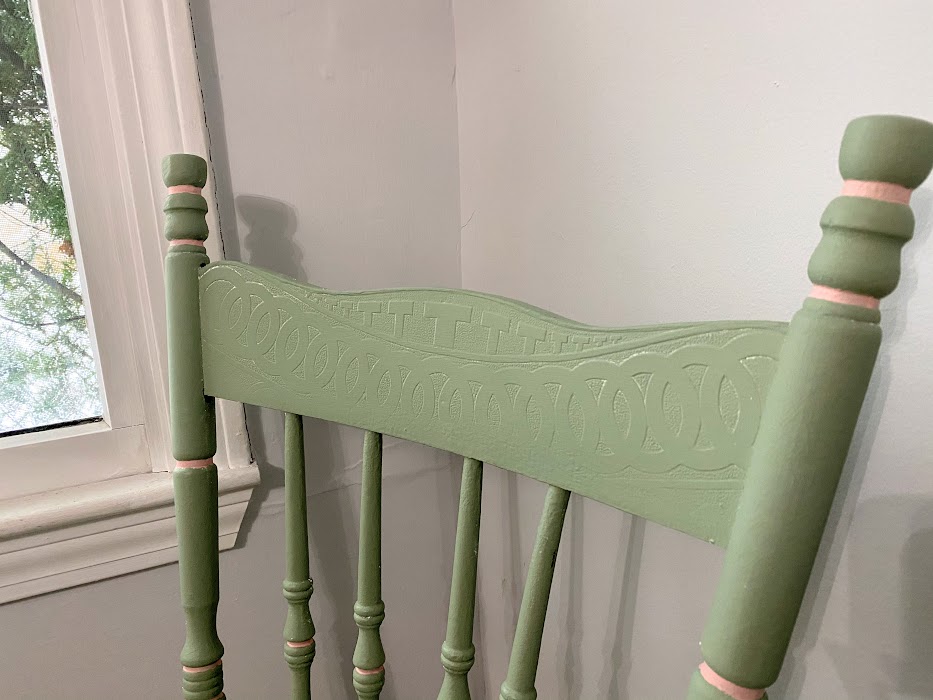
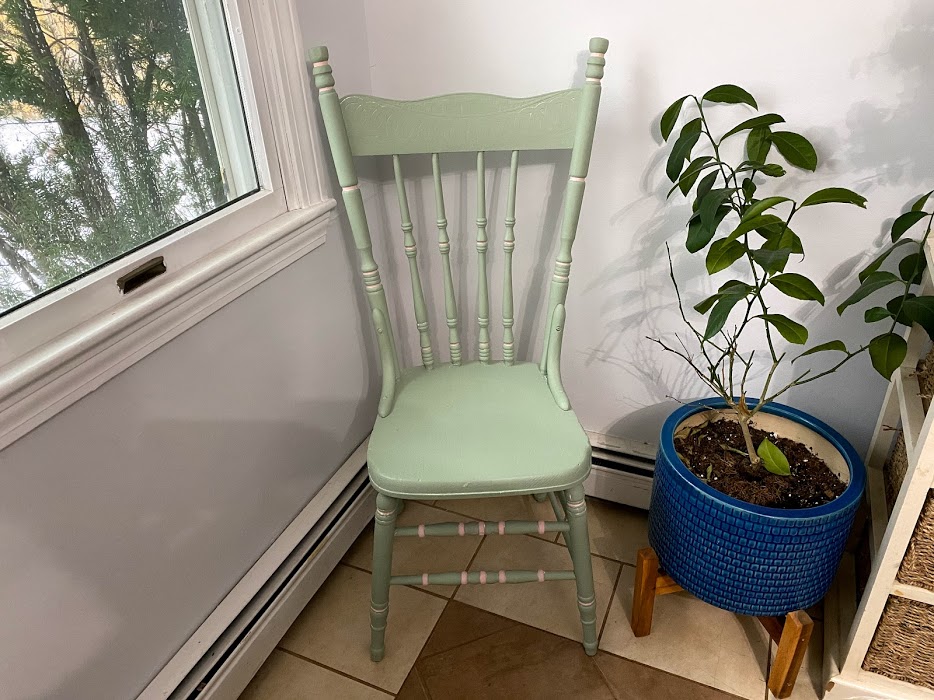
I used the same Behr Chalk Grecian Garland for this chair. I decided to add some whimsical pink accents. Something about this fussy high back chair in green & pink makes me smile! For the pink I used Art Minds Chalk paint in Blush.
This chair has found a place in my kitchen next to my lemon plant’s winter home. It fits right in with my minty cabinets!
Yellow Cane Weave Chair
Next up on the restoration schedule was this adorable petite cane weave chair.
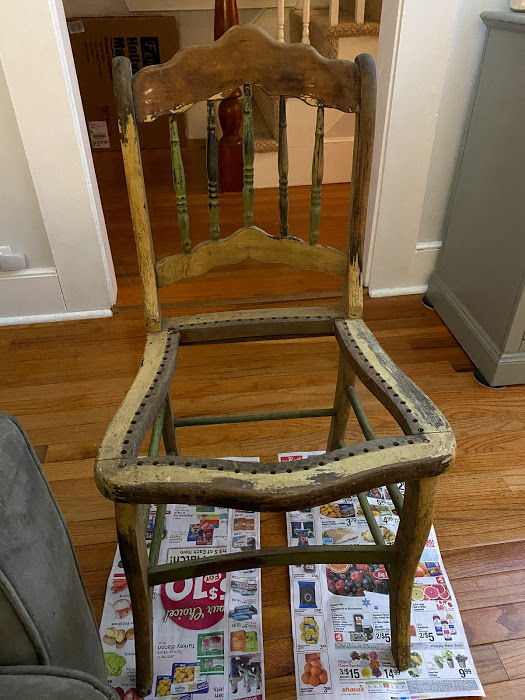
Modern cane woven chairs have a grove along the seat edge. You can purchase sheets of pre-woven cane, push the edges into the grove, push in a piece of finish cane and you are good to go. This chair is old school. All those holes along the seat are for hand weaving.
Just like the fiber rush chair, I had no experience with cane weaving so I turned to YouTube. Luckily Ed Hammond from Peerless Rattan also has an excellent cane weaving video! Click here to check it out
Cane weaving was definitely more challenging and much more time consuming than fiber rush weaving. But the chair came out adorable, so it was 100% worth the effort!
First I needed to do a little repair to this chair. Like the high back chair, this one was also missing some leg cross supports. So I used my dowels to replace the missing ones and glued up any loose connections.
I ordered 270 feet of 3 mm cane from Amazon for each of the cane chairs.
Unlike the fiber chair, I painted this one before weaving, which was a much better plan. I used Art Minds Chalk paint in Pale Moon, accented with Art Minds Chalk paint in Seafoam.
Now I couldn’t put off the weaving any longer – time to get started! I was definitely intimidated by the process and rewatched the YouTube video several times.
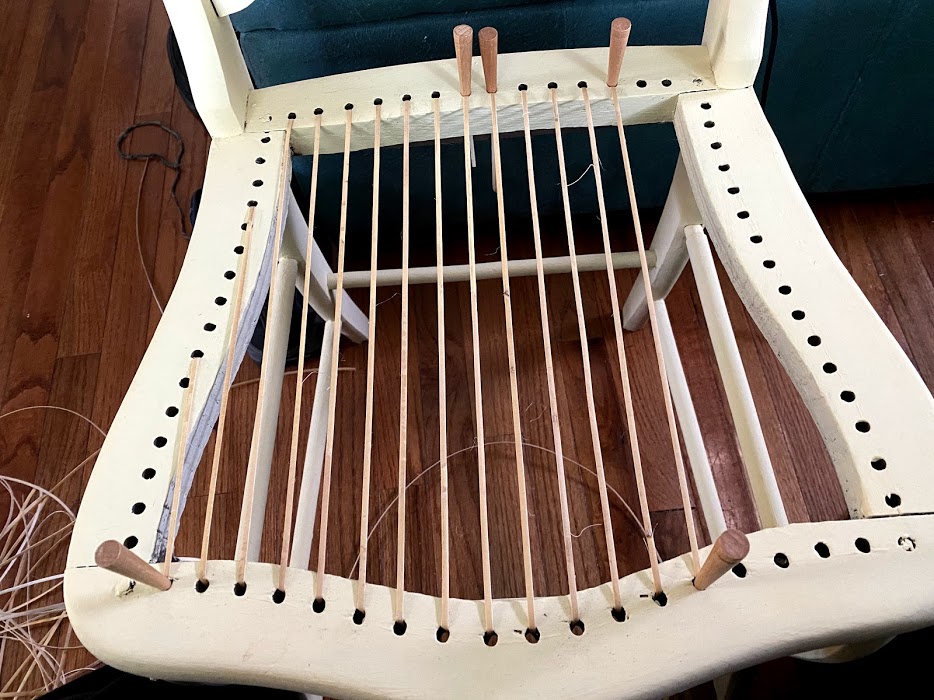
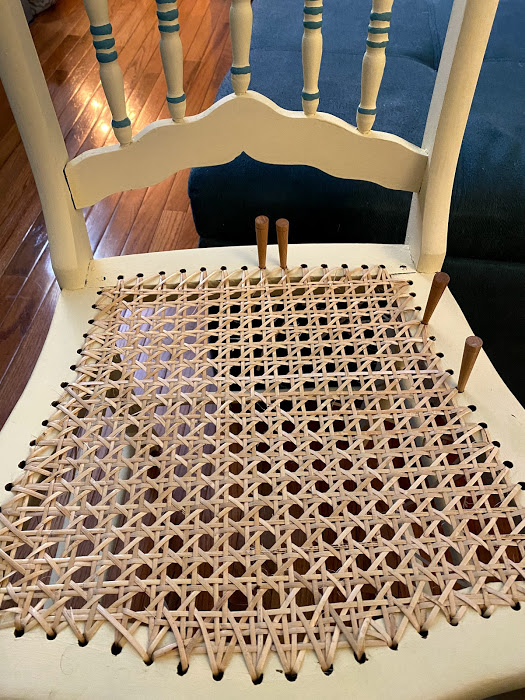
Chair seat in process! Definitely made a few mistakes, but not bad for my first attempt. My best advice for cane weaving is always make sure your cane is wet. Dry cane breaks and is just in general really hard to bend where you want it.
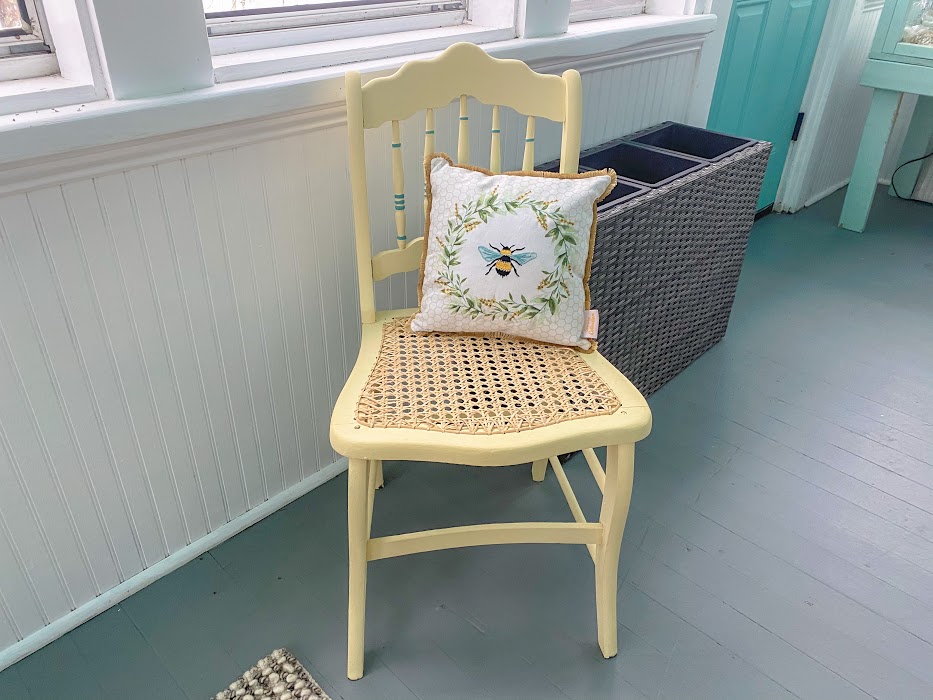
I found a sweet little bee pillow at HomeGoods and this chair looks adorable on my enclosed front porch!
Antique High Chair
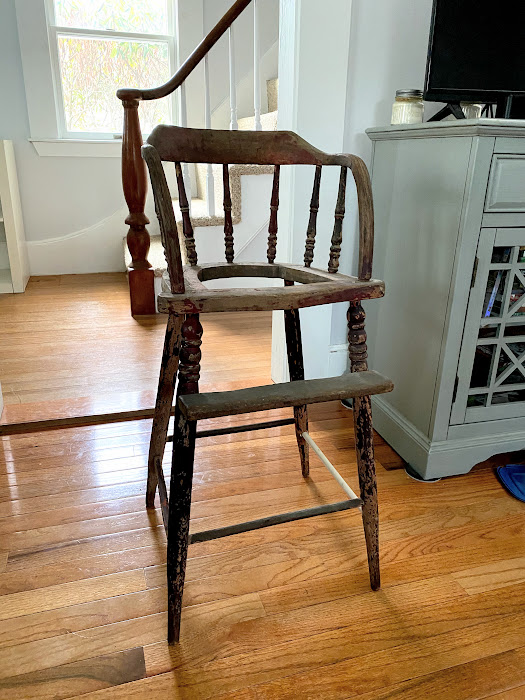
My fingers needed a break from cane weaving so I decided to take on the antique high chair next. This was the chair that was probably in the worst shape. Nearly all of the leg cross supports were missing, and when you pick the chair up all four legs come apart from the seat.
A few dowels, lots of glue, and some finish nails later, the chair was sturdy once again.
The highchair was also missing a seat. There are no holes for cane weaving, my guess is there was some sort of vinyl seat that used to be here. I don’t plan on ever using this for an actual child, just a cute accent and probably a nap spot for my cats on the porch. I cut a piece of plywood to cover the hole and screwed it in before painting.
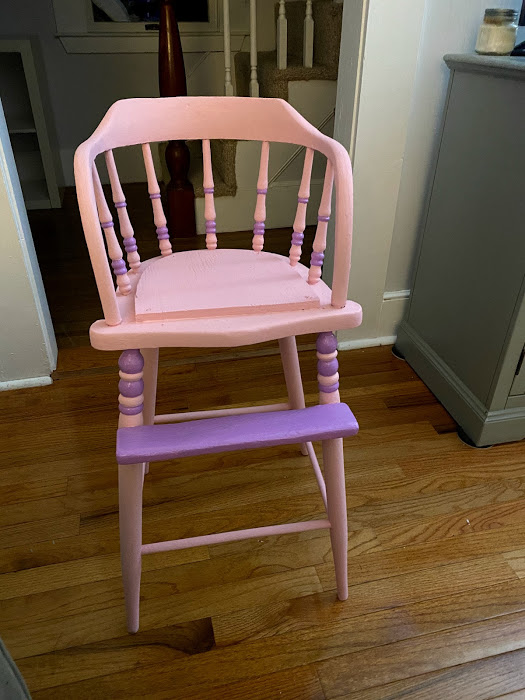
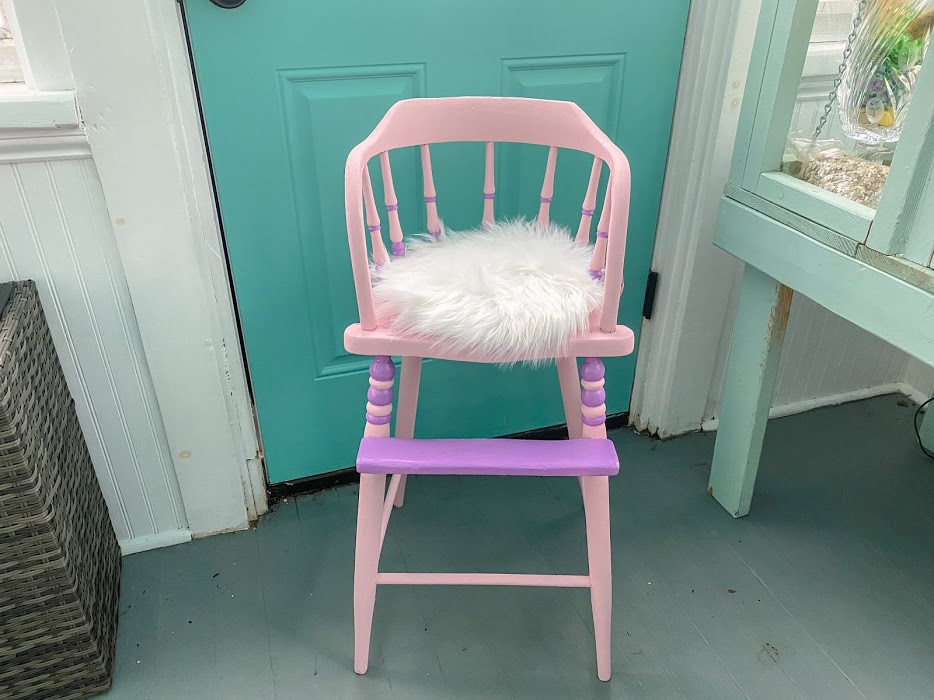
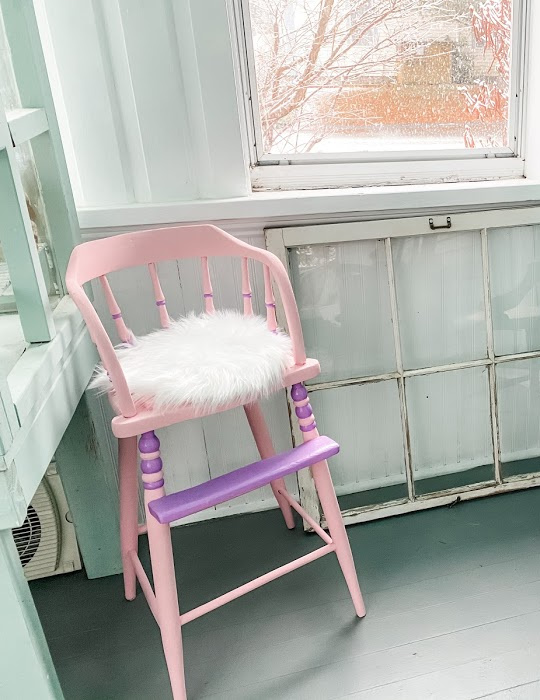
I wanted this chair to be really whimsical and fun. I painted the chair with Art Minds Chalk Paint in Blush and Art Minds Decor Paint in Majesty. The purple paint has a shine to it that really pops next to the matte chalk paint.
To hide the rough plywood seat I got this funky, furry mat on Amazon and this chair is ready for cat naps in the sun on the porch!
Seafoam Cane Weave Chair
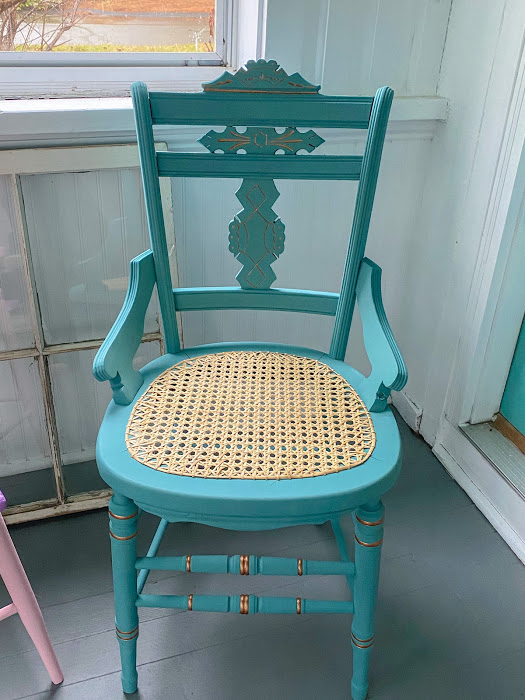
I saved my favorite chair to work on last! I love all the wood carving & burning on the back. I call it my fancy back chair. Someone really put a lot of love into this chair and I was excited to bring it back!
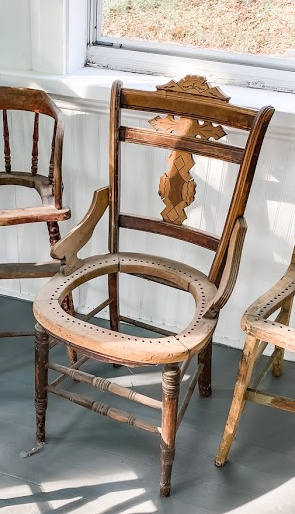
This chair was actually in good shape. All the supports were there, I just glued some of the loose connections and gave it a good cleaning to get it ready.
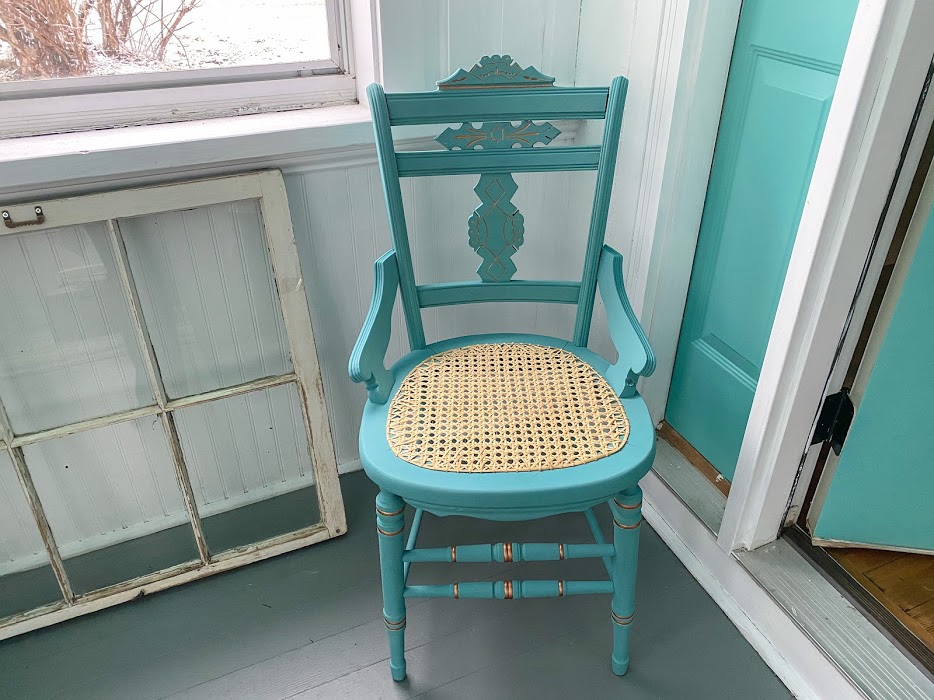
The base of the chair is painted with Art Minds Chalk Paint in Seafoam, a gorgeous green blue that I love. I wanted to highlight all of the designs on the back and legs. I used Sargent Art’s Liquid Metal metallic acrylic paint in Bronze for the accents. I love the metallic shine against the matte chalk and it is exactly the sparkle fancy back chair needed to come alive!
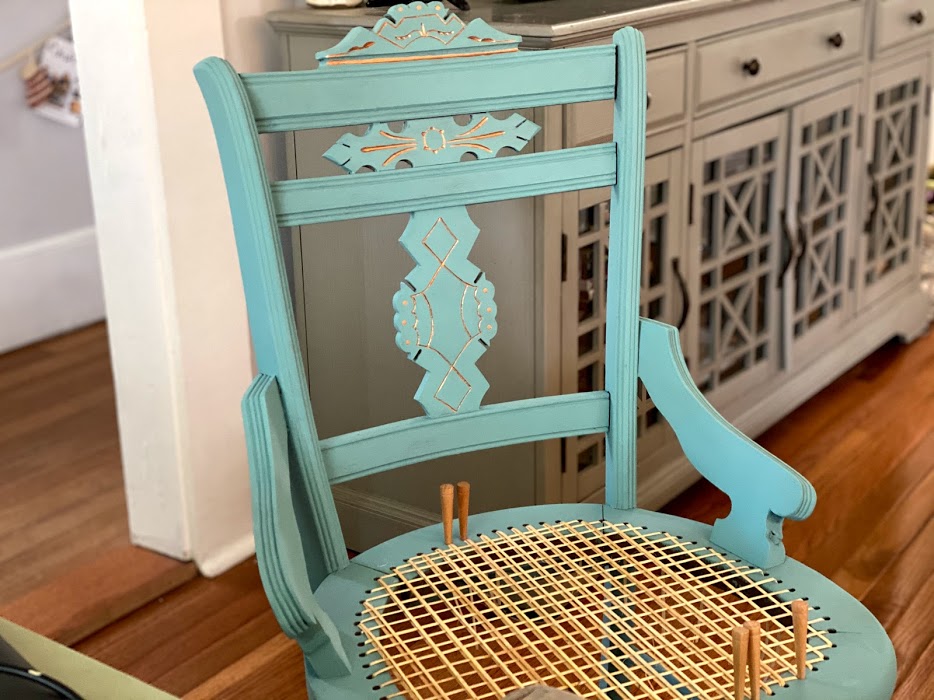
Once the chair was painted, I had to cane weave the seat. It was easier the second time and I think this one came out better. The weaving was still really time consuming, but totally worth it!
Another chair to grace my front porch, all the sunshine really catches the bronze accents!
What do you think? I am glad that I saved these chairs from the fire or dump, they add a lot of personality to my rooms! I got all five chairs for free. I spent $17 for fiber rush for one chair, $28 for cane for two chairs, $6 for caning pegs, and about $35 for paint. So for $86 and some elbow grease I have five one of a kind chairs that I love!
