-------------------------------------
Last year we were very grateful to move from a house with just one small bathroom to a home with three bathrooms. Three small bathrooms, but three! For a large family this was a big deal! The biggest downside is that all three bathrooms were in need of renovation.
While I someday plan for a major gut & renovation, in the meantime I wanted to do mini makeovers to make the spaces cleaner & prettier. You may have seen my $500 budget makeover of my ensuite bathroom (if you missed it, you can find it here).
Now we are moving to our second budget bathroom remodel. This time we are working on our main floor bathroom. This is the bathroom that gets the most use and the one guests will be using. Because of this we went with a slightly higher $600 budget for this bathroom.
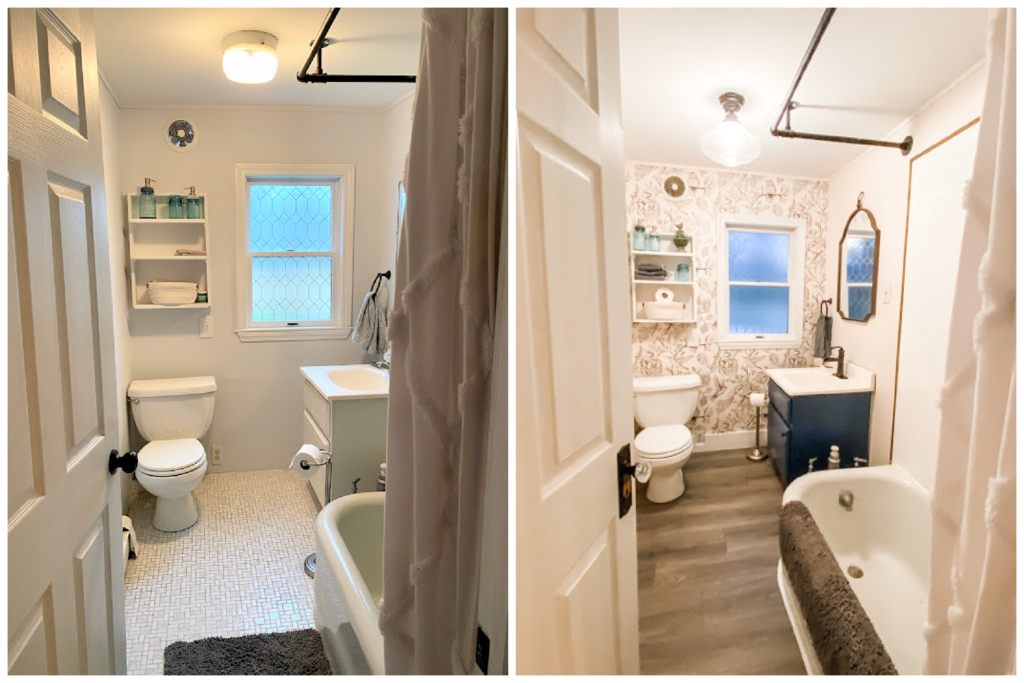
Let’s start with some before shots!
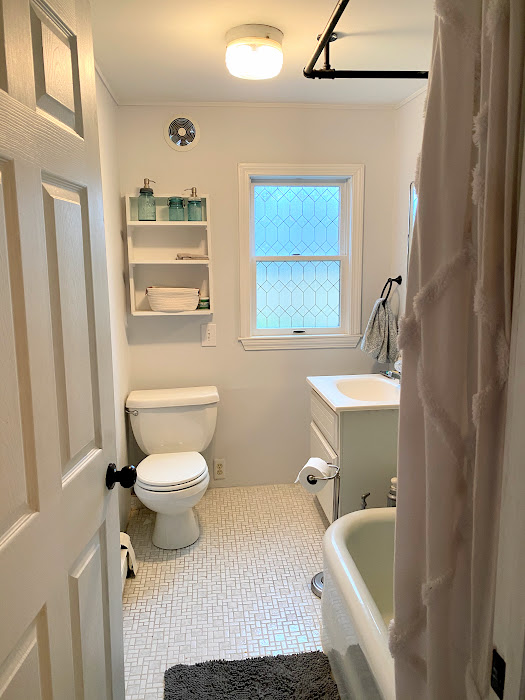
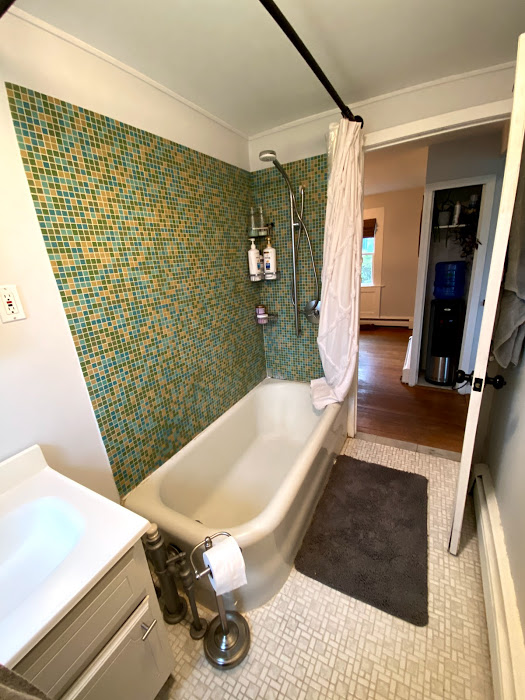
Our home was built in 1852, well before indoor plumbing was a feasible thing for the average household. Looking at town historic records, my best guess would be that it was around the 1910s/1920s when most homes in town were adding bathrooms as we know them today. At the time this would have been the only bathroom (the upstairs bath was added in the 1970s and the ensuite in the 1990s). The huge cast iron tub is certainly original, but I believe the rest of the bathroom was last updated in the 70s when the upstairs bath was added.
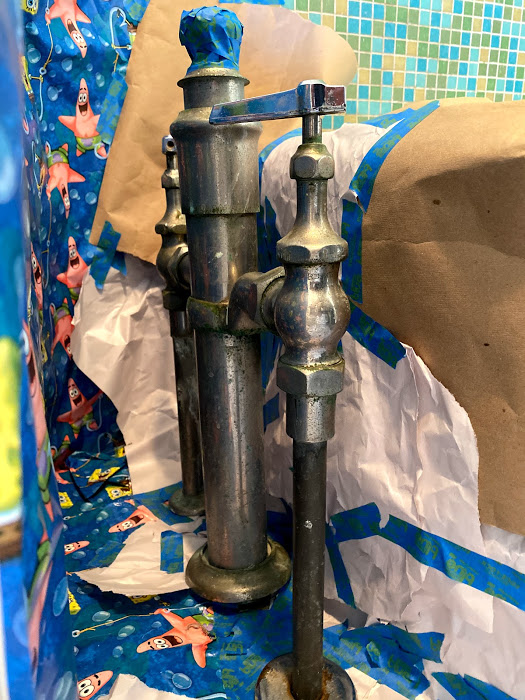
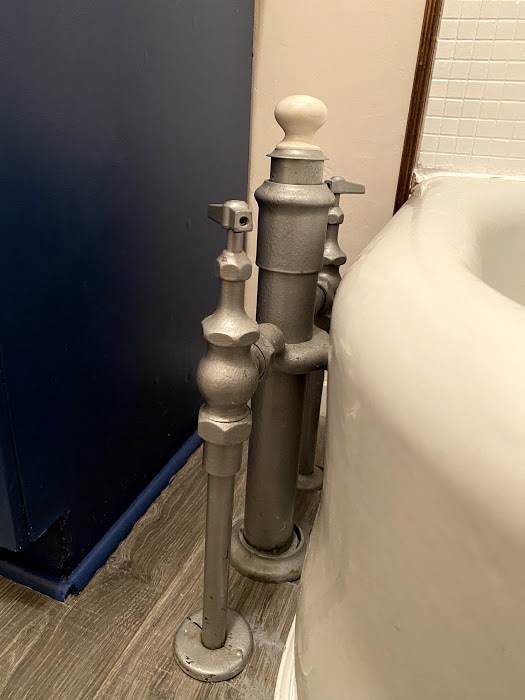
The cast iron tub is pretty much the only thing in the bathroom I like, and the only thing we will keep in the someday gut renovation. The tub hardware was looking corroded and old however. I carefully covered the surrounding area (with wrapping paper because that is what I had handy!). Then I used metal spray paint to give the hardware a clean, new finish.
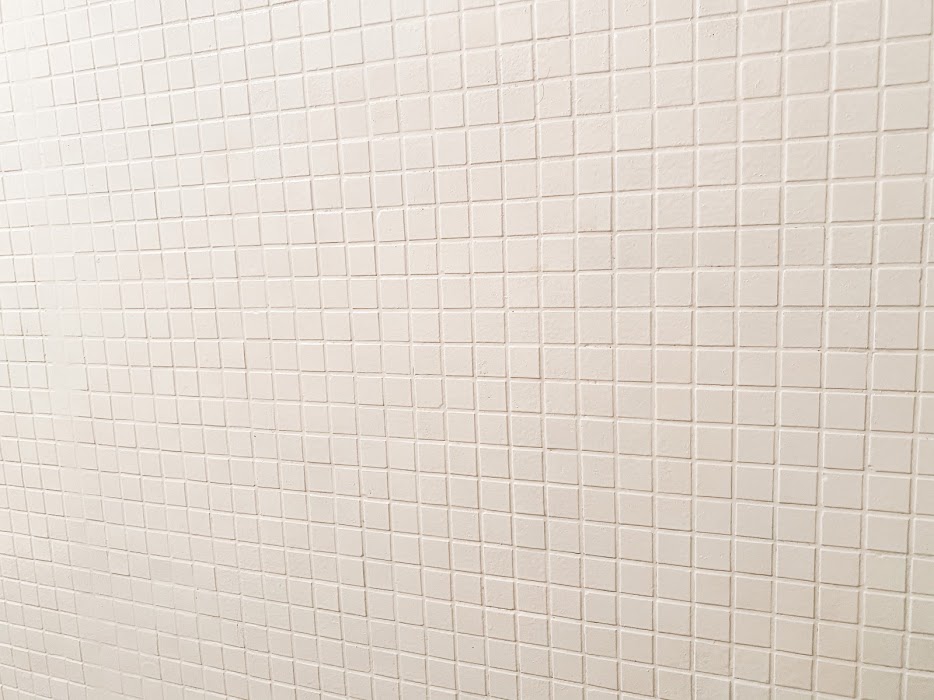
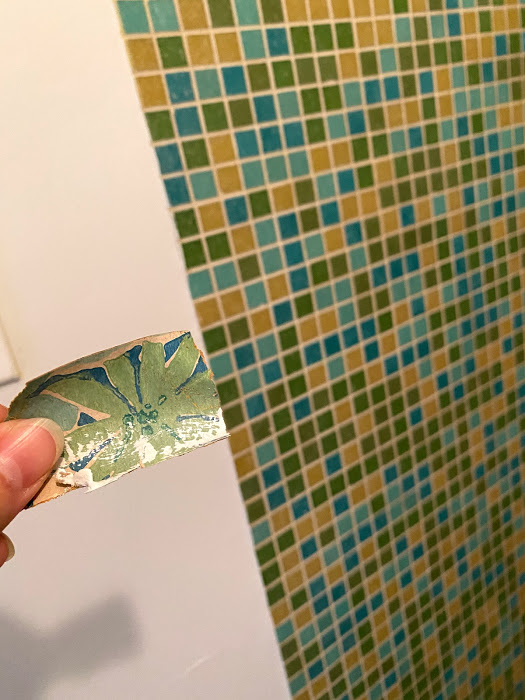
Next, we needed to do something about the shower wall surround that was a dizzying pattern of small tiles in various shades of blue, green, & yellow.
I would love to replace the tile at some point, but for now tub & tile paint was an economical solution to make the tiles look new & clean. You can read more details about this project here.
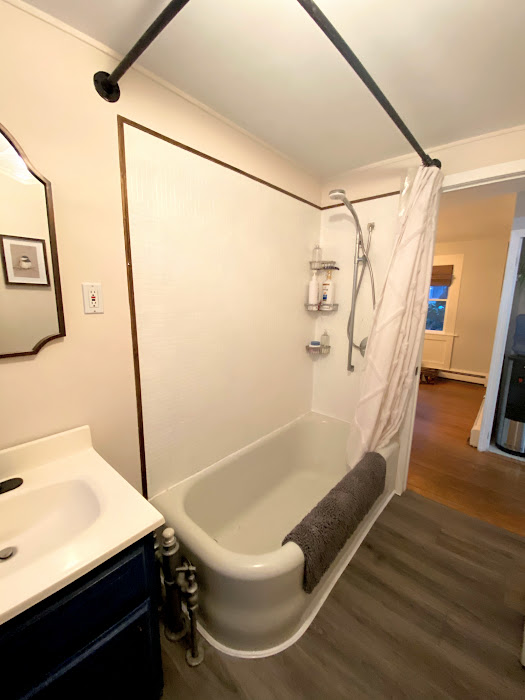
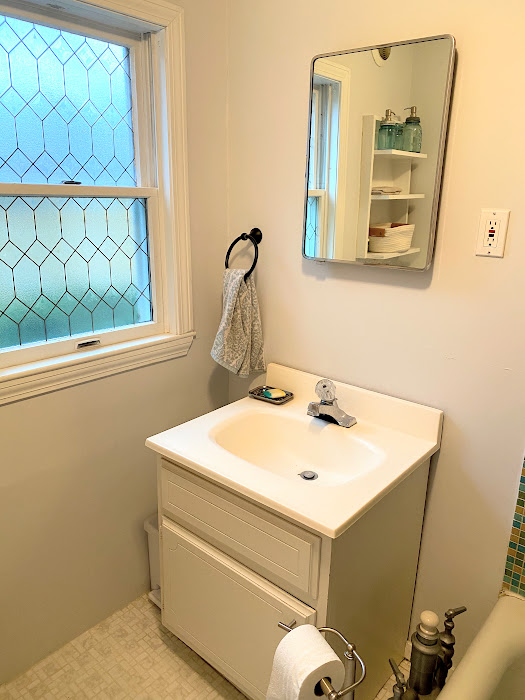
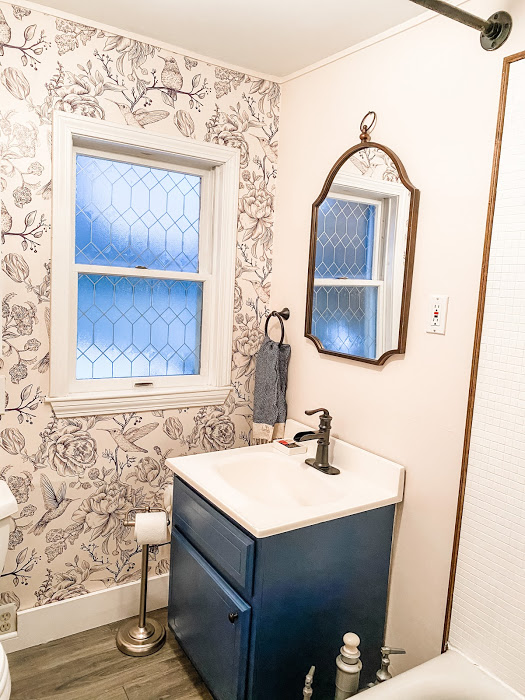
With the tub & shower area done, we moved on to the sink. A new vanity is not in the budget, so I again turned to my best friend – paint. A couple of coats of Behr Infinite Deep Sea and the vanity is completely transformed! I picked this lovely deep navy color to match the wallpaper I’ve ordered.
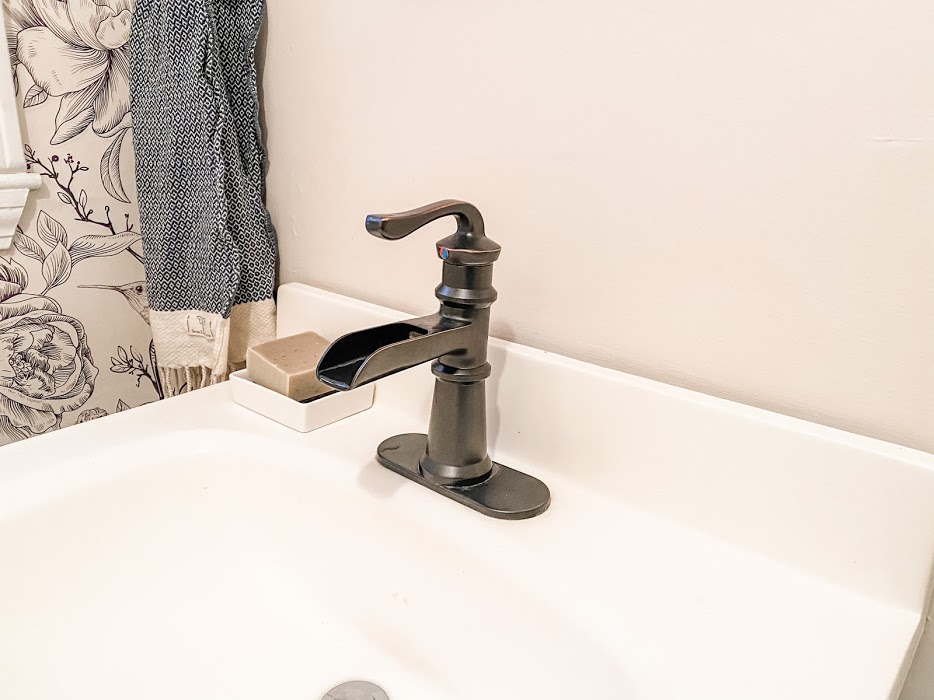
Paint is helpful, but we decided to go a step further and replace the builder grade 1970s faucet with something more modern.
Replacing the rusty medicine cabinet with a stylish mirror was another simple way to upgrade the space.
When we pulled out the old medicine cabinet, an old piece of wallpaper was wedged in the wall. At some point, this was a very groovy bathroom!
One of the first things I did when we moved in was to address the window treatment. I don’t love curtains in the bathroom, they always get musty. I decided to go with a simple window cling! It was cheap, easy, and looks like a textured leaded window.
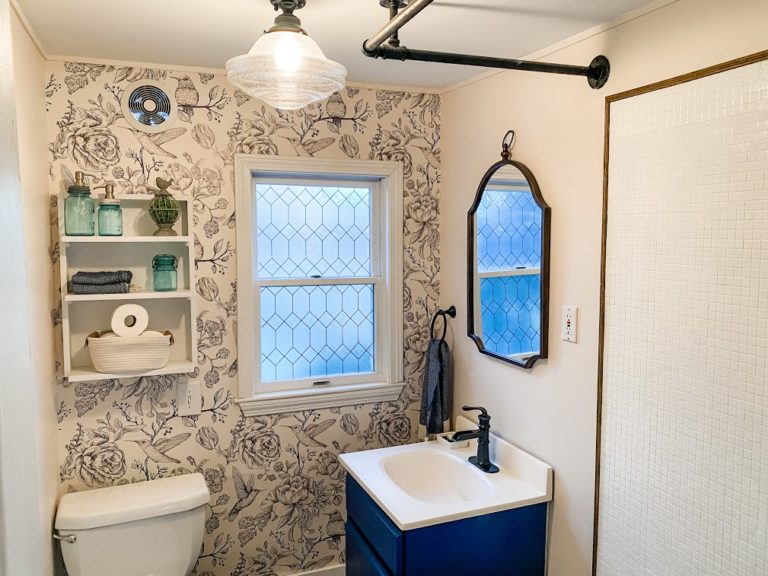
Now for the focal point of the room. The main reason I wanted to quiet the shower tile (besides not loving the colors) was I knew I wanted to do a bold wallpaper on the back wall. The room is way too small for two bold choices – you can only have one diva in this room!
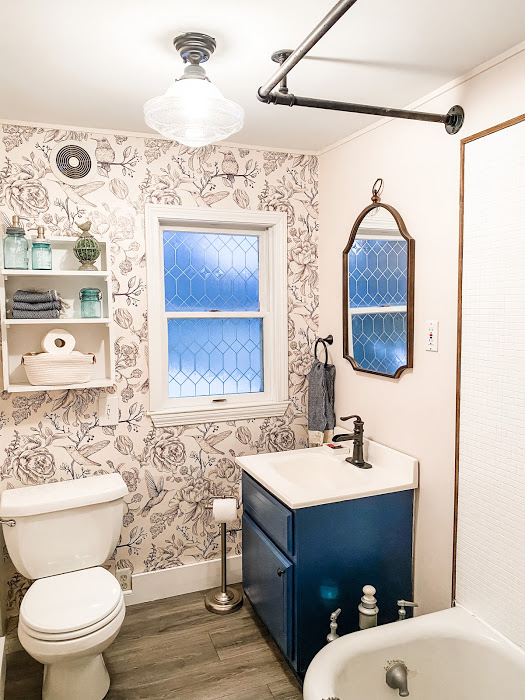
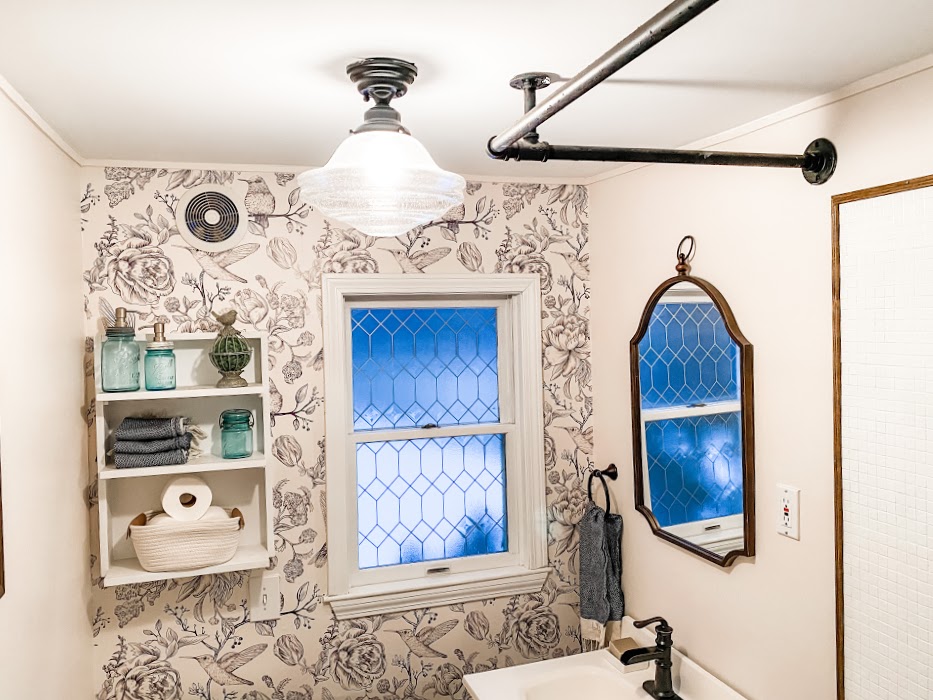
I found this wallpaper on Wayfair. With it’s large scale bird & flower pattern, one wall is plenty to bring drama to the bathroom. And the bonus was that this wallpaper is peel & stick! This means no paste to mess with, and someday when I’m ready for a change it should be easier to take down.
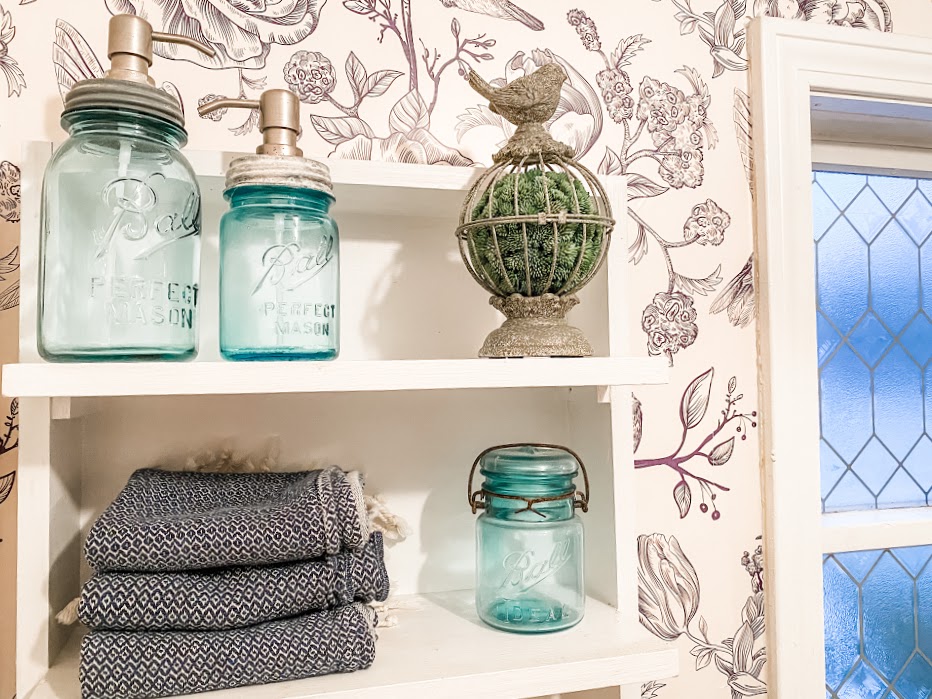
I brought a sample of the wallpaper to the paint store and had them color match the cream background. I used the cream paint on all the other walls. It was a subtle change from the light grey that was there before but really let the wallpaper shine.
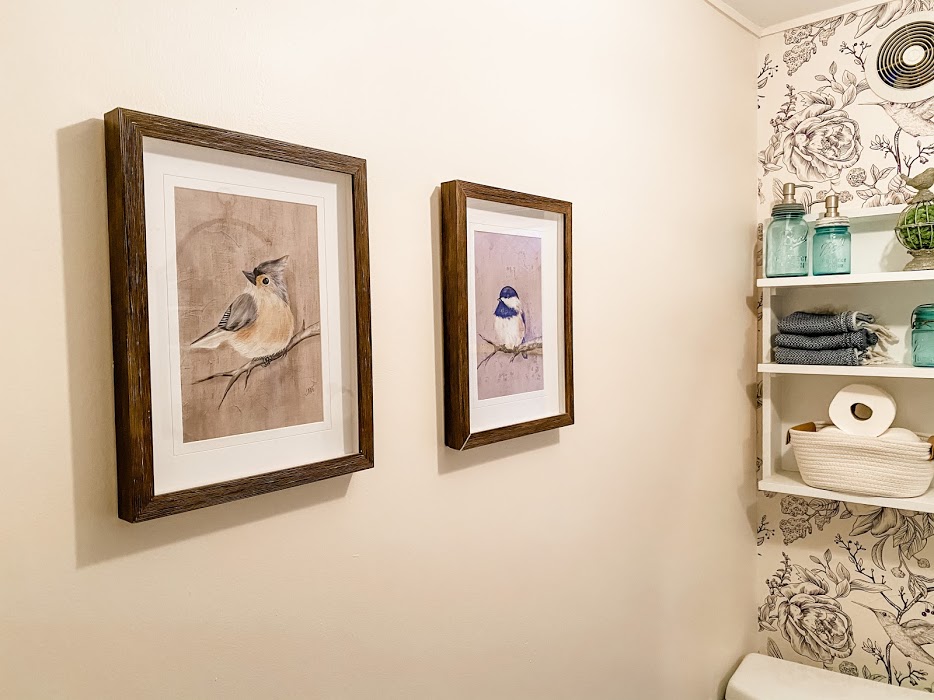
A simple change that I think always makes a huge impact for little money is to update the lighting. We switched out the old jar light for a seeded glass schoolhouse style light.
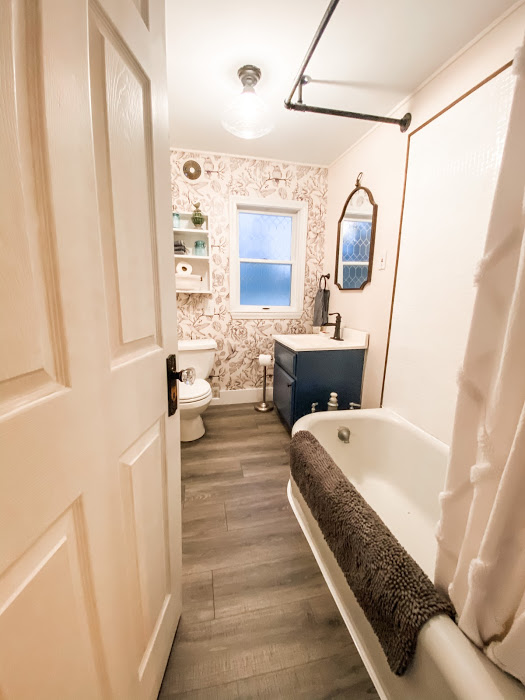
The last big change was to replace the flooring. The tile that was in here was old, grungy, and impossible to get clean. Someday, I want to do a simple, classic hexagon tile floor. For now, waterproof laminate is an easy to DIY and economical choice. I love how easy to clean laminate is and it really brought the whole room together!
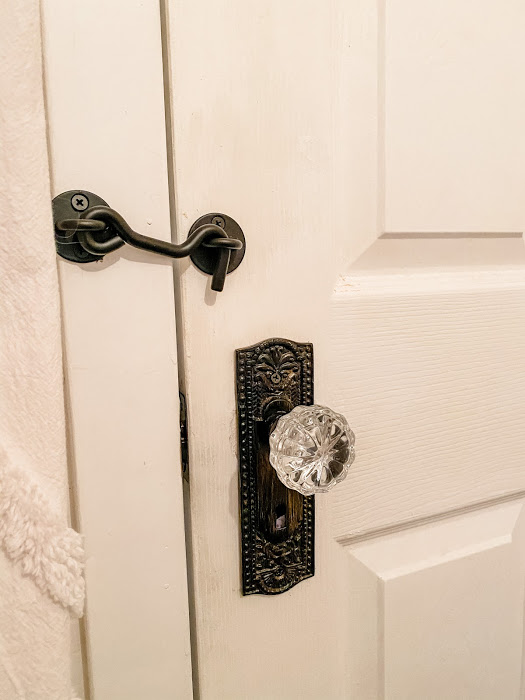
We had upgraded the door knobs in a previous project to these beautiful historic looking glass knobs. click here to read more about that project. The only issue? Glass knobs don’t have privacy locks. We installed this chunky black eye hook to make our guests more comfortable.
What do you think? I can hardly believe this is the same space! So where did our budget go?
Shopping Guide/Budget Breakdown
$100 Pergo flooring, underlayment, & trim boards (Home Depot)
$95 Peonies Peel and Stick Wallpaper Roll, 2 rolls (Wayfair)
$65 Waterfall Bathroom Faucet in Oil Rubbed Bronze (Wayfair)
$19 quart of Infinite Deep Sea paint by Behr
$29 gallon of color matched cream paint
$28 Rust-Oleum Tub & Tile Paint (Amazon)
$5 wood trim around tiles
$110 Aubrielle Accent Mirror (Wayfair)
$109 Hirsch 12″ Schoolhouse Semi Flush Light (Wayfair)
$35 spray paint, baseboard, misc decor
$595 total

What a beautiful transformation!!! Well done!
thank you so much!