-------------------------------------
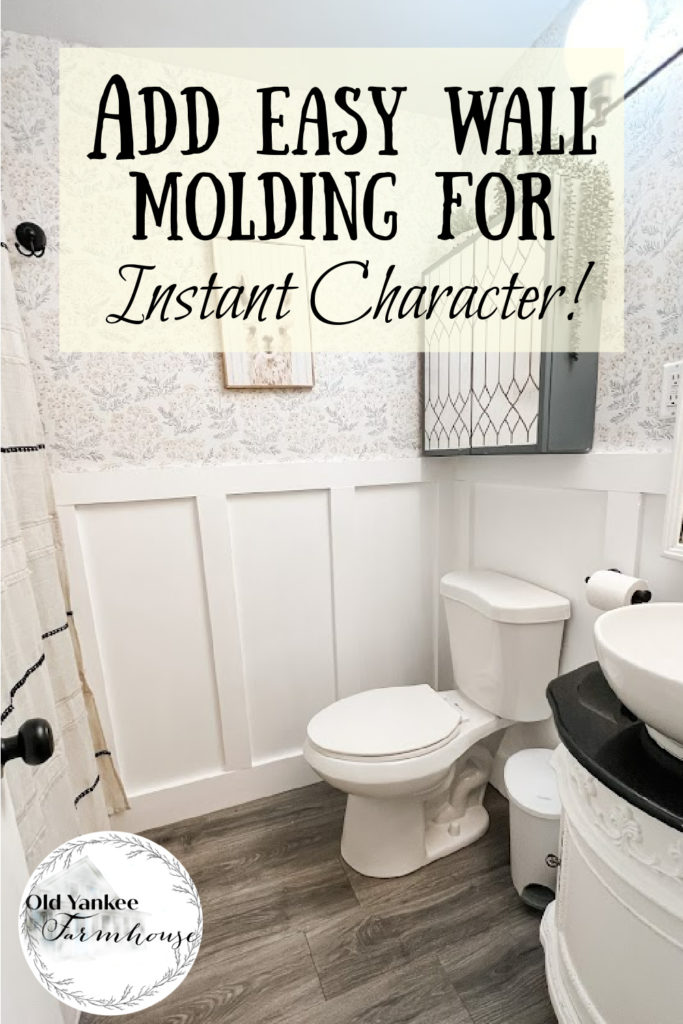
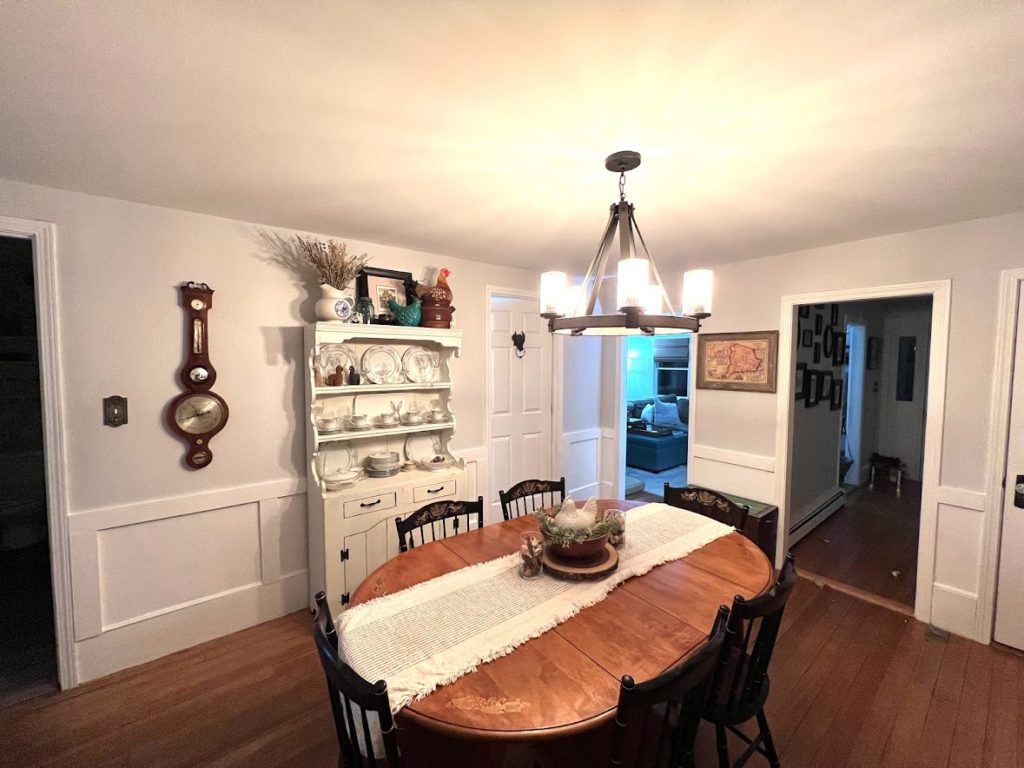
Ready for a super easy & affordable weekend project that will totally transform your room? With just some standard lumber and paint you can recreate the look of expensive, custom wood paneling in any space.
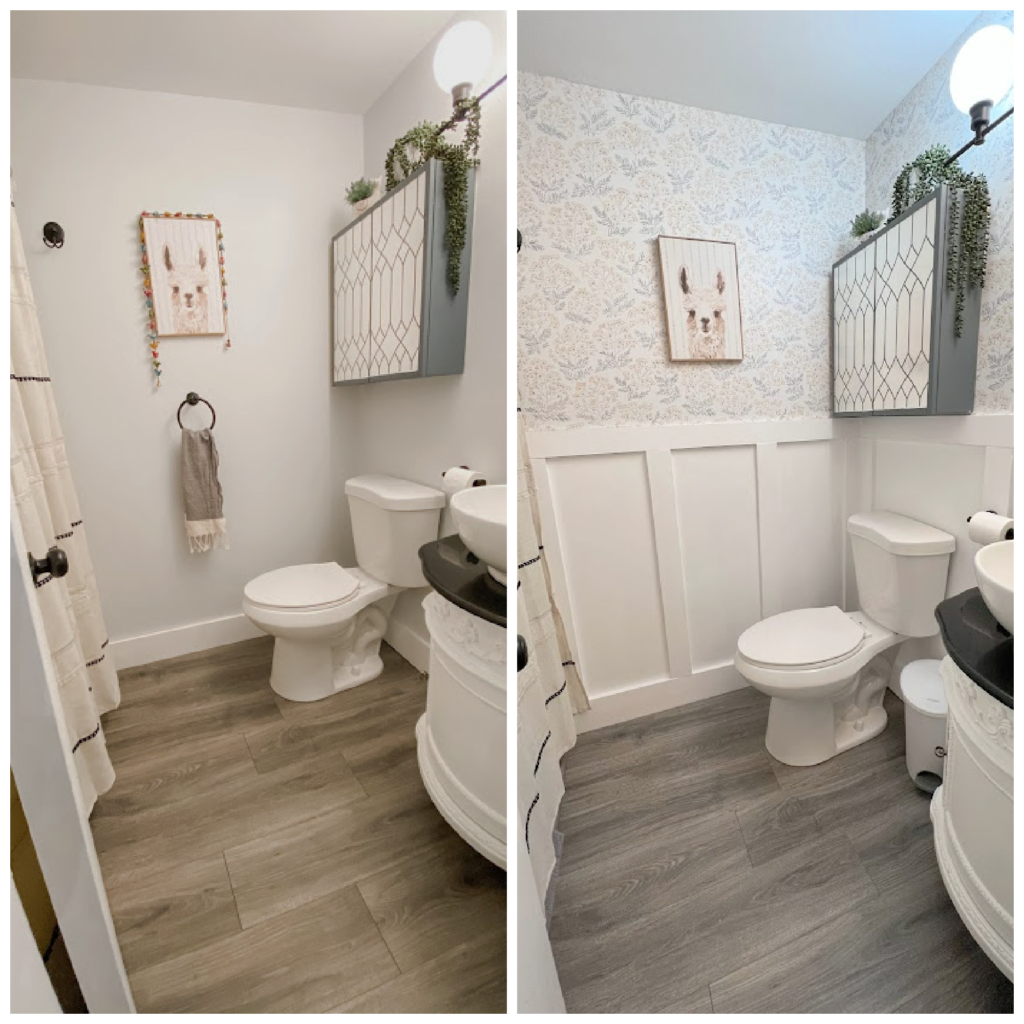
Last year, I did a mini makeover on my small ensuite bathroom (click here to read about it). I replaced the flooring, lighting, and vanity but the room still looked a little “blah”. It was a million times better than when we moved in, but there was nothing really special about it.
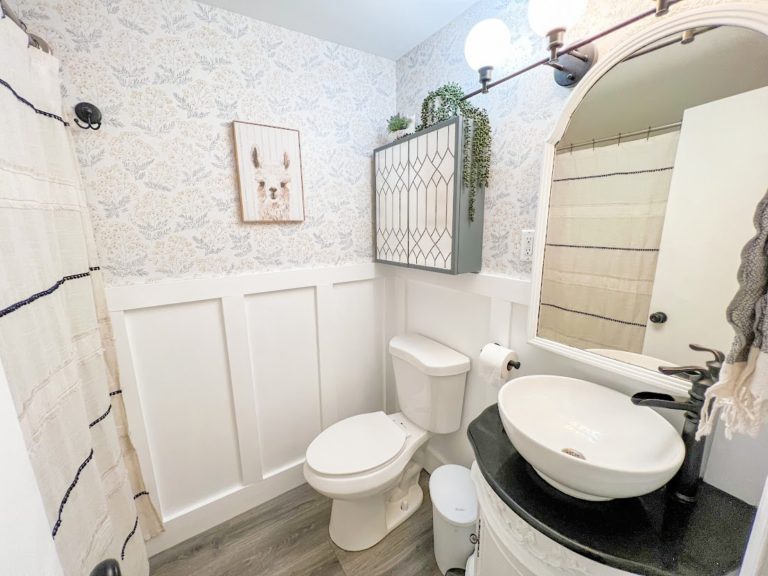
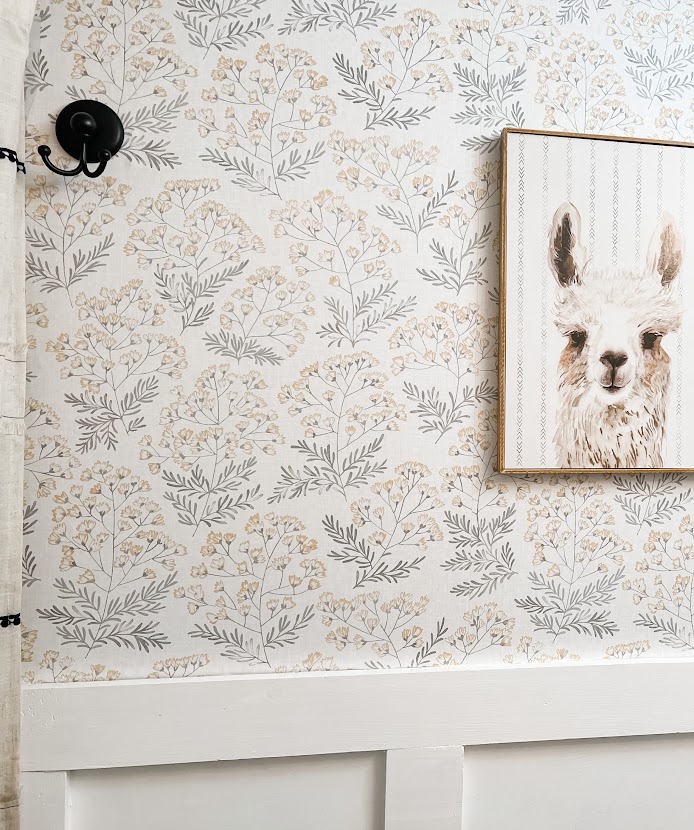
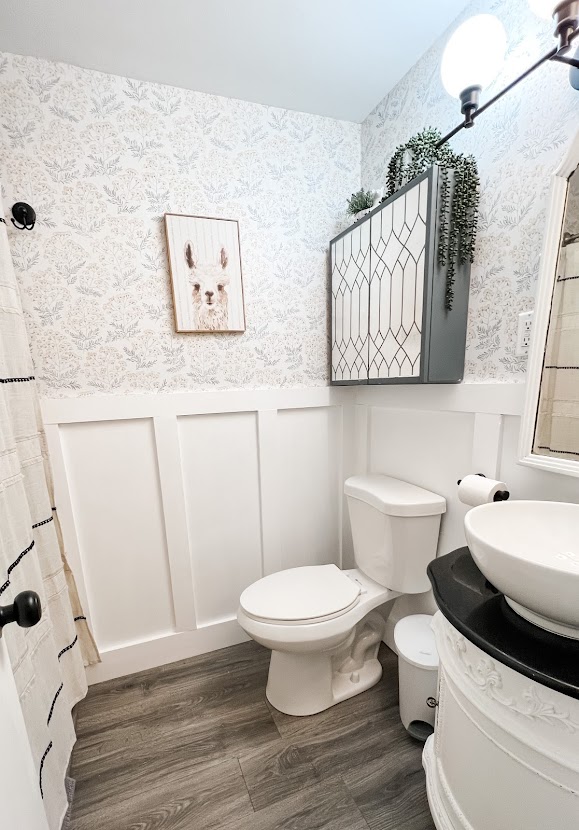
I thought this was the perfect place to add some wall molding! Before the walls were a plain light gray. I planned to add some peel & stick patterned wallpaper on the top part of the walls and paint the lower part a crisp white. I absolutely love how it came out!
Supply List
1×4 lumber
Peel & Stick Wallpaper (pattern: Arwand Wethersfield by Red Barrel )
paint (I used Ultra Pure White by Behr)
spackling compound
construction adhesive
brad nailer (or hammer & finish nails)
circular or chop saw
tape measure
level
Wall Molding Step 1
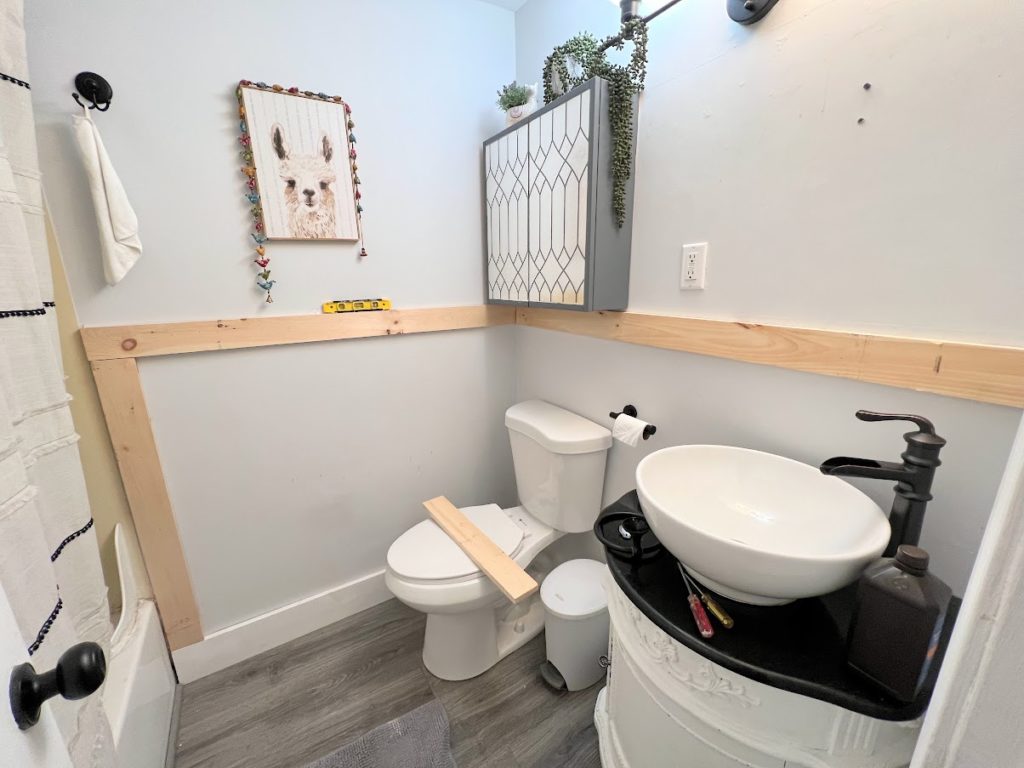
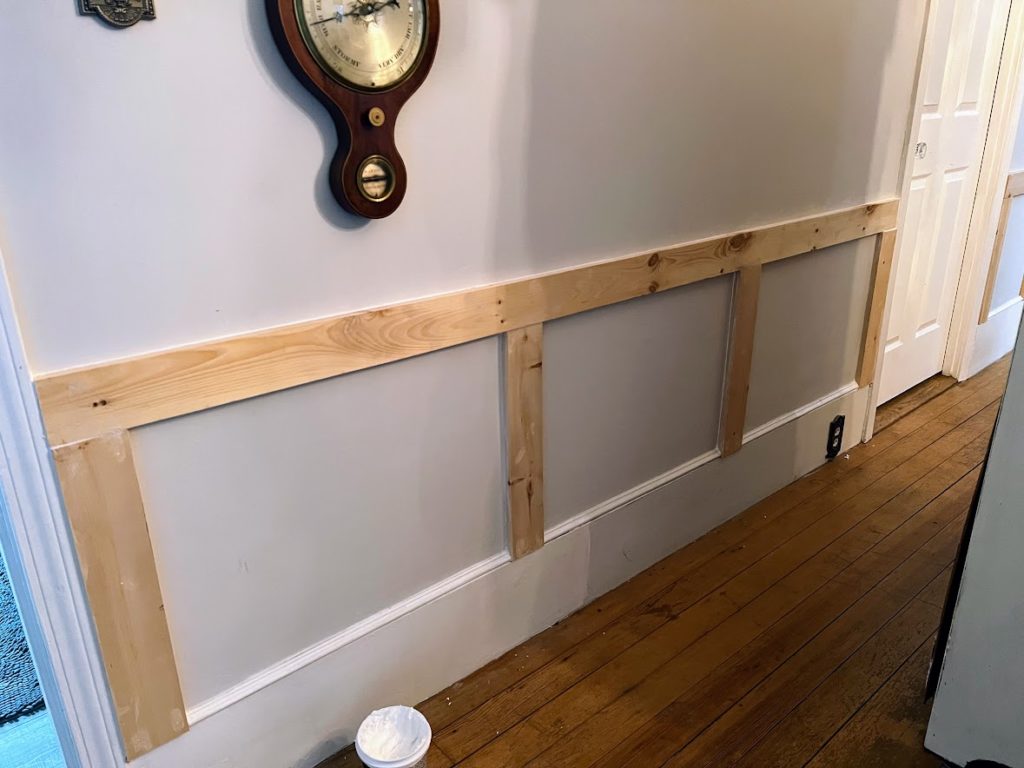
First you need to plan the layout of the molding. This is the most important step and should be done before you even buy the lumber. You can use the plan to determine how much lumber you will need. Lightly draw a line on the wall to mark where you would like the top rail. Use the level to ensure you have a straight line. Then you will need to plan out how far apart you will place the vertical boards. There is no right or wrong answer here, it is all about what you think looks best. You can draw lines on the wall, then stand back to see if you like the placement.
Ideally, you want to make the vertical rails placed an even distance apart around the entire room. Certain immovable objects in the room might make this difficult. Unless you know how to move an electrical outlet or light switch, you will want to avoid having a rail in those areas. Doorways and windows will need to be worked into the plan. I was working in a bathroom – the toilet and sink are both too close to the wall to have rail behind them so I need to account for that.
On the back wall, my vertical rails are 13.5 inches apart. For the wall the toilet & sink are on, the rails are placed 23.5 inches apart to avoid those fixtures. The wall the door is on is just a short wall and had room for just one 15 inch “panel”. The top of the molding is 48 inches from the floor (the walls are 89 inches tall).
Wall Molding Step 2
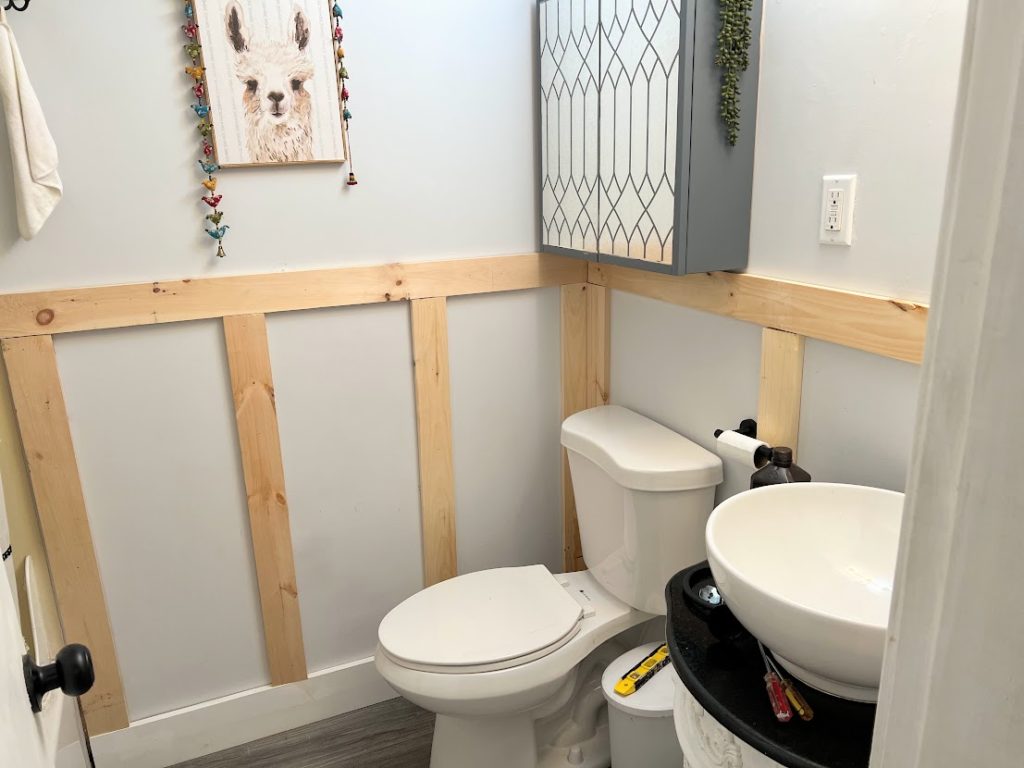
Carefully measure & cut all the boards. The best part of this design is that all the cuts are straight, there are no strange angles or mitered corners. A chop saw would be best for this to keep the cuts nice and straight.
Wall Molding Step 3
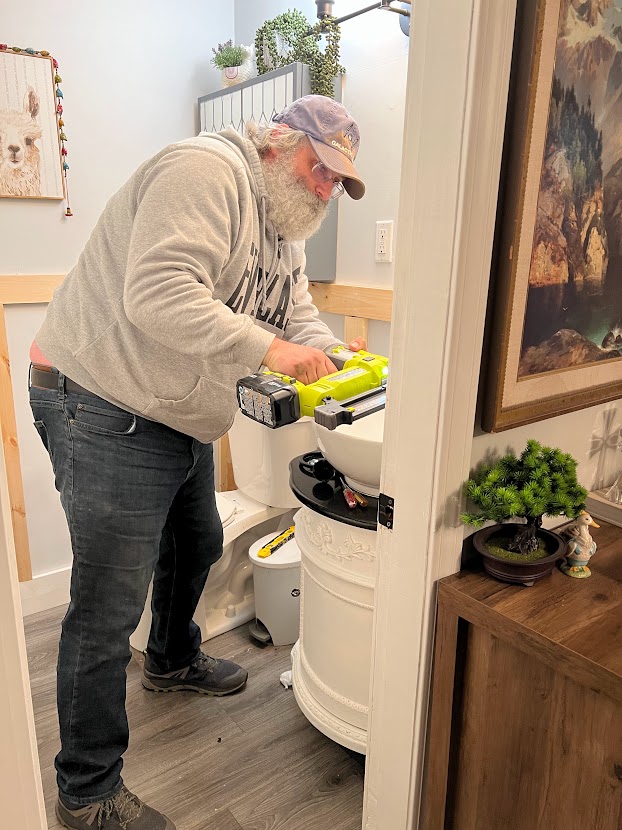
Attach the boards to the wall. Don’t forget to use the level! Apply construction adhesive to the backside of the molding and nail to the wall. If you have a brad nailer it will make this step go much faster. We didn’t have one yet, so we decided it was time to invest in a powered nailer. We purchased the

Wow that came out great! I love the wallpaper even though I’m not a wallpaper fan. Has a nice subtle pattern with just a little color. Looks great!
thanks so much! the wallpaper makes me so happy 🙂
How far apart did you install the boards?
On the back wall, my rails are 13.5 inches apart. The wall the toilet & sink are on have rails placed 23.5 inches apart to avoid those fixtures. It’s best if you could make all walls in a room have the same spacing, but unless you want to move electric outlets or fixtures sometimes you have to improvise!
Where did you get this wallpaper?? I love it!
Thank you! I love it too, it makes me smile everytime I go in there 🙂 I got it on Wayfair, it’s peel and stick so super easy to hang and change if I ever get sick of it https://www.wayfair.com/decor-pillows/pdp/gracie-oaks-gersdorff-18-l-x-205-w-peel-and-stick-wallpaper-panel-w004362367.html